
Subscribe to Our Youtube Channel
Related Manuals for Streacom DB1

Summary of Contents for Streacom DB1
- Page 2 Before we get into this super exciting user guide, we would just like to share a few words of appreciation ..In a market dominated by generic designs, marketing fads and RGB lighting, we are on a mission to create products that are not just different for the sake of it, but incorporate quality materials, superior finishing, and innovate at every level.
- Page 3 Specification Form Factor: SFF Mini Tower Front Port: USB Type-A 3.0 Motherboard Support: Mini-ITX Dimensions: 222 x 222 x 101mm PSU Support: Nano/Pico Volume: 4.98ℓ CPU TDP Cooling: 45W Primary Material: AL 6063 PCIe Support: None Finish: Sandblast / Anodised Fan Support: None Colour Options: Silver or Black Drive Support: 1 x 2.5"...
- Page 4 Remove the Side Panel Using the provided HEX Allen key (or if you have your own HEX 2.5M screwdriver), remove the 4 screws that secure the side panel to the case pillars. Note that you dont need to remove the screws that secure the pillars to the heat sink side of the case.
- Page 5 Alternative Motherboard Orientation and Heat Sink Mount Position As the DB1 is symmetrical, the internals can be rotated 90 degrees to allow for an alternative motherboard orientation. This can be useful in situations where the heat sink fin direction must be rotated 90 degrees in relation to the front panel for optimising cooling with different case placement. This is done by removing the motherboard standoffs from the default installed location (marked on the heat sink with an arrow), to the alternative location indicated on the image below.
- Page 6 CPU Cooling Hardware Overview Below is a diagram showing how the various elements of the CPU cooler assembly fit together. We recommended performing a test fit of the entire cooler assembly to the motherboard and heat sink before applying any thermal paste. The CPU mount comes with the adjustable arms pre-fitted but will require adjustment to align them with the CPU cooler mounting holes on the motherboard which varies depending on socket type.
-
Page 7: Important Notice
Install ALL Components & Cables to the Motherboard As the motherboard fits directly to the heat sink and there is limited clearance, its important to fit EVERYTHING to the motherboard first. Begin by installing the typical components such as CPU and RAM, then connect the Nano PSU and cables such as the power button / LED, USB and SATA if installing a drive. If using an m.2 which is located on this side of motherboard, that should also be installed now. - Page 8 Fit the Motherboard to the Heat Sink With the cooler assembly now fitted to the motherboard, apply thermal paste to the exposed heat pipe area along the heat sink mount, then carefully lower the motherboard onto the heat sink, aligning it with the 4 standoffs.
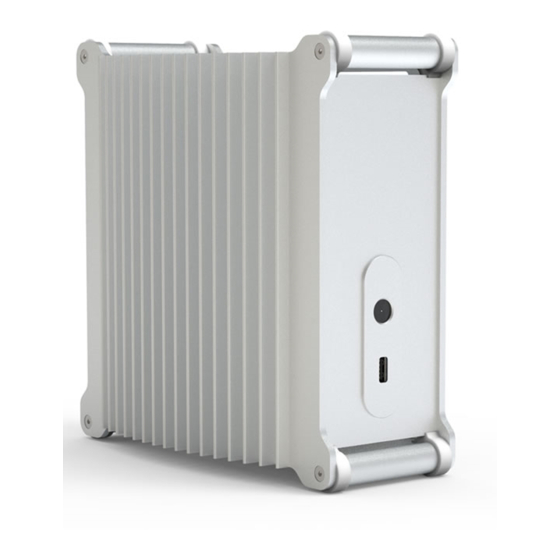
- Page 9 When using a 5.5mm jack, you will need to use 2 x 14mm washers 5.5mm Jack supplied with the DB1, one on each side of the back panel to reduce the opening size. The 5.5mm jack will fit through those washers and is then secured with the included nut.
- Page 10 Installing a 2.5" Drive The DB1 can accommodate a single 2.5" drive which is mounted to the side panel using the included brackets. There are 2 possible screw position and as the side panel is symmetrical, the combination of location and rotation allows for optimal placement. It is recommended to position the drive away from the back of the CPU to avoid excess heat and of course it using a motherboard with an m.2 drive, away from that.
- Page 11 Replace the Acrylic Panels The panels consist of two identical acrylic sheets and a single PVC NET that is sandwiched between them. The acrylic sheets may have a different finish on each side so you can choose which is preferred (gloss or matt) but it makes no difference to the assembly which is used.
- Page 12 Designed in Europe. Printed in China. Copyright © 2020. All Rights Reserved.
Need help?
Do you have a question about the DB1 and is the answer not in the manual?
Questions and answers