Advertisement
Quick Links
Advertisement

Related Manuals for LTH LTH Professional Prestige 4.000 Xenon

Summary of Contents for LTH LTH Professional Prestige 4.000 Xenon
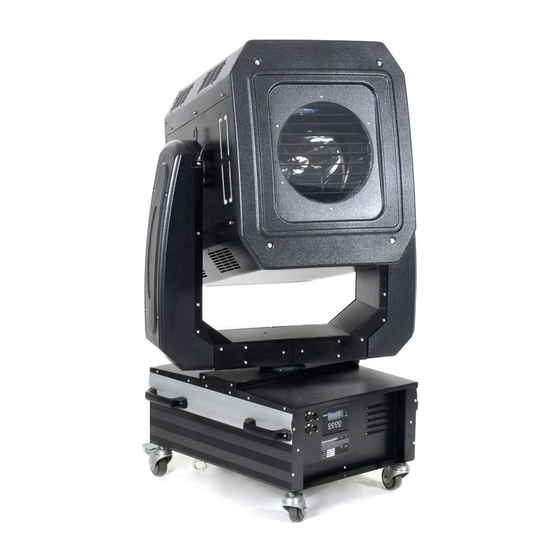
- Page 1 Manual for LTH Professional Prestige 4.000 Xenon...
-
Page 2: Table Of Contents
Contents Safety Instructions Technical specifications DMX Signal connection DMX channels Installation of the Xenon bulb Safety Information Prevention of Accidents Maintenance Troubleshooting... -
Page 3: Safety Instructions
Safety Instructions: For safe and experienced using of the spotlight, you have to read this manual carefully and be familiar to the safety instructions. In this manual you can find instructions for installation and usage of the spotlight that should be obeyed at any time. Warning! Make shure, that there´s no person or any other item under the spotlight during the installation process! -
Page 4: Dmx Signal Connection
1. Mechanical dimmer from 0-100%; electronic Dimmer 20-100% with energy saving functions; electronic strobe effect 0-25Hz 2. CMY color mixing 3. Diffusion effect 4. Motorized zoom effect ( optional ) 5. Speed adjustment 6. Pan 360° 16bit 7. Tilt 330° 16bit 8. -
Page 5: Dmx Channels
3. For each DMX-line there shouldn´t be connected more than 24 fixtures. DMX-channels: 0~229 Lamp strike 230~239 Lampe off Lamp-control 240~255 Lampe strike 0~143 Intensity dimmer 144~255 Strobe 0~127 Closed~Open shutter 128~239 Strobe 240~255 Open 0~255 cyan 0~100% 0~255 magenta 0~100% 0~255 yellow... - Page 6 Installation of the xenon-lamp: Please wear protective equipment and follow apllicable regulations! 1. Fix the lamp-head 2. Take of the front-cover...
- Page 7 3. Take off the shutter 4. Open the panel on the rear side of the spot-light...
- Page 8 The xenon-lamp must be connected to the screw on the right side, where the cable is fixed. The attachment of the lamp must be fixed to the screw on the left side. The lamp will be inserted from the front and fixed to the screw on the back.
-
Page 9: Safety Information
After that it must be fixed at the fromt side. Lamp adjustment will be done with the shown hex-screws. Warning: 1. Follow the applicable regulations regarding the statutory laws for installation and dimensioning of the suspension supplies among the fixure´s weigth. 2. -
Page 10: Prevention Of Accidents
instructions at any time. If you have further queastions about the safe usage of the fixture, contact your dealer or the manufacturer. Prevention of accidents: - Cut off the power-connection before you handle with the xenon- lamp. - Choose an appropriate power supply and voltage and make shure, that the circuit braker is well dimensioned. -
Page 11: Maintenance
Maintenance: The following instructions should followed during the maintenance of the fixture: 1. Cut the power supply 2. Bring the lamp-head in a vertical position and open the covers after loosening the screws. 3. Check that the fans are not much polluted and are able to rotate properly. - Page 12 Händler: LTH Das Lichttechnikhaus GmbH Rudolf-Diesel-Str.3 D-89312 Günzburg Telefon: +49 (0) 8221 - 20 79 8 - 0 Fax: +49 (0) 8221 - 20 79 8 – 69...
Need help?
Do you have a question about the LTH Professional Prestige 4.000 Xenon and is the answer not in the manual?
Questions and answers