
Related Manuals for Stratacache X2O Media Player-L

Summary of Contents for Stratacache X2O Media Player-L
- Page 1 X2O Media Player-L Setup Guide This document provides instructions for setting up the X2O Media Player-L. Copyright © 2020 X2O Media Inc. All rights reserved. All trademarks are the property of their respective owners.
-
Page 2: Table Of Contents
Setup Guide Table of Contents Introduction ..................................3 Notable Hardware Features ............................3 Aluminum Housing ..............................3 Fanless Design ................................3 System Layout ................................... 4 Disk Layout ..................................4 Account Layout ................................4 System Security ................................. 5 Unneeded Services Disabled ........................... 5 Windows Firewall ................................. -
Page 3: Introduction
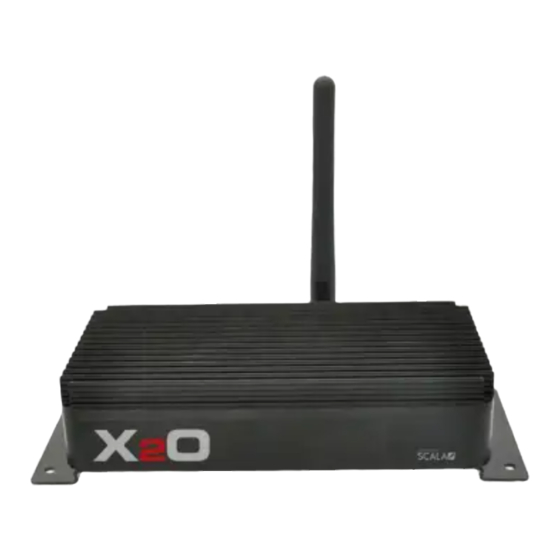
X2O Media Player-L Introduction The X2O Media Players are dedicated digital signage player devices that combine carefully designed hardware, optimally configured system software, and X2O digital signage player software to deliver high-quality 24x7 playback in a robust and security-hardened environment. -
Page 4: System Layout
Setup Guide System Layout Disk Layout C: (BOOT_APPS) The hard disk/SSD storage is laid out for security, performance, and maintainability. The partition contains: Windows 10 IoT Enterprise LTSB embedded operating system ▪ User account home folder (in C:\Users) ▪ X2O Media Player software (in C:\Program Files (x86)\X2OMedia) ▪... -
Page 5: System Security
X2O Media Player-L System Security The X2O Media Player is configured with security in mind. While some of this is achieved through well-known Windows practices, there are some additional adjustments that are less commonly used on Windows PCs. Those adjustments, as well as additional steps you must perform, are documented here. -
Page 6: Windows Update
Setup Guide Should circumstances or policy dictate that antivirus software be used, a duly licensed solution can be installed and enabled prior to deployment. Considerations include: Antivirus software can impact system stability. Since antivirus software must interact deeply with ▪ the operating system, X2O Media has occasionally seen a negative impact on system stability when antivirus is enabled. -
Page 7: Remote Access And Maintenance
X2O Media Player-L Remote Access and Maintenance There are two options to remotely access X2O Media Players. X2O Remote Manager The X2O Remote Manager is a Windows desktop application that provides remote connectivity, monitoring, and maintenance for your X2O Media Players. It is the best diagnostic tool available to quickly identify, diagnose, and resolve player and network performance issues. -
Page 8: Setting Up The X2O Media Player
Setup Guide Therefore, Remote Desktop is suitable mostly for limited administrative cases when the X2O Player software is not running or does not need to be running. Setting Up the X2O Media Player 1. Unpack and Inspect the X2O Media Player When you receive your X2O Media Player, inspect it carefully for damage that may have occurred during shipping. - Page 9 X2O Media Player-L 4. Connect to a Wi-Fi Network If using wireless networking, follow these steps to connect the Player to a secure Wi-Fi network: a. Wait for the Activation screen to load. b. Press Alt + Tab to hide the Activation screen and reveal the Windows Sign On screen.
-
Page 10: Configuring The X2O Media Player
Setup Guide Configuring the X2O Media Player Note: Steps 1 to 8 are optional. If you prefer to leave the default Windows settings (user password, computer name, time zone, etc.), you can go directly to the “X2O Media Player Activation” section. 1. - Page 11 X2O Media Player-L 4. Set Computer Name All X2O Media Players are assigned a unique name like DESKTOP-A9A9A9A9 where A9A9A9A9 consists of a random set of alphanumeric characters. If you want to assign a different computer name to make it easier to identify specific players on your network, do the following: a.
- Page 12 Setup Guide 7. Audio Settings The X2O Media Player-L sends audio to its HDMI connector. You will hear sound through the speakers of your connected display. Important: The 3.5mm audio jack is not operational on the X2O Media Player-L. 8. Restart the Player Once all the changes are done, simply restart Windows.
-
Page 13: X2O Media Player Activation
X2O Media Player-L X2O Media Player Activation The Activation screen appears at first start up and upon subsequent reboots until the X2O Media Player is activated. To activate the X2O Media Player follow these steps: 1. Note the Player ID that is shown in the Activation screen. If you right-click on the value, a context menu will offer to copy the value to the clipboard. -
Page 14: Contact Us
Setup Guide Contact Us Contact X2O Media if you require standard product support for our applications. A team of experienced support engineers is at your service for any professional assistance. www.x2omedia.com/support P 14 / 15... - Page 15 REVISION HISTORY Revision Description 2020-05_v1.1 Minor corrections 2019-05_v1.0 First publication P 15 / 15...
Need help?
Do you have a question about the X2O Media Player-L and is the answer not in the manual?
Questions and answers