Advertisement
Quick Links
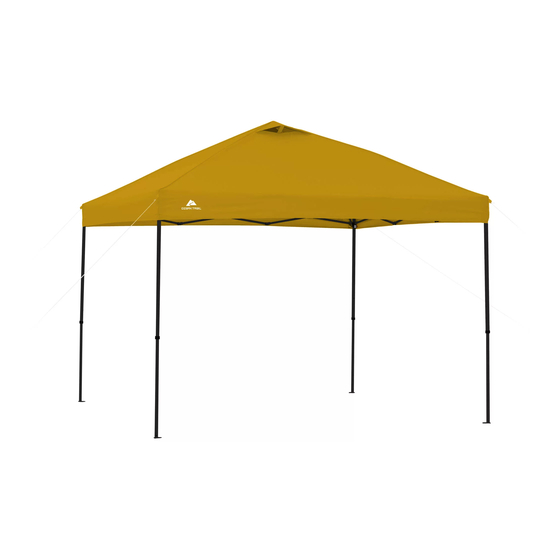
10 x 10 INSTANT CANOPY
Before you begin
Read all instructions thoroughly before beginning set up.
• Select a level site clear of rocks, branches, and other hard or sharp objects, to set up your shelter.
WARNING: Keep clear of overhead power lines.
• Do not set up your shelter under trees because of potential lightning strikes or falling tree
limbs in inclement weather.
• Secure with all stakes and guylines provided to prevent property damage or personal injury.
• Two people can easily setup this shelter in minutes.
Scan the QR code to view our "Sets up in Minutes" video.
Setup Instructions:
1
Extend Shelter Frame
CAUTION: Avoid pinch points when
opening or closing the shelter frame.
• Expand and spread out SHELTER
FRAME. (Fig. 1)
NOTE: Only extend SHELTER FRAME
half way for easier placement of the
CANOPY.
2
Attach Canopy
• Unfold CANOPY then drape over STEEL SHELTER FRAME. (Fig. 2)
• Locate HOOK & LOOP FASTENER on underside of the CORNER POCKET of the CANOPY. (Fig. 2)
• Attach HOOK & LOOP FASTENER to material located at the top of the STEEL SHELTER LEG. (Fig. 3)
• Repeat for remaining 3 CORNER CANOPY POCKETS. (Fig. 2 & 3)
CANOPY
CORNER POCKETS
STEEL SHELTER LEG
Fig. 2
STEEL SHELTER
FRAME
Fig. 1
CORNER POCKET
STEEL
SHELTER LEG
UNDERSIDE
OF CANOPY
STITCH LINE
3
Raising Roof Support Brackets
• Grasp the LEG POLE and push up on the ROOF
SUPPORT BRACKET until the ORANGE BUTTON
"clicks" into locked position. (Fig. 4)
• Repeat for remaining
3 ROOF SUPPORT
BRACKETS to fully
raise the ROOF PEAK.
(Fig. 5)
4
Telescoping Steel Frame Legs
• Grasp and extend TELESCOPING LEG POLE
until the silver LOCKING
BUTTON "clicks" into
locked position.
(Fig. 6 & 7)
• Repeat for remaining 3
LEG POLES.
NOTE: When telescoping the
legs, the silver locking pin will
lock in the lowest setting fi rst.
Push in the pin and extend
the leg further to desired
shelter height. (Fig. 8)
5
HOOK & LOOP
Secure Canopy to Frame
FASTENERS
• Locate HOOK & LOOP FASTENERS along the seam of the
underside of the CANOPY; then wrap around METAL BRACE
to secure. (Fig. 9)
• Repeat for remaining 3 sides of the shelter CANOPY.
• Position the gazebo shelter in its fi nal position before
securing with stakes and guylines.
Fig. 3
(See other side for proper Staking & Take Down Instructions)
Item No. WMT-1010A
Model No. 30183
ROOF PEAK
SUPPORT
BRACKET
ORANGE
BUTTON
Fig. 4
LOCKING
BUTTON
Fig. 6
Fig. 7
HOOK & LOOP
FASTENER
Fig. 5
3-Stage Height
Adjustability
LOWER
MEDIUM
HIGHEST
Fig. 8
METAL
BRACE
Fig. 9
Advertisement

Related Manuals for Campvalley WMT-1010A


Summary of Contents for Campvalley WMT-1010A
- Page 1 STITCH LINE Item No. WMT-1010A 10 x 10 INSTANT CANOPY Model No. 30183 Raising Roof Support Brackets ROOF PEAK Before you begin • Grasp the LEG POLE and push up on the ROOF Read all instructions thoroughly before beginning set up.
- Page 2 Original receipt or proof of purchase as CHEMICAL TREATMENTS ARE USED ON THE TENT. FABRIC HAS FOOT well as proof of defect is required. Campvalley will not be re- Fig. 11 BEEN FACTORY‐TREATED. IT IS HIGHLY WATER-REPELLANT; HOW- sponsible for shipping costs incurred outside the continental EVER, IT IS NOT WATERPROOF.
Need help?
Do you have a question about the WMT-1010A and is the answer not in the manual?
Questions and answers