Advertisement
Quick Links
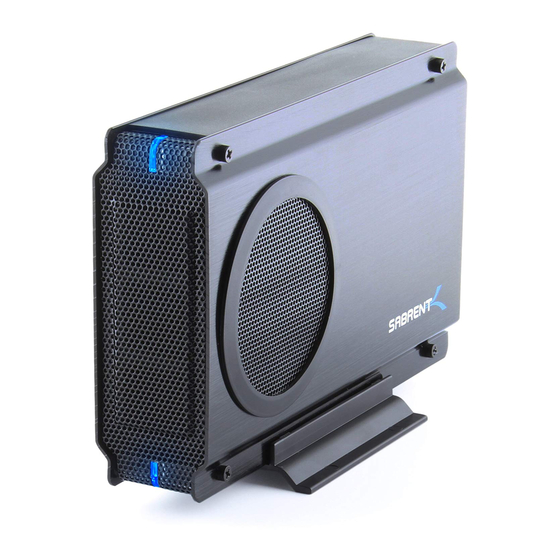
Sabrent EC-UEI" U"B
1. Device Setup
3.5 Inch IDE Drive:
1. Check if your IDE drive has Jumpers, if so make sure they are set to Master. (Note: Please refer to the drive
2. Remove the screws, on the side without the fan, using the included screwdriver. Remove the panel:
Figure A:
E"ATA TO
IDE SATA/SATA II ALUMINUM HARD DRIVE ENCLOSURE WITH COOLING FAN
:
Advertisement

Related Manuals for Sabrent EC-UEIS7


Summary of Contents for Sabrent EC-UEIS7
- Page 1 Sabrent EC-UEI“ U“B E“ATA TO IDE SATA/SATA II ALUMINUM HARD DRIVE ENCLOSURE WITH COOLING FAN 1. Device Setup 3.5 Inch IDE Drive: 1. Check if your IDE drive has Jumpers, if so make sure they are set to Master. (Note: Please refer to the drive 2.
- Page 2 Figure B: 3. Locate the IDE power cable. Connect it to the IDE power port on your drive: Figure A:...
- Page 3 Figure B: Figure C: 4. Locate the IDE data cable. Connect it to the IDE data port on your drive. Figure A:...
- Page 4 Figure B: Figure C: 5. Insert the hard into the enclosure, as shown below: Figure A:...
- Page 5 Figure B: 6. Place the cover back on the enclosure. Screw it back in place: Figure A:...
- Page 6 3.5 Inch SATA Drive Figure A: 1. Remove the screws, on the backside of the fan, using the included screwdriver. Remove the panel: Figure B:...
- Page 7 1. Locate the SATA port on the enclosure. Plug the hard drive directly into the port. Figure A: Figure B: Figure C:...
- Page 8 2. Place the cover back on the enclosure. Screw it back in place: Figure A: 2. Computer Setup 1. Connect the USB cable into the USB port on the enclosure. Figure A: Figure B:...
- Page 9 Alternatively, connect the E-Sata cable into the E-Sata port if you require it. (Note: E-Sata connector may be a bit difficult to plug in, and may require a bit of force to properly connect) Figure A: Figure B: 2. Connect the power cable into the power port on the enclosure. Figure A:...
- Page 10 Figure B: 3. Plug the USB or E-Sata cable USB or E-Sata port: 4. Flip the power switch ON: Driver Setup Windows 2000/XP/Vista/7 For Windows 2000/XP/VISTA/7, no drivers or software are necessarry. For Windows 98 SE/ ME:...
- Page 11 1. Windows will detect New Hardware, and prompt you to install driver. 2. Choose “ 3. Windows will find the necessary driver, and install them. 4. Restart your computer. 5. A new removable drive should appear in M C , assuming the drive has already been initialized. If the drive is new, then proceed to the following section.
- Page 12 4. At the following prompt, 5. C...
- Page 13 6. Assign a drive letter to the drive, then 7. Click on F Change the F to NTF“ C to what you want the drive to be named. Click the checkbox for P...
- Page 14 8. C Windows will now begin formatting and initializing the disk: 9. Open M C and verify that the drive shows up properly: If the drive already has data on it you can skip the previous step. 1. Check the D to make sure that the U“B M “...
- Page 15 To convert the disk from Dynamic to Basic follow the instructions at the link included. http://sabrent.com/support/knowledgebase.php?article=58 3. Please Note: Make sure to disable disk drive password protection Frequently Asked Questions: 1.
- Page 16 To convert the disk to a GPT partition disk in Windows Vista and Windows 7: , locate the disk in the list, right click the disk and click on C GPT D You will now have access to the full capacity of your 2+ TB disk.
Need help?
Do you have a question about the EC-UEIS7 and is the answer not in the manual?
Questions and answers