
Related Manuals for bq Hephestos 2


Summary of Contents for bq Hephestos 2
- Page 1 Hephestos 2 Levelling Guide Version: V0.0.0 May 18 2018 Author(s): Revised by: Approved by: Jon Goitia Effect date: 18/05/2018 Project: Hephestos 2...
- Page 2 Levelling Guide Changelog Version Date Changes Author V0.0.0 May 18 2018 Document created...
-
Page 3: Table Of Contents
Levelling Guide Contents Introduction ....................................4 Updating firmware .................................. 4 First layer settings................................... 4 Test Gcode ....................................5 Basic mechanical checks ..............................6 Front bolt torque..................................7 Print bed clamp system ................................. 8 Remove bed suspension ..............................10... -
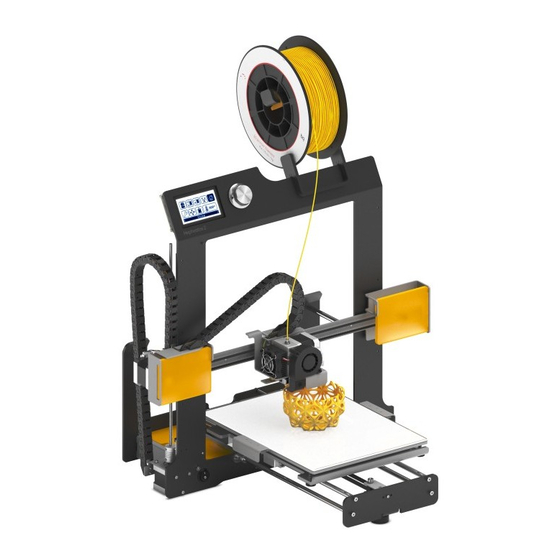
Page 4: Introduction
Levelling Guide Introduction This guide aims to help customers who have assembled a BQ Hephestos 2 get the maximum out of their 3D printer and troubleshoot any issues with the auto - levelling feature. There are some assembly mistakes that can cause the mechanical structure to be deformed, especially in the Y axis. -
Page 5: Test Gcode
Test Gcode When making changes to the printer’s mechanics, it is important to always print the same pattern. This way, we can evaluate if the change had the desired effect. You can download BQ’s standard test Gcode here. Before printing the Test Gcode: •... -
Page 6: Basic Mechanical Checks
Levelling Guide Basic mechanical checks 1) Make sure the X-axis is parallel to the print bed. Picture 1a shows an X-axis that is not leveled because the right side is higher than the left. Adjust the height of one side by turning the Z-coupling while holding the other in place (picture 1b). -
Page 7: Front Bolt Torque
Levelling Guide Front bolt torque The most common mechanical issue is over-tightening the 4 bolts that hold the Y-axis in the front bracket. This warps the Y-axis linear guides and causes the bed to move in a non-planar fashion. To solve this issue, follow these steps: 1) Unscrew the 4 bolts in the front bracket until they are loose (not creating any pressure against the bracket) 2) Jiggle the bracket in both directions so the linear guides have a chance to settle in a new... -
Page 8: Print Bed Clamp System
Levelling Guide Print bed clamp system If the bed is not sitting flat on the Y-axis, putting pressure on the tabs to hold it in place could cause the bed to warp slightly and cause issues in the center area of the bed. A solution to this problem is to print this part as an alternative. - Page 9 Depending on the material used to print the bracket, it might not be suitable for use with an Hephestos 2 fitted with a heated bed. Test result: Using the printed bracket, the center area of the print bed is now well calibrated and the full surface of the print bed can be used.
-
Page 10: Remove Bed Suspension
Levelling Guide Remove bed suspension In case the manual levelling is not working correctly due to a problem with the springs, it can be easily removed to have autolevelling only. In this case, the bed is supported by the lower sheet metal instead of floating a few millimeters above it.
Need help?
Do you have a question about the Hephestos 2 and is the answer not in the manual?
Questions and answers