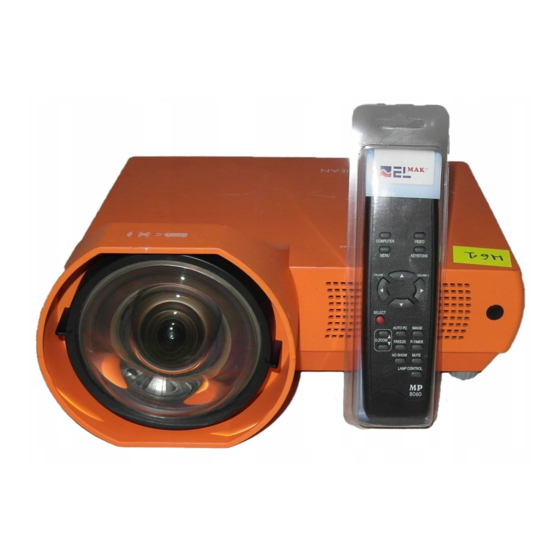
promethean ActiveClassroom PRM-20 Replacement Manual
Alarm battery replacement guide
Hide thumbs
Also See for ActiveClassroom PRM-20:
- Owner's manual (68 pages) ,
- Service manual (120 pages)
Advertisement
Quick Links
Advertisement

Summary of Contents for promethean ActiveClassroom PRM-20
- Page 1 PRM20 Alarm Battery Replacement Guide...
- Page 2 For use outside of your institution, no part of this guide may be reproduced, transmitted, stored in a retrieval system or translated into any other language without the prior permission of Promethean Limited. Please note that the content in this guide is protected under copyright law. Although every care has been taken in the compilation of this guide, Promethean Limited accepts no responsibility for errors or omissions.
-
Page 3: Replacement Guide
Replacement Guide In order to determine if the alarm battery needs replacing or the life of the battery is drawing to an end, the alarm indicator will flash and a warning sound will be made at some intervals. To replace the battery please follow the following procedure. - Page 4 PRM20 Alarm Battery Remove from the power supply cable from the rear of the projector unit. Remove the remaining cables from the rear of the projector unit as shown in images. PRM20 Alarm Battery Replacement Guide...
- Page 5 Replacement Guide Once all cables are removed, it is time to remove the projector from its mounting position. On the projector plate remove the thumbscrew. PRM20 Alarm Battery Replacement Guide...
- Page 6 PRM20 Alarm Battery Whilst supporting the underside of the projector, as shown undo the thumbscrew by turning it in an anti- clockwise direction and gently allow the projector to lower on its fixing point, don’t be alarmed the projector is designed to move in this way and is fully supported by the bracket as shown in images.
- Page 7 Replacement Guide Once the projector has been lowered grasp with both hands and lift in a forward motion this will release the projector from its mounting point, take care not to touch the projector lens when removing the projector from its mount. PRM20 Alarm Battery Replacement Guide...
- Page 8 PRM20 Alarm Battery In order to get access to the battery location you will need to remove the projector plate that is still attached to the projector, the plate is removed by undoing the 4 screws as shown. PRM20 Alarm Battery Replacement Guide...
- Page 9 Replacement Guide Once all the screws are removed lift off the metal plate to expose the alarm battery cover. The alarm cover has a single screw and is located just behind the lens, this will need to be removed as shown below. PRM20 Alarm Battery Replacement Guide...
- Page 10 PRM20 Alarm Battery Once the new battery is inserted, replace cover and screw cover into position, once you have installed the battery correctly the battery is installed the alarm indicator will blink for about 10 seconds. Replace the battery cover. PRM20 Alarm Battery Replacement Guide...
- Page 11 Replacement Guide Re fit the 4 screws previously removed as shown and as described in previous steps. Once the plate has been fitted, you can now replace the projector. PRM20 Alarm Battery Replacement Guide...
- Page 12 PRM20 Alarm Battery Grasp the projector unit with both hands and lift into position using a backward and downwards motion,take care not to touch the projector lens when fitting the projector into position. PRM20 Alarm Battery Replacement Guide...
- Page 13 Replacement Guide When you have the projector in position insert the thumbscrew and tighten it, in a clockwise direction. Once the projector is secure it is time to reconnect the cabling, it is important to ensure that the power is isolated to the system when carrying out this step.
- Page 14 PRM20 Alarm Battery Next connect the yellow end to the composite video input. Finally connect the power to the projector. Turn the power supply on at the wall and power the projector up using the remote control. The task is now complete and the projector is now ready for use.
- Page 15 Replacement Guide PRM20 Alarm Battery Replacement Guide...


Need help?
Do you have a question about the ActiveClassroom PRM-20 and is the answer not in the manual?
Questions and answers