Table of Contents
Advertisement
Quick Links
Installation
Installation
and Operating
and Operating
Instructions
Instructions
Model:
FS600BG
FS600SG
FS600WG
727621042021
The Warranty:
The Warranty is not valid:
Liability under this warranty will not be accepted for:
p: 09 573 5678
f: 09 573 5699
e: sales@parmco.co.nz
w: www.parmco.co.nz
New Zealand
Owned & Operated
New Zealand
for over 25 Years
Owned & Operated
for over 25 Years
727621042021
Advertisement
Table of Contents

Subscribe to Our Youtube Channel
Related Manuals for Parmco FS600BG


Summary of Contents for Parmco FS600BG
- Page 1 09 573 5678 f: 09 573 5699 Installation Installation e: sales@parmco.co.nz w: www.parmco.co.nz and Operating and Operating Instructions Instructions New Zealand Owned & Operated New Zealand for over 25 Years Owned & Operated for over 25 Years The Warranty:...
-
Page 2: Table Of Contents
Thank you and congratulations on purchasing your new Parmco appliance........................9 Operation ........................14 All Parmco products are made to the highest quality and design standards. We are r i f . . e .. -
Page 3: Safety Instructions
SAFETY INSTRUCTIONS SAFETY INSTRUCTIONS Do not make your own alterations to the cooker in order to adapt it to a different ● ● To avoid any possible hazard, the appliance must be installed by qualified/authorised type of gas, move the cooker to another place or make changes to the power personnel only. -
Page 4: Disposal Of The Appliance
SAFETY INSTRUCTIONS HOW TO SAVE ENERGY UNPACKING Using energy in a During transportation, ● During the operation of gas burners the room may be filled with extra heat and responsible way not only protective packaging was humidity, so it is necessary to assure adequate ventilation. Occasional opening of the saves money but also used to protect the window or door should provide enough exchange of air. -
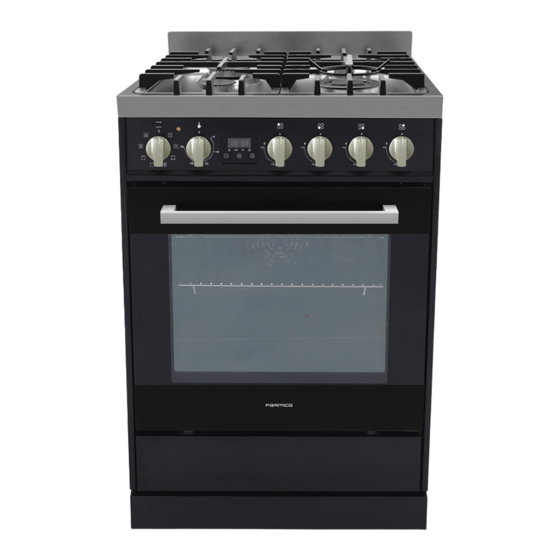
Page 5: Description Of The Appliance
DESCRIPTION OF THE APPLIANCE INSTALLATION This appliance must be installed by an authorised person in accordance with this instruction manual, AS/NZS 5601.1-Gas installations (installation and pipe sizing), local gas fitting regulations, local electrical regulations, Building Code of Australia and any other government authority. Overhead clearances-(Measurement A) Range hoods and exhaust fans shall be installed in accordance... -
Page 6: Installation
INSTALLATION INSTALLATION Caution! Gas connection Beginning of operation ● Install the cooktop Remove the crown caps and burner Caution! Start using the appliance in accordance On completion of the cooker installation, crowns from the oven, and arrange with the instructions for use. The cooker should only be connected to a the tightness of all connections should be them on the cooktop as per the earlier... -
Page 7: Operation
INSTALLATION INSTALLATION In order to adapt the cooker to burn a Adapting the cooker different type of gas, you should: another type of gas ● Exchange nozzles (see tables below), This operation may only be carried out by Replacement of a burner Caution! ●... -
Page 8: How To Use Gas Burners
OPERATION OPERATION Oven function Control knobs Ignition without an ignitor Oven temperture Control knobs How to use gas burners Light a match. Press in the knob to the end and turn Choice of cookware it left to the MAX, Mind that the diameter of a pan base is Ignite gas with a match.,... -
Page 9: Oven
OPERATION OPERATION Selection of the approprite flame Oven A correctly adjusted burner has a light blue Oven is controlled by the function knob flame with a clearly visible internal cone. and the temperature control knob. Flame size depends on the position of the burner knob which has been set. - Page 10 OPERATION OPERATION directly press the button 2, end of cooking time At power on, displayed “12.00", your setting is saved. flashes. End of cooking time end of cooking time End of cooking time = current time + cooking time set either the end of cooking time.
- Page 11 OPERATION OPERATION end of cooking time- cooking end of cooking time: end of cooking time The oven is switched off End of cooking time automatically automatically. change to 5:00. end of cooking time to adjust the cook time, 1 and 3. 1 and 3.
- Page 12 OPERATION OPERATION Possible settings of the oven Defrost function knob This function for defrosting Caution ! At this oven function knob position. The oven is not being warmed up. Fan Forced Classic Convection At this function, allows the oven to be heating up in a forced way with the Setting the knob to this position allows thermofan, which is in the central part of...
-
Page 13: Baking In The Oven
OPERATION BAKING IN THE OVEN Oven guide levels Baking Baking pans and accessories (oven grid, baking tray, etc) may be inserted into the oven in We recommend using the baking trays which were provided with your cooker which 6 guiding levels. should be put on the drying rack;... - Page 14 CLEANING AND MAINTENANCE BAKING IN THE OVEN Roasting meat By ensuring proper cleaning and maintenance of your cooker you can have a significant Cooking meat weighing over 1 kg in the oven, but smaller pieces should be cooked influence on the continuing fault-free on the gas burners.
-
Page 15: Cleaning And Maintenance
CLEANING AND MAINTENANCE CLEANING AND MAINTENANCE Repacement of the oven Removal of the internal glass Regular inspections Door removal light bulb panel Before any maintenance is started In order to obtain easier access to the oven Besides keeping the cooker clean, you Unscrew and unfasten the plastic latch that involving electrical parts, the chamber for cleaning , it is possible to... -
Page 16: Technical Information
CLEANING AND MAINTENANCE TECHNICAL INFORMATION In the event of an emergency, you should: Switch off all working units of the cooker FS600BG Type Disconnect the mains plug FS600SG FS600WG Call the service centre Dimensions: Some minor faults can be fixed by referring to the instructions given in the table below.
Need help?
Do you have a question about the FS600BG and is the answer not in the manual?
Questions and answers