Advertisement
Installing the Mini PCIe cards
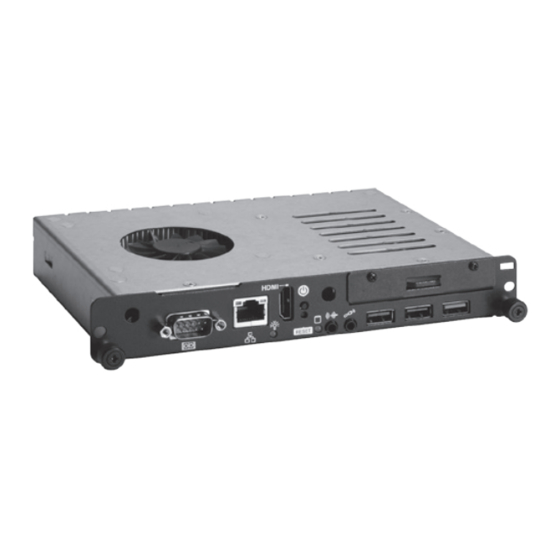
The OPS883-H series provides one Mini card slot for user to install
mSATA/ wireless LAN cards, please refer to the following
instructions and illustration.
Step 1
Loosen the screws per illustrated.
Step 2
Then open the cover carefully.
Step 3 You can find the position of Mini PCIe slot and please
insert it then fasten screw by yourself.
Step 4
Fasten all of screws with bracket to finish installation,
and M3x4 screws are included.
4
9412M883060E
©
Copyright 2016 Axiomtek Co., Ltd.
Version A2 Nov 2016
Printed in Taiwan
OPS883-H Quick Installation Guide
Checklist
OPS module x 1
Driver Disc x 1
M4 x 6 screw x 2
M2 x 5 screw x 2
M3 x 4 screw x 2
Thermal Grease x 1
Quick Installation Guide x1
Note: Please contact your local vendors if any damaged or missing items. DO
NOT apply power to the board if there is any damaged component.
Please refer to the product information CD for the complete user's
manual, drivers and utilities. User's manual and related documents are
in Acrobat PDF format.
Please notice that two M3 x4 screws are offering to fix the OPS
enclosure if you would like to maintain your CPU/DRAM or mPCIe.
Dimensions
9412M883060E
©
Copyright 2016 Axiomtek Co., Ltd.
Version A2 Nov 2016
Printed in Taiwan
1
Advertisement
Table of Contents

Subscribe to Our Youtube Channel
Related Manuals for AXIOMTEK OPS883-H Series

Summary of Contents for AXIOMTEK OPS883-H Series
- Page 1 OPS883-H Quick Installation Guide Installing the Mini PCIe cards The OPS883-H series provides one Mini card slot for user to install Checklist mSATA/ wireless LAN cards, please refer to the following instructions and illustration. OPS module x 1 Driver Disc x 1 ...
- Page 2 Installing the Memory Module Installing the HDD/ SSD The OPS883-H series provides one 2.5” SATA HDD tray to install Step 1 Loosen the screws on the real of chassis as illustrated. 2.5” HDD. When please refer to the following instructions and...
Need help?
Do you have a question about the OPS883-H Series and is the answer not in the manual?
Questions and answers