Advertisement
Quick Links
Advertisement

Subscribe to Our Youtube Channel
Related Manuals for EKEN ASTRO LITE

Summary of Contents for EKEN ASTRO LITE
- Page 1 ASTRO LITE V1.0...
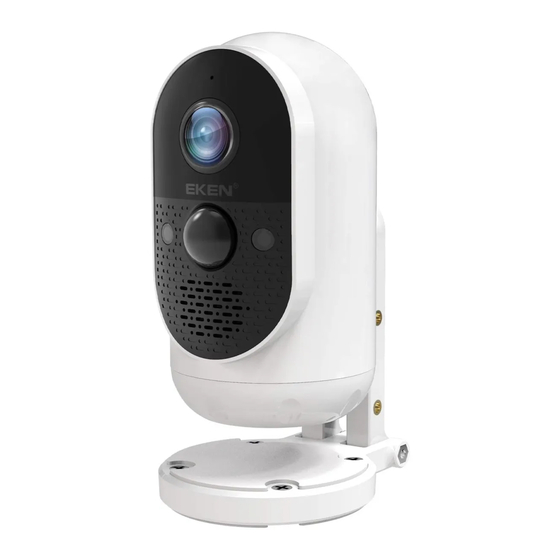
- Page 2 Features 1. Microphone 4. Motion Sensor 2. Wide-angle Lens 5. Light Sensor 3. Indicator Lights 6. Speaker Red Indicator Light Flashing red Wi-Fi connection...
- Page 3 Blue Indicator Light Blue light Live view Flashing blue Motion detection In the box Astro Lite Rechargeable Anchor Packs Battery Camera 6000mAh Battery Pack Screw Packs User Manual...
-
Page 4: Charge The Battery
It takes about 6-8 hours for the battery to fully charge. When only one blue LED is lit, that indicates the battery is fully charged. = Charging = Fully Charged Set up your Astro Lite 1. Attach the stand to the camera. - Page 5 2. Secure tightly with the stand screw. 3. Remove the battery cover. Twist the battery cover counterclockwise to unlock, and then remove it from your Astro Lite. 4. Insert the battery. Insert the fully charged battery into the bottom of your Astro...
- Page 6 App Store or Google Play. Download and install the app. 2. Create an Aiwit account. Set up your Astro Lite in the Aiwit app. To pair your Astro Lite, follow the steps below and in-app instructions. 1. Open Aiwit App and log in to your account.
- Page 7 Confirm once the Wi-Fi setup has finished. 6. Attach the battery cover. Find the Open lock symbol located behind your Astro Lite. Align the symbol with the line on the battery cover. Push the cover on and turn clockwise until it locks.
- Page 8 Install your Astro Lite Choose any location. Place the Astro Lite anywhere, inside or outside your home. It can be mounted on a wall, ceiling, or placed on a tabletop. Put it in an area where you wish to view.
- Page 9 Install the Astro Lite on a ceiling: Using the axis to rotate the stand, position the base above the camera. Ensure the base is directly positioned above your Astro Lite. Install the Astro Lite on a wall: The base is hinged, so rotate the base behind the Astro Lite prior to wall installation.
- Page 10 Once you have chosen a wall or a ceiling for your Astro Lite, Mark drill holes and use a bit to drill holes in your wall or ceiling. Insert anchors and secure your Astro with mounting screws. Place the Astro Lite on a flat surface: Flip the base under the Astro Lite, so it can stand upright.
- Page 11 Need help setting up? If you experience some issues during the app setup, try these steps: Check your WiFi password. The most common issue during setup is incorrect Wi-Fi passwords. Passwords are case sensitive. Please double-check your password. Reboot the router/modem. If you have entered the correct password, but still experiencing issues, try unplugging the power to your router/modem.
-
Page 12: Frequently Asked Questions
Frequently asked questions How long do my videos stay in my account? Your videos are stored in the Free Cloud for up to 7 days. How to RESET network settings Press and hold the Setup Button until red light is flashing. Follow the in-app instructions to finish your Wi-Fi setup. - Page 13 Why is my Wi-Fi signal poor on my device? Your device may be too far away from your wireless router or you may have some obstructions in between that reduce signal strength. You might try repositioning your router or getting a signal extender/repeater for your wireless router. How to adjust Motion Detection Sensitivity From the home page, tap Motion Detection icon.
- Page 14 Install your Solar Panel (Optional) Please complete the battery camera setup in the App prior to installing the solar panel. 1. Choose the installation location Pick an unshaded spot for best sun exposure. The solar panel should be installed where it will receive several hours of direct sun daily.
- Page 15 • For mounting surfaces that are wood or vinyl, you can omit the anchors, and use the screws directly. 4. Install the mounting arm Use a screwdriver to secure the mounting arm to the wall, tighten securely. 5. Attach the solar panel Attach the solar panel onto the mounting arm, ensure that it is installed correctly.
- Page 16 6. Plug the cable Lastly, plug the solar panel charging cable into the Astro Lite. Let’s start charging!
Need help?
Do you have a question about the ASTRO LITE and is the answer not in the manual?
Questions and answers