
Related Manuals for Kargo Master 40221


Summary of Contents for Kargo Master 40221
- Page 1 Instruction Guide 40221 Kargo Master Rancho Cordova, CA 95742 800-343-7486 CustomerService@KargoMaster.com 20200504R1 DATE: __________________...
- Page 2 Assembly Instructions – 40221 *PLEASE READ ALL INSTRUCTIONS AND WARNINGS PRIOR TO ASSEMBLING, INSTALLING, AND USING THIS PRODUCT.* Warning Always check for wires, fuel tanks and lines, brake lines and other important vehicle functionality items prior to drilling and installing all products.
-
Page 3: Parts List
Assembly Instructions – 40221 Parts List For Technical Support Call: 800-343-7486 Monday-Friday 7AM - 4 PM (PST) Page 2... -
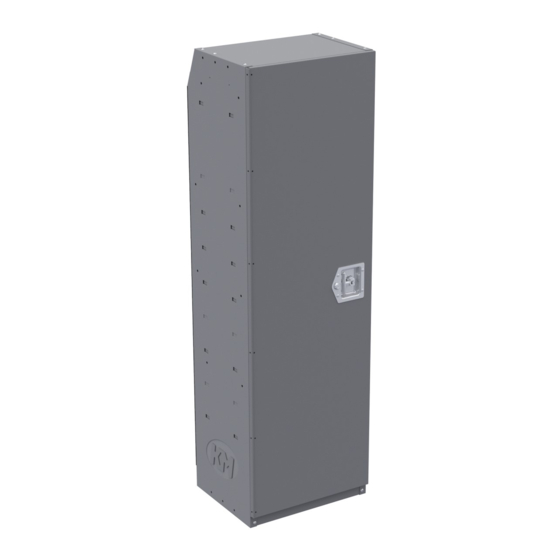
Page 4: Hardware
Assembly Instructions – 40221 Hardware Assembly Instructions Ensure appropriate clearance for installing locker. Flatten box top and lay out on workbench to protect shelf from scratches during installation. Lay left side panel flat on workbench and insert bottom pan into side panel. - Page 5 Assembly Instructions – 40221 Shelves can be assembled with flanges pointing up to retain shelf contents, or flanges pointing down to allow the installation of drawer cabinets. Decide which option you want for each shelf before attaching it to the sides. The beveled corner of each Shelf Side is in the back. Each shelf, the front side only has nuts pressed into the shelf flange.
- Page 6 Assembly Instructions – 40221 Install one 1/4” x 1/2” machine screw through the rear of the shelf into the pressed-in nut on the rear Shelf in Pan Orientation NOT Shown of the shelf side. DO NOT install a shelf in the sixth shelf position from the bottom. A shelf installed in this position will not allow the door to close properly.
- Page 7 Assembly Instructions – 40221 Install opposite side panel to locker bottom assembly and shelves per previous directions above. For Technical Support Call: 800-343-7486 Monday-Friday 7AM - 4 PM (PST) Page 6...
- Page 8 Assembly Instructions – 40221 Making sure the shelves are square to the side panels, install the rear panel using fourteen 1/4” x 3/8” Phillips SEMS screws. The door can be installed opening left or opening right. Based upon door clearance, determine which side to install door.
- Page 9 Assembly Instructions – 40221 With locker laying on the side hinge will attach to, remove the 1/4” x 1/2” screw from the front of each shelf. Laying the door flat on the workspace, fasten the previously removed 1/4” x 1/2” machine screws through the door hinge into the shelves.
- Page 10 Assembly Instructions – 40221 Install the top panel assembly using six 1/4” x 3/8” one-way screw. Slide the rear cover panel inside the shelf-panel rear flanges and outside the top rear shelf-panel flanges. For Technical Support Call: 800-343-7486 Monday-Friday 7AM - 4 PM (PST)
- Page 11 Assembly Instructions – 40221 Install rear panel to the inside of the shelf-panel rear flanges using two 1/4” x 1/2” Phillips machine screws. Cut-away View Install two 1/4” x 3/8” one-way screws through the rear cover panel into the top rear shelf panel flanges.
-
Page 12: Adjustment Instructions
Assembly Instructions – 40221 Adjustment Instructions If door is out of alignment or drooping, slightly loosen screws and nuts holding door to side panel. Shift door up or down depending on desired adjustment. Tighten screws and nuts.
Need help?
Do you have a question about the 40221 and is the answer not in the manual?
Questions and answers