Canon XC15 Manual
Hide thumbs
Also See for XC15:
- Instruction manual (170 pages) ,
- Quick start manual (3 pages) ,
- Quick manual (48 pages)
Table of Contents
Advertisement
USC SCA Guide to the Canon XC15
Table of Contents
P. 1
P. 2
P. 3
P. 4
P. 5
P. 6
P. 7
Subsection Function Menu
P. 8
Function Menus cont'd
Subsection Set Up Menu
P. 9
P. 10
P. 11
P. 12
This is an interactive document. You can click with the
pointer on any page title to go to that page. Click on
the Table of Contents title at the bottom of any page
to return to TOC.
8/2017
Advertisement
Table of Contents

Related Manuals for Canon XC15


Summary of Contents for Canon XC15
-
Page 1: Table Of Contents
USC SCA Guide to the Canon XC15 Table of Contents 8/2017 P. 1 Camera and Accessories P. 2 Lens Care P. 3 Battery Charging P. 4 Camera Power and Manual Operation P. 5 Programming the Camera System P. 6 Initializing Data Cards P. -
Page 2: Camera And Accessories
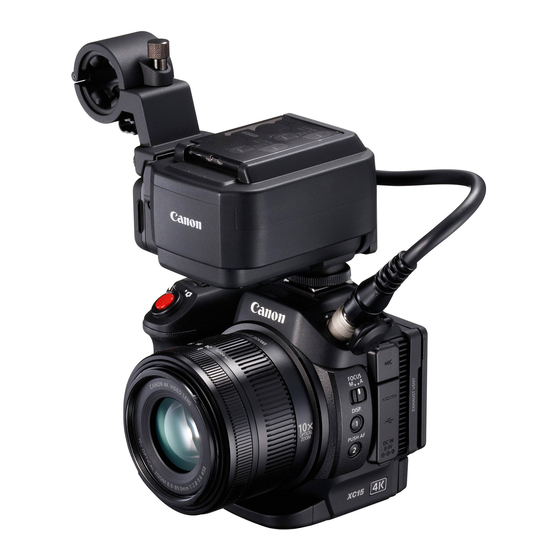
USC SCA Guide to the Canon XC15 P. 1 The camera case includes only a Quick Guide, but the full manual is available online: http://gdlp01.c-wss.com/gds/4/0300024694/02/xc15-im2-n-en.pdf Camera and Accessories Please note the technique for storing this camera displayed in the photo. Replace the camera and its accessories as you see illustrated for safe and effective care. -
Page 3: Lens Care
USC SCA Guide to the Canon XC15 P. 2 Lens Care Follow the steps listed below to clean the lens: 1. Uncap the lens. If there is dust, debris or particles use a rubber bulb hand dust blower to remove them. The lens cap protects the lens and should always be attached when not recording. -
Page 4: Battery Charging
USC SCA Guide to the Canon XC15 P. 3 Battery Charging On the bottom of the hand grip is a switch labeled BATT. OPEN. Push it in the direction of the arrow and the compartment will open. Insert the battery until it locks in place. -
Page 5: Camera Power And Manual Operation
USC SCA Guide to the Canon XC15 P. 4 Camera Power and Manual Operation Motion Picture Mode Manual Mode Camera Power On the top of the handle you will see a dial for selecting the shooting mode of the camera. Set the wheel to M, which indicates the camera will be in a manual mode allowing you to make all decisions. -
Page 6: Programming The Camera System
USC SCA Guide to the Canon XC15 P. 5 Programming the Camera System Do not alter System Frequency Your cinematography instructor will load the USC SCA Required Settings into each camera during class. You will save these settings on your smaller (2, 4 or 8 gb) SD card. -
Page 7: Initializing Data Cards
USC SCA Guide to the Canon XC15 P. 6 Initializing Data Cards It is essential to initialize your 64gb SD card before recording begins. This process should be repeated anytime a new card is used in the camera. Initializing is also necessary to clear old footage from a card and permit new footage to be recorded. -
Page 8: Menu Options
USC SCA Guide to the Canon XC15 P. 7 Menu Options The Function Menu Pressing the Func. icon will bring up the screen to the right, below Function Menu F2.8 4h00m The FUNC. menu contains camera-related functions. The icon of each function’s current settings appear on both sides of the menu. - Page 9 USC SCA Guide to the Canon XC15 P. 8 The Function Menu - cont’d Press X to return to main screen Scroll button Press the scroll down button for more options. The sixth icon is for Image stabilization (icon is a wavy hand).
-
Page 10: Lcd Screen Data And Information
USC SCA Guide to the Canon XC15 P. 9 LCD Screen Data and Information Your instructor will go over these settings in detail. The F2.8 references on the screen, going clockwise, are listed 4h00m below. M = manual setting 0:00:00:00 = time code... -
Page 11: 10 Assignable Buttons
USC SCA Guide to the Canon XC15 P. 10 The Assignable Buttons Button 1 is set to clear the screen of all meta data so the shot can be viewed without distraction. It is very important to view your shot in this manner periodically during the setting and during the recording. -
Page 12: 11 Neutral Density Filters
P. 11 Neutral Density Filters There is a neutral density filter within the XC15. It is in the Set Up Menu on page 1. This built-in filter is an ND .9 filter, meaning it reduces the light coming into the camera by 3 F stops (example: F 8 becomes F 2.8). -
Page 13: Viewing Footage
USC SCA Guide to the Canon XC15 P. 12 Viewing Footage. Press the Playback Button on the top of the handle and the beginning of the last shot filmed will appear along with a set of controls on the LCD Screen (see red arrow below to the left).
Need help?
Do you have a question about the XC15 and is the answer not in the manual?
Questions and answers