Table of Contents
Advertisement
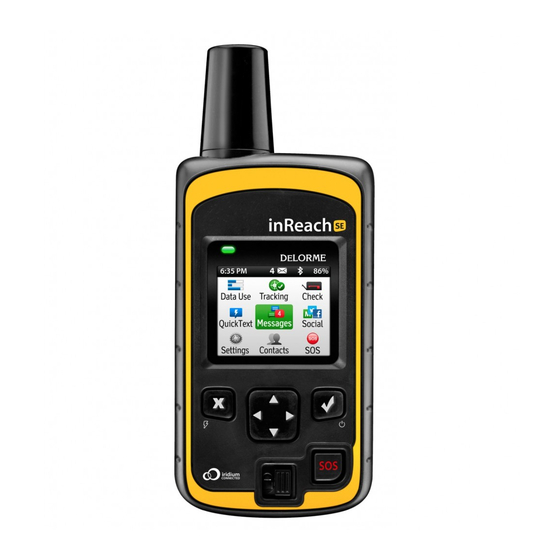
Quick Links
Advertisement
Table of Contents

Related Manuals for Iridium inReach Explorer


Summary of Contents for Iridium inReach Explorer
- Page 1 How to Use an inReach Explorer...
-
Page 2: Table Of Contents
Table of Contents The Basics ........................... 3 Turning On or Off ..........................3 Charging ............................... 3 Unlocking and Locking the Screen ....................3 Navigating the Screen ........................4 Sounds ..............................4 Change the Screen Brightness ...................... 4 Satellite Connection ......................... 4 Status Bar ............................4 Functions ............................ 6 Mapping and GPS Functions ......................6 Creating Waypoints ............................7 Creating Routes ..............................7 Navigating to a Destination ......................... 8 Calibrating the Digital Compass and Barometric Altimeter ............9 Trip Information Details ........................... 10 Your Current Location Details ........................ 11 Sending and Receiving Messages .................... 1 1 Adding and Updating Contacts in the Contacts List ..............12 Using the Keyboard ............................. 12... -
Page 3: The Basics
(below 10%). Lift the protective cover on the side to access the micro-USB port. Connect the inReach Explorer to the USB cable then to a USB port on your computer or plug the cable into the AC adapter to charge from an electrical outlet. A lightning bolt icon will appear on the upper right hand corner of the screen letting you know the device is connected to external power. -
Page 4: Navigating The Screen
Display to darken the screen or choose Light Display to lighten the screen. Satellite Connection The inReach Explorer requires a clear view of the sky to acquire a GPS signal and transmit any data over the satellite network. For the best reception, attach the inReach Explorer to a backpack shoulder strap or somewhere on the upper body. - Page 5 • Lastly, the percentage number indicates the remaining battery capacity. Figure 1. This status bar is showing from left to right: the current time, the inReach Explorer is communicating with the satellite network (double arrow icon), there are four new messages that need to be read, Bluetooth is active and the...
-
Page 6: Functions
Functions Mapping and GPS Functions The Map Page shows your current location on a map, which is represented by a green arrow in the center of the map. Perform the following to navigate around the map: • Use the directional arrows to pan the map •... -
Page 7: Creating Waypoints
Waypoints Page will display the symbol, name, and distance and bearing from your current location to each waypoint on the inReach Explorer. You can also sort the waypoints by distance, name, symbol, or date created by selecting the Sort Order…... -
Page 8: Navigating To A Destination
Navigating to a Destination The inReach Explorer will allow you to navigate to waypoints, a location where a message was sent or received, or any other point that you would like to travel toward. To navigate to a destination, select a waypoint from the Waypoints Page, select a message from the Messages Page, or select a point on the map by using the cursor function. -
Page 9: Calibrating The Digital Compass And Barometric Altimeter
Explorer until it beeps to complete a successful calibration. Figure 6. Move the inReach Explorer in this pattern until it beeps in order to calibrate the digital compass. The inReach Explorer uses a barometric altimeter to give elevation readings. The inReach Explorer will automatically check the calibration of the barometric altimeter using the GPS Elevation every time it is powered on. -
Page 10: Trip Information Details
The Trip Info page allows you to see certain statistics about your trip: • Trip Time – The total time the inReach Explorer has been running • Time Moving – The total time the inReach Explorer has been in motion • Speed Max – The maximum recorded speed •... -
Page 11: Your Current Location Details
Type one or multiple recipient email addresses, phone numbers that are able to receive text messages, or an inReach Explorer address in the To: section. You can also select recipients from your contacts list, by selecting the gray Select + button on the upper right corner of the screen. -
Page 12: Adding And Updating Contacts In The Contacts List
(explore.delorme.com). After adding or updating your contacts make sure to sync your inReach Explorer with the Explore website so that those contacts can be updated (see below for the syncing process). You can also add contacts by paring the inReach Explorer with a mobile device (see below for pairing instructions). -
Page 13: Using Preset Or Quick Text Messages
Figure 9. The ABC Keyboard. Take note of the functions of the buttons and the directional pad shortcuts. Using Preset or Quick Text Messages Preset Messages and Quick Text Messages are ways to communicate quickly with contacts. They are designed so that you do not have to type the same message over and over and over again. -
Page 14: Receiving Messages
The inReach Explorer will check for incoming messages once every 20 minutes and download any that are on the satellite network. The inReach Explorer will also check for incoming messages when you send a new message or whenever you send a track point (see below for more information about track points). -
Page 15: Sharing On Social Media
(i.e. coordinates, course, elevation, speed, etc.) at your current location. These recorded trip details are called track points and on the map they are connected together with a track line. You can see where the inReach Explorer has recorded these track points and lines by going to the Map Page. - Page 16 Figure 11. Set the logging interval from the Tracking option on the Settings Page. The Logging While Sending option allows you to control how frequently the inReach Explorer logs a track point when you are sending them to MapShare. The Logging Only option allows you to control how frequently the inReach Explorer logs a track point when you are not sending them to MapShare.
-
Page 17: Sharing Your Tracking Data
It is generally a good idea to send your MapShare URL to your coworkers, family, and friends before going on your trip. However, if you have forgotten to do so the inReach Explorer will remind you to send the URL in a message with a prompt that will... -
Page 18: Adjust The Sending Interval
Tracking Page. Adjust the Sending Interval The send interval determines how often the inReach Explorer transmits your track points to the satellite network. The default sending interval is 10 minutes. However, you can change this interval by navigating to Settings and selecting Tracking. Here you can adjust the send interval from anywhere between 10 minutes to 4 hours. -
Page 19: Reporting An Emergency
Figure 15. The initial screen that will be shown when you have pressed the SOS button. Select Emergency if you are experiencing a true emergency. Select Cancel if you are not experiencing a true emergency. If Emergency is selected, the inReach Explorer will send a distress message to GEOS, an international emergency response coordination company (www.geosalliance.com). -
Page 20: Text Messages
Bluetooth is turned on. However, the inReach Explorer may only pair with one mobile device at a time. Thus, in order to pair the inReach Explorer with another mobile device you must first unpair the first mobile device by: •... -
Page 21: Earthmate App
Waypoints, or Routes, is through the Explore website (explore.delorome.com). Use the Explore website to add or update any of the data or information stored there. Afterward, connect the inReach Explorer to your computer using the USB cord and then click on the Sync tab of the Explore website. -
Page 22: Other Pages And Options
The Help Page is where you want to go to get answers to common questions about the inReach Explorer. The help topics are updated with each firmware update. To navigate through the help topics quickly use the right and left directional arrows to scroll down or up a page at a time, respectively.
Need help?
Do you have a question about the inReach Explorer and is the answer not in the manual?
Questions and answers