Table of Contents
Advertisement
Quick Links
Advertisement
Table of Contents

Related Manuals for BVF SRHC 18-36


Summary of Contents for BVF SRHC 18-36
- Page 1 BVF SRHC 18-36 HEATING CABLE INSTALLATION MANUAL...
-
Page 2: Table Of Contents
1.4 10 years extended warranty 2 BVF SRHC 18-36 2.1 BVF SRHC 18-36 specifications 3 INSTALLATION OF BVF SRHC 18-36 ON PIPES 5 3.1 Prepare for installation 3.2 Cut the cable to length 3.3 Position and attach heating cable to pipe 3.4 Install heating cable cold lead connection... -
Page 3: Important Safety Notice
Be sure that the installation surfaces are well prepared for installation. If the BVF SRHC 18-36 heating cable is damaged, it must be replaced. Do not attempt to splice or repair any part of the system 1 GENERAL INFORMATION 1.1 Use of the Manual... -
Page 4: Remember To Measure Resistance
(out of the box, during and after installation) 1.4 10 years Extended Warranty For a period of ten (10) years from the date of purchase warrants that the BVF SRHC 18-36 heating cable is free from defects in material, design and workmanship. -
Page 5: Installation Of Bvf Srhc 18-36 On Pipes
3 INSTALLATION OF BVF SRHC 18-36 ON PIPES 3.1 Prepare for installation Store the heating cable in a clean, dry place. Complete piping pressure test. The heating cable will have the heating cable type printed on the outer jacket. -
Page 6: Install Heating Cable Cold Lead Connection
Ensure that type and thickness of the insulation are in accordance with heating cable capacities, pipe materials and diameters WARNING: The cables must be installed away from combustible surfaces, such us wood. The minimum bending radius of each flexible heating device is 1/2 inch. BVF SRHC 18-36 installation manual... -
Page 7: Installation Of Bvf Srhc
4 INSTALLATION OF BVF SRHC 18-36 ON ROOFS AND GUTTERS Important: In-line splices and tee splices should be avoided where possible. Heating cable in downspouts should be looped [610 mm of heater per 300 mm of downspout] and should extend below the frost line if tied into a drainage system. -
Page 8: Install Heating Cable Cold Lead Connection
Protect all cable that protrudes past the lower opening of the downspout. 4.4 Install heating cable end seals, splices, tees and cold lead connection BVF SRHC 18-36 installation manual... -
Page 9: Installations Of The Connection Set And Cold Lead
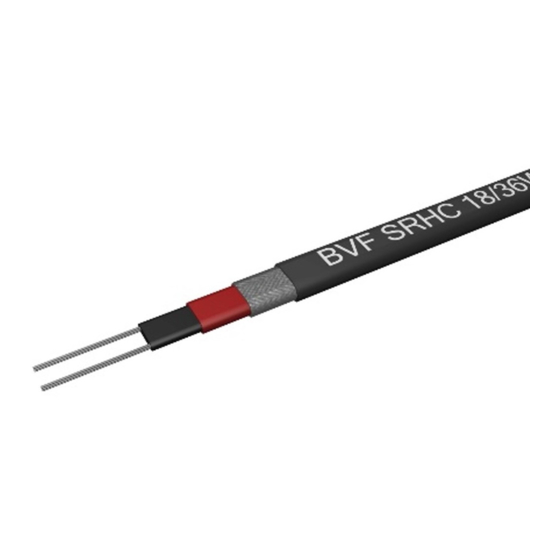
You will require the following items to install and test the heating system: Scissors Utility knife Wire strippers Pliers Heat gun Multimeter 5.1 Structure of the BVF SRHC 18-36 heating cable BVF SRHC 18-36 installation manual... -
Page 10: Installation Of The Cold Lead With The Connection Set
11. Shrink the tube Immediately completely until it after shrinking, shrinks pinch with pliers adhesive flows out between wires both ends. while tube is still hot. Hold for 10 seconds to ensure seal. BVF SRHC 18-36 installation manual... - Page 11 For the extended 10-year warranty to apply, you must perform these tests, record the results on the warranty card, and retain a copy of the record. You must perform the Insulation Resistance Test, the Heating Cable Resistance Test, during the installation process. BVF SRHC 18-36 installation manual...
- Page 12 EXTENDED WARRANTY For a period of ten (10) years from the date of purchase warrants that the BVF SRHC 18-36 heating cable is free from defects in material, design and workmanship. The warranty is only valid if the warranty certificate has been properly completed, and the installation is in accordance with the installation instructions.
Need help?
Do you have a question about the SRHC 18-36 and is the answer not in the manual?
Questions and answers