
Related Manuals for Sierra Wireless mangOH Green


Summary of Contents for Sierra Wireless mangOH Green
- Page 1 mangOH™ Green Tutorial—Arduino-compatible Shield to AirVantage 4119370 Rev 1 Contents subject to change...
- Page 2 Although significant delays or losses of data are rare when wireless devices such as the Sierra Wireless modem are used in a normal manner with a well-constructed network, the Sierra Wireless modem should not be used in situations where failure to transmit or receive data could result in damage of any kind to the user or any other party, including but not limited to personal injury, death, or loss of property.
- Page 3 Preface Revision History Revision Release date Changes number June 2016 Document created Rev 1 6/18/16 4119370...
-
Page 4: Table Of Contents
Install mangOH Green Platform Applications ........10... -
Page 5: Getting Started
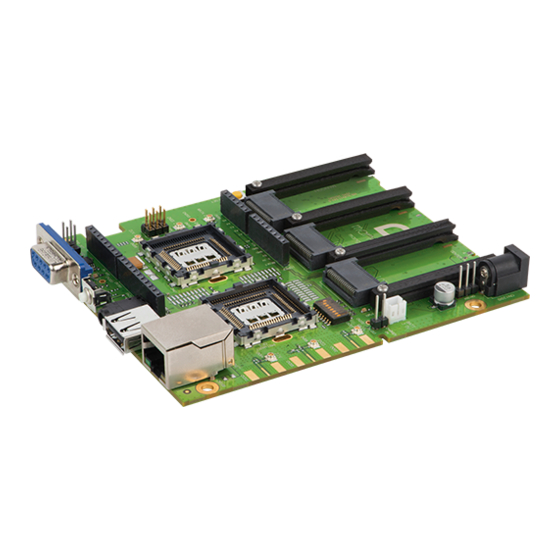
1: Getting Started This tutorial will take you through the process of setting up your mangOH Green to allow Arduino sketches to transmit data to the cloud, and configuring AirVantage to receive that data. The tutorial builds on basics covered in the mangOH Green Fundamentals tutorial and the mangOH Green User Guide. - Page 6 Cloud development 2: Set up your mangOH Green This chapter details how to prepare your mangOH Green to receive and run sketches on its ATmega32U4 chipset. For this tutorial, you need the following materials: • mangOH Green with (at least): ·...
- Page 7 To set up the mangOH Green for use with Arduino sketches: 1. Make sure your mangOH Green is set up with (at least) an activated SIM, the main antenna, and USB or DC power selected (but not connected). In this example, DC power is selected.
- Page 8 Arduino the IoT Green Arduino development Cloud development Figure 2-2: Grove Shield Installed on mangOH Green 3. Attach the DHT sensor(s) to the Grove shield connector pins as follows: · Temperature and Humidity sensor—Pin A0 · Dust sensor—Pin D8 ·...
- Page 9 Green Arduino development Cloud development 5. Connect the mini-USB cable between your computer and the mangOH Green (use connector CN330). Figure 2-4: mangOH Green connected via mini-USB Now you are ready to Prepare your mangOH Green for Arduino development on...
-
Page 10: Install Mangoh Green Platform Applications
3: Prepare your mangOH Green for Arduino development In this chapter, you will update the CF3 module on your mangOH Green with (among others) applications that allow the mangOH Green’s ATmega32U4 chipset to communicate with AirVantage. 3.1 Install mangOH Green Platform Applications The CF3 module used in your mangOH Green (e.g. - Page 11 4. Install the Project mangOH applications on your mangOH Green: instsys system.wp85.update 192.168.2.2 All of the applications for the mangOH Green platform (defined in the git manifest) are installed and begin running, including three that the ATmega32U4 chipset uses to communicate with AirVantage: ·...
-
Page 12: Prepare For Arduino Development
4: Prepare for Arduino development When you install a sketch on the mangOH Green’s ATmega32U4 chipset, its output is pushed over the arduinoBridge to the dataRouter, where it is is then sent to applications (including AirVantage) that are configured to receive the data. -
Page 13: Prepare The Sketch
Set up your Prepare your Prepare for Connect to mangOH mangOH Green for Arduino the IoT Green Arduino development Cloud development 2. Click Clone or Download. 3. Click Download ZIP 4. When the download finishes, extract the zip file (ArduinoBridge-master.zip) to a working folder (referred to as $WORK_DIR for the remainder of this tutorial). -
Page 14: Add Required Libraries To Arduino Environment
Set up your Prepare your Prepare for Connect to mangOH mangOH Green for Arduino the IoT Green Arduino development Cloud development If you are prompted to automatically create a folder to work on the sketch, click OK.) 2. In the sketch, set the AV_URL variable to the server that hosts your AirVantage account. - Page 15 Set up your Prepare your Prepare for Connect to mangOH mangOH Green for Arduino the IoT Green Arduino development Cloud development 1. Add the swibridge library (this example shows how to manually add the library): a. Copy the swibridge library folder from the sample project to your Arduino libraries folder (If you installed the Arduino IDE to a different location, use the appropriate path.)
- Page 16 Set up your Prepare your Prepare for Connect to mangOH mangOH Green for Arduino the IoT Green Arduino development Cloud development Click Open and it installs to your ‘contributed’ arduino libraries folder. 3. (Optional step) Depending on the IDE you are using, you might have to restart the IDE to use the contributed library.
- Page 17 (File > Preferences): 6. When the sketch has successfully compiled, upload it to the ATmega32U4 chipset on the mangOH Green—Click the Upload icon or press Ctrl+U. The sketch will begin running automatically. Note: The ATmega32U4 chipset stores and runs only one sketch at a time. Each time you upload a sketch, it replaces the currently running sketch.
-
Page 18: Connect To The Iot Cloud
Set up your Prepare your Prepare for Connect to mangOH mangOH Green for Arduino the IoT Green Arduino development Cloud development 7. Check that the sketch is running and whichever sensors you are using are working properly (showing reasonable values)—Open a serial monitor in the IDE (Tools >... -
Page 19: Configure Airvantage To Receive Sensor Data
Cloud development 5: Connect to the IoT Cloud Now that your mangOH Green is transmitting sensor data, you must configure your AirVantage account to receive it. 5.1 Configure AirVantage To Receive Sensor Data Before AirVantage can receive the sensor data, it needs to be configured to understand which messaging protocol is used for the data, and what the data represents. - Page 20 Set up your Prepare your Prepare for Connect mangOH mangOH Green for Arduino to the IoT Green Arduino development Cloud development 6. Make a zip file of the mqttapplicationmodel folder. 7. Select the zip file and click Open. 8. Select Advanced settings.
- Page 21 10. Click Start to install the model. The model installs. When you return to the MyApps screen, you will see the appli- cation appear in the list of published applications for your mangOH Green. 11. Select Monitor > Systems. 12. Click your mangOH device in the listing.
- Page 22 Set up your Prepare your Prepare for Connect mangOH mangOH Green for Arduino to the IoT Green Arduino development Cloud development 14. In the Applications box, click the last line (‘Select Applications’) - the new appli- cation will appear. 15. Click the new application. It gets added to the applications list.
- Page 23 20. To see details of a communication, click somewhere on the row. (In this example, the communications for temperature and humidy are shown.) You have now set up your mangOH Green to support Arduino sketches, built and installed a working sketch that transmits data to the cloud, and configured AirVantage to receive that data.
Need help?
Do you have a question about the mangOH Green and is the answer not in the manual?
Questions and answers