Advertisement
Q:
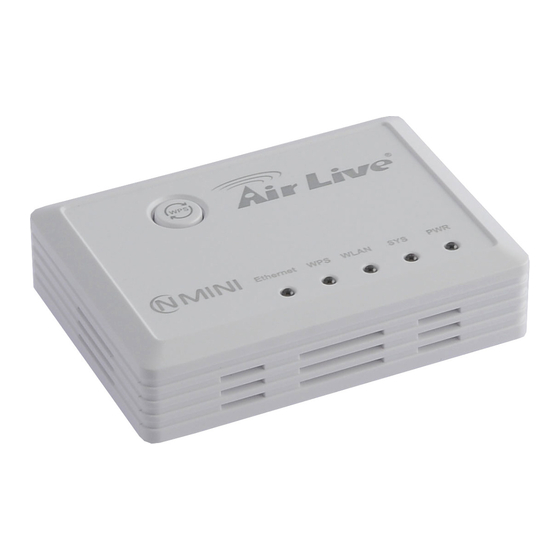
How to connect to Wireless ISP with N.MINI and sharing wireless signal to
other clients ?
A.
If your N.MINI's firmware is prior to the version of v74.11.0.2.1e_b9 ,
then please upgrade the latest firmware version.
1.>Please switch the bar to client mode, connect your PC to N.MINI's ethernet
port via a LAN cable, then connect the supplied power adapter and power
on the N.MINI.
2.> Ensure that your PC and N.MINI are on the same network segment
, say your PC's IP is 192.168.1.100 subnet mask 255.255.255.0 .
3.>Open the browser and enter 192.168.1.253 to login the web management.
4.> Press the Basic Settings and select WISP mode from the pull list.
Advertisement
Table of Contents

Subscribe to Our Youtube Channel
Summary of Contents for Ovislink AirLive N.MINI
- Page 1 How to connect to Wireless ISP with N.MINI and sharing wireless signal to other clients ? If your N.MINI’s firmware is prior to the version of v74.11.0.2.1e_b9 , then please upgrade the latest firmware version. 1.>Please switch the bar to client mode, connect your PC to N.MINI’s ethernet port via a LAN cable, then connect the supplied power adapter and power on the N.MINI.
- Page 2 5.>Check the box to enable the Universal Repeater Mode , and enter with a SSID . Then click the “Apply Changes” button to save the setting. 6.> Click “Reboot Later” button , then configure the WAN setting...
- Page 3 7.>Click “WAN Interface” for WAN Interface Setup . 8.>Choose the WAN Access Type from the pull list depends on your ISP’s internet access assign . 9.> Then click the “Apply Changes” button to save the setting. 10.>Click “Site Survey” to search your WISP’s AP 11.>Choose your WISP’s AP then click “Connect”...
- Page 4 12.>Then click “Reboot” to reboot the N.MINI. 13.>If N.MINI could not get public IP successfully, please check whether the WAN settings and security settings are correct.


Need help?
Do you have a question about the AirLive N.MINI and is the answer not in the manual?
Questions and answers