Advertisement
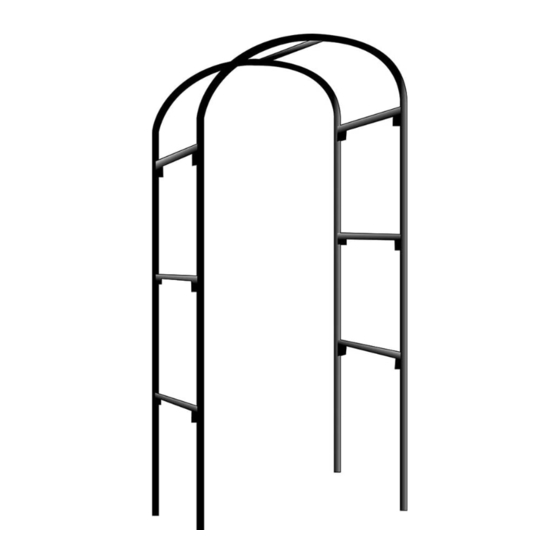
Garden Arch
Assembly Instructions
Components Supplied
Ref Description
A
Straight tube
1 /
Size: 95cm (3'
")
2
(approx.)
B
T joints
C
Moisture
protection
sleeve
D
Top left
Curved tubes
E
Top right
Curved tubes
F
Struts
Size: 41.5cm (1'4")
(approx.)
G
Ground hole
maker
H
Assembly
screws
Illustration
Qty
8
14
10
2
2
7
1
14
Tools Required (not supplied)
Phillips cross-head screwdriver
Mallet
Tape Measure
Before You Start
• Layout all of the component parts and
make sure you have all of the parts listed.
• When you are ready to start, make sure
that you have the right tools to hand,
plenty of space and a clean dry area for
assembly. Always try to assemble the
product as close as possible to the
intended location.
• Remove all plastic bags and dispose of
safely.
• Retain the instructions for future use.
Caution
This pack contains small items which should
be kept away from children.
Consumer Helpline
If you have any problems or queries with
this product then please contact our
helpline number: 01406 372227,
or write to: Gardman Ltd. High Street,
Moulton, Spalding, Lincs, PE12 6QD.
Fax: +44 (0) 1406 372233.
07720
Advertisement
Table of Contents

Related Manuals for Gardman 07720


Summary of Contents for Gardman 07720
- Page 1 Consumer Helpline maker If you have any problems or queries with this product then please contact our helpline number: 01406 372227, Assembly or write to: Gardman Ltd. High Street, screws Moulton, Spalding, Lincs, PE12 6QD. Fax: +44 (0) 1406 372233.
- Page 2 Assembly Helpful hints: Joint You may find it easier to assemble your arch horizontally on its side and then carefully stand it upright to install. Soaking the moisture protection sleeves in warm water for a few minutes prior to fitting will make them more malleable and will aid fitting.
Need help?
Do you have a question about the 07720 and is the answer not in the manual?
Questions and answers