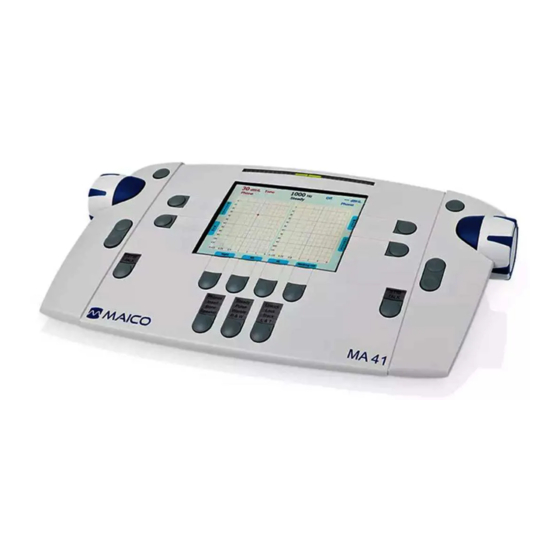
Maico MA 41 Quick Reference Manual
Hide thumbs
Also See for MA 41:
- Operation manual (73 pages) ,
- Operating instructions manual (62 pages) ,
- Quick manual (2 pages)
Advertisement
Available languages
Available languages
Quick Reference Guide – New MA 41
Pure-Tone Audiometry
1. Select TONE on right side of screen
2. Press L or R to select test ear using key on
bottom left of screen.
3. Select transducer
4. Select frequencies using +/- key
5. Change intensity with the SIDE DIALS
6. Push the BLUE BUTTON next to the side
dials to present the stimulus.
7. Press S key to save the threshold
Masking
1. Turn masking noise on or off using button
at bottom right of screen
2. STIM light will remain on to show that
masking noise is present
3. Adjust noise level using SIDE DIAL
4. Press S key to store threshold.
NOTE: Masked symbol will be plotted when masking
noise is on and above 0 dB HL.
Speech Audiometry
1. Select SPEECH on right side of screen
2. Press L or R to select test ear using key on
bottom left of screen.
3. Select type of speech test: SRT, WRS, or
UCL.
4. Select input: MIC, CD, or WAVE
5. Change level using SIDE DIALS
6. Score words using +/- key
7. Press S key to save result
MAICO Diagnostics
1162-1208 Rev B
Calibrating VU for Mic and CD Input
1. Select Mic or CD
2. Press MONITOR at left of screen
3. Press INCAL at right of screen
4. Play input: voice or cal tone on CD
5. Use SIDE DIAL to adjust input signal until VU
is green.
6. Press OK
7. Press OK again
Using Wavefiles
1. Select SPEECH
2. Select type of speech test: SRT, WRS, UCL,
MHA
3. Select WAVE
4. To expand a menu category (Adult, child,
etc.), press the BLUE BUTTON
5. Use the SIDE DIAL to scroll down the menu
and highlight the desired list
6. Press the BLUE BUTTON to select
7. Change presentation level using SIDE DIALS
8. Press PLAY to start the list
9. Use + /– keys to score word responses
10. Press S key to store result
Talk Forward
1. Press and hold STIM TALK button
2. Adjust level of your voice using SIDE DIALS
while STIM TALK button is pressed
7625 Golden Triangle Drive, Eden Prairie, MN 55344 Tel: 888.941.4201
Monitors & Talk Back
1. Press MONITOR on the left side of screen
2. Adjust monitor of Channel 1 and 2 using the
SIDE DIALS
3. Adjust the talkback using the +/- key
4. Preferences for monitors and talkback can
be changed using the soft keys at the
bottom of the screen.
NOTE: The MONITOR key is not accessible while in
the WAVE screen. It is recommended to set up
monitors and talkback levels at the beginning of the
test session.
Saving/Printing Test Results
1. Press MENU key
2. Press PDF to save results to a PDF file on
the USB stick.
OR
3. Press PRINT to print the results to an
approved connected printer
OR
4. Press PATIENT to save the results under a
patient name in the unit.
NOTE: If results are saved under PATIENT, results
will still need to be saved as a PDF in order to print
out a paper copy. The patient's name will then be
included on the printout.
www.maico-diagnostics.com
pg 1/2 12/12
Advertisement
Table of Contents

Subscribe to Our Youtube Channel
Related Manuals for Maico MA 41


Summary of Contents for Maico MA 41
- Page 1 Quick Reference Guide – New MA 41 Pure-Tone Audiometry 1. Select TONE on right side of screen Monitors & Talk Back 2. Press L or R to select test ear using key on Calibrating VU for Mic and CD Input 1.
- Page 2 Guía de referencia rápida – el MA 41 nuevo Audiometría de tono puro Seleccione TONE en el lado derecho de la pantalla Oprima L (izquierdo) o R (derecho) para seleccionar el oído que va a examinar usando la Calibración de la VU para la entrada de Mic y CD Monitores y conversación inversa...
Need help?
Do you have a question about the MA 41 and is the answer not in the manual?
Questions and answers