
Subscribe to Our Youtube Channel
Related Manuals for Daking Audio Mic Pre EQ


Summary of Contents for Daking Audio Mic Pre EQ
- Page 1 Daking Audio Daking Audio Mic Pre EQ Manual VERSION 1.0 Hendrik David Gideonse XIX 3/26/2010...
-
Page 2: Safety Considerations
Safety Considerations 1. Read, follow and keep these instructions. 2. Heed all warnings. 3. Do not use this equipment in or near water. Do not place liquids on or near the device because the device might be damaged during a spill. 4. -
Page 3: Table Of Contents
High Mid Frequency Section ..............10 1.6.6 Low Mid Frequency Section ............... 10 1.6.7 Low Frequency Section ................10 Signal Flow: Patching Into and Out of Your Mic Pre EQ ......... 10 1.7.1 Microphone to Mic Pre EQ to Audio Interface or Mixer ......10... - Page 4 1.7.2 Via a Patch Bay ................... 10 Specifications ..................... 12...
-
Page 5: Daking Audio Mic Pre Eq
Daking Audio Mic Pre EQ About Daking Audio Congratulations! You’ve purchased a Mic Pre EQ, a very high end piece of gear! The Mic Pre EQ uses all discrete transistor Class A circuits, Jensen input and output transformers and printed circuit board mounted switches. -
Page 6: Purpose
XLR jack. The Power Supply Your Mic Pre EQ ships with an external 48V DC power supply. External power supplies offer many advantages over internal power supplies like reducing hum from 50 or 60 cycle power sources and improving the safety of the equipment you are using. -
Page 7: In General: Xlr Connectors
1.4.1 In General: XLR Connectors XLR connectors are more expensive, more reliable and offer a stronger connection than ¼” TRS connectors. They also have the option of a locking latch that helps to keep the cable from being pulled out accidentally. If worse comes to worse, you can connect two XLR cables together to make a longer run. -
Page 8: Power Supply Connection
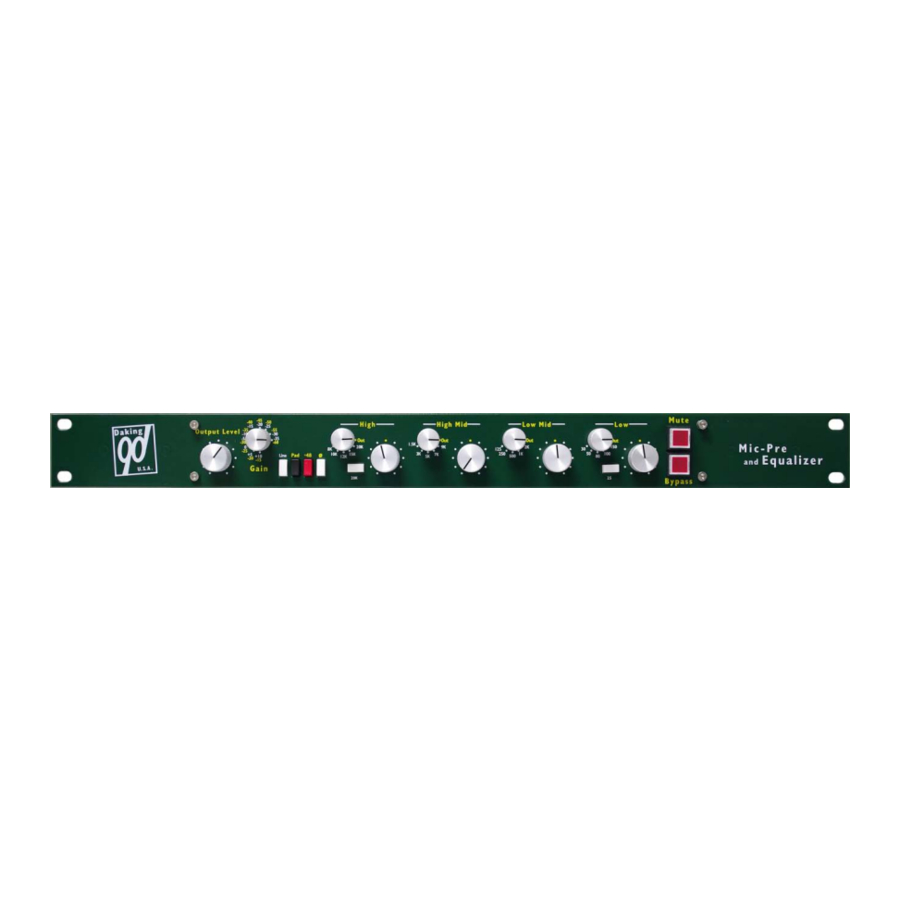
The Output Level knob is akin to the fader on a channel on a mixer. You use this to control the level leaving the Mic Pre EQ. If you are boosting with the EQ heavily you will probably need to turn the output level down and if you are cutting heavily with the EQ you may need to bring the level 1.5.2 The Gain Knob... -
Page 9: Ø Phase Button
1.6.4 High Frequency Section The High Frequency band of your Mic Pre EQ is a shelving type filter which means that all frequencies beyond the turnover frequency are boosted or cut by the same amount. The turnover frequency can be set to 8kHz, 10kHz, 12kHz, 15kHz, 20kHz and “Out”... -
Page 10: High Mid Frequency Section
1.6.5 High Mid Frequency Section The High Mid band of the Mic Pre EQ is a peak/notch type with variable Q. The center frequency can be set to 1.5K, 3K, 5K, 7K, 9K and “Out”which bypasses the filter. 1.6.6 Low Mid Frequency Section The Low Mid band of the Mic Pre EQ is a peak/notch type with variable Q. - Page 11 1. Patch from the bottom back jack on the patch bay module to the mic input on the Mic Pre EQ using the ¼” TRS to XLR Male cable. 2. Patch to top jack of the patch bay module from the output of the Mic Pre EQ using the XLR Female to ¼”...
- Page 12 1.8 Specifications • Transformer balanced input • Jensen Input and Output Transformers • Discrete transistor circuitry • Class "A" amplifiers • Single sided amplification • Stepped Gain Control in 5dB increments • All relay switching w/gold bi-furcated contacts • Switched +48 Volt Phantom power •...
Need help?
Do you have a question about the Mic Pre EQ and is the answer not in the manual?
Questions and answers