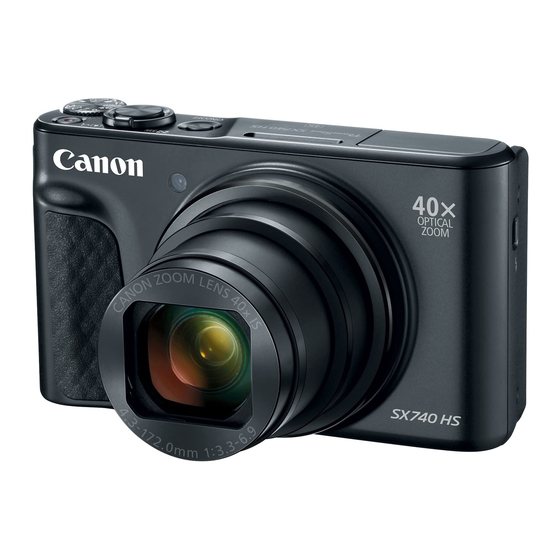
Canon PowerShot SX740 HS Faq
Hide thumbs
Also See for PowerShot SX740 HS:
- Getting started (16 pages) ,
- Camera user manual (130 pages) ,
- Quick start manual
Advertisement
Quick Links
Computer Environment Required for Connecting the
Camera via Wi-Fi (Image Transfer Utility 2)
Last Updated : 04-Jul-2019
Issue Number : 8204116300
Solution
With Image Transfer Utility 2, images can be sent to a computer connected via Wi-Fi.
Image Transfer Utility 2 is an application that supports cameras with the "Auto send images to
computer" function. The latest version of Image Transfer Utility 2 can be downloaded from the Canon
Web site.
Image Transfer Utility 2 can be used with the following computer environments (as of July,
2019).
OS Environment (Operating
System)
Software
Supported Oses
CPU
RAM
FAQ
Windows
Image Transfer Utility 2.2.10 for
Windows
Windows 10
Windows 8.1
Windows 7 (Compatible with
Service Pack 1)
Intel Pentium 1.6 GHz or higher
Macintosh
Image Transfer Utility 2.2.10 for
Mac OS X
OS X 10.11,macOS 10.12, 10.13
*Can also be used on macOS
10.14.
Intel Core 2 Duo or higher
2 GB or more
Advertisement

Related Manuals for Canon PowerShot SX740 HS


Summary of Contents for Canon PowerShot SX740 HS
- Page 1 With Image Transfer Utility 2, images can be sent to a computer connected via Wi-Fi. Image Transfer Utility 2 is an application that supports cameras with the "Auto send images to computer" function. The latest version of Image Transfer Utility 2 can be downloaded from the Canon Web site.
- Page 2 Display 1,024 x 768 resolution or higher 1,024 x 768 resolution or higher Smartphone (Device) Specifications and System Requirements for a Wireless Connection with a Camera (Canon Camera Connect) Last Updated : 03-Jul-2019 Issue Number : 8203412400 Solution Camera Connect for iOS ...
- Page 3 Bluetooth To connect via Bluetooth, a Bluetooth-equipped camera and a Bluetooth 4.0 or later-equipped device (supporting Bluetooth low energy technology) compatible with Android 5.0 or above is required. To connect via NFC, an NFC-enabled camera and an NFC-enabled device is required. There are white circles in captured images Last Updated : 21-Jun-2019 Issue Number : 8201031900...
- Page 4 Particles floating in the air (dust, dirt, etc.) Flash light that reflects on dust and dirt To prevent this, it is best to capture images in environments with no floating particles, but if that is not possible, the following measures are effective. - Brighten the surroundings so that a flash is not required.
- Page 5 Canon accessories (e.g., a leakage and / or explosion of a battery pack). Please note that any repairs your Canon product may require as a result of such malfunction are not covered under warranty and will incur a fee.
- Page 6 Charged battery packs gradually lose their charge, even when they are not used. Charge the battery pack on (or immediately before) the day of use. The charger can be used in areas with 100 – 240 V AC power (50/60 Hz). For power outlets in a different format, use a commercially available adapter for the plug.
- Page 7 Canon accessories (e.g., a leakage and/or explosion of a battery pack). Please note that any repairs your Canon product may require as a result of such malfunction are not covered under warranty and will incur a fee.
- Page 8 3. When shooting on level surfaces, make sure to extend all three legs equally. When shooting on an incline, adjust the legs to ensure that the camera platform is level. 4. To lessen the possibility of inadvertently moving or kicking the tripod, position one tripod leg in the same direction as the front of the lens (indicated by the arrow in the example image below).
- Page 9 When using a tripod, shooting with [Image Stabilizer] set to [Disable] may improve the quality of captured images for camera models equipped with this feature.
Need help?
Do you have a question about the PowerShot SX740 HS and is the answer not in the manual?
Questions and answers