Table of Contents
Advertisement
Quick Links
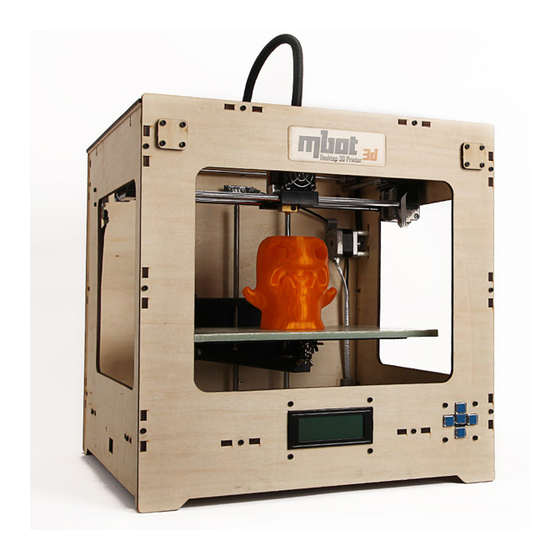
MBot cube 3D Kit assembly procedures
I.Open the shipping box carefully.
II.After removing the first foam layer, verify that all parts and pieces seems to be in their correct position.
III.Verify that all parts and pieces listed in the manufacturers parts list are included in the shipping box and appear to be
undamaged. You will notice that each component has a corresponding parts label. See below.
Advertisement
Table of Contents

Related Manuals for MBot Cube

Summary of Contents for MBot Cube
- Page 1 MBot cube 3D Kit assembly procedures I.Open the shipping box carefully. II.After removing the first foam layer, verify that all parts and pieces seems to be in their correct position. III.Verify that all parts and pieces listed in the manufacturers parts list are included in the shipping box and appear to be undamaged. You will notice that each component has a corresponding parts label. See below.
- Page 5 IV.After assembling the parts listed in the manual, begin connecting the cables to the motherboard as shown below: Power supply and motherboard 1.Connect the 5V and 24V cables from the Power Supply to the designated slots on the motherboard by matching corresponding labels.
- Page 6 4.Method of connecting LED lights cables and limit switch cables to the motherboard. Please plug the cables for the limit switch and LED lights into the corresponding position as it shown in picture 5. 5.The assembled view of the motherboard.
- Page 7 V.Congratulations! You have finished assembling your MBot 3D printer. Now turn on your printer and begin printing creating your own 3D colorful World!
Need help?
Do you have a question about the Cube and is the answer not in the manual?
Questions and answers