
Related Manuals for MasterCraft 060-0591-8


Summary of Contents for MasterCraft 060-0591-8
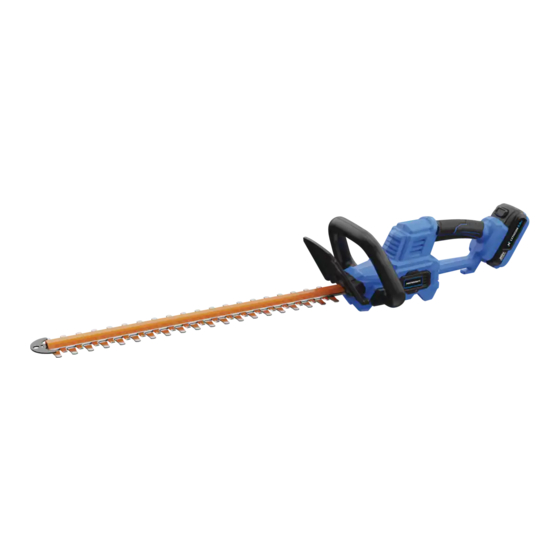
- Page 1 22” (56 CM) HEDGE TRIMMER 060-0591-8 IMPORTANT: INSTRUCTION Read and understand this instruction manual MANUAL thoroughly before using the product.
- Page 2 headline bars headline bars headline bars continuation tabs continuation tabs continuation tabs notes notes notes warnings warnings warnings...
-
Page 3: Table Of Contents
TABLE OF CONTENTS Technical Specifications Safety Guidelines Key Parts Diagram Operating Instructions Maintenance Troubleshooting Parts List Warranty NOTE: If any parts are missing or damaged, or if you have any questions, please call our toll-free helpline at 1-800-689-9928. SAVE THESE INSTRUCTIONS •... -
Page 4: Technical Specifications
060-0591-8 | contact us 1-800-689-9928 TECHNICAL SPECIFICATIONS Rated Voltage 20 V d.c. max* No-load Speed 2600 SPM Blade Length 22” (56 cm) Cutting Width 3/4” (18 mm) continuation tabs continuation tabs continuation tabs *Maximum battery voltage without workload;... -
Page 5: Safety Guidelines
SAFETY GUIDELINES: WARNING! Safety symbols in this Instruction Manual are used to flag possible dangers. The safety symbols and their explanations require your full understanding. The safety warnings do not, by themselves, eliminate any danger, nor are they substitutes for proper accident prevention measures. - Page 6 060-0591-8 | contact us 1-800-689-9928 ELECTRICAL SAFETY • Power tool plugs must match the outlet. Never modify the plug in any way. Do not use any adaptor plugs with earthed (grounded) power tools. Unmodified plugs and matching outlets will reduce risk of electric shock.
- Page 7 POWER TOOL USE AND CARE • Do not force the power tool. Use the correct power tool for your application. The correct power tool will do the job better and safer at the rate for which it was designed. • Do not use the power tool if the switch does not turn it on and off.
- Page 8 060-0591-8 | contact us 1-800-689-9928 • Do not expose a battery pack or tool to fire or excessive temperature. Exposure to fire or temperature above 130°C (265°F) may cause explosion. • Follow all charging instructions and do not charge the battery pack or tool outside the temperature range specified in the instructions.
- Page 9 ....WARNING – To reduce the risk of injury, always wear ear protection. WARNING! To reduce the risk of electric shock or damage to the charger and battery, use only the Mastercraft batteries and chargers listed. ® BATTERY PACK CHARGER...
-
Page 10: Key Parts Diagram
060-0591-8 | contact us 1-800-689-9928 PACKAGE CONTENTS: Hedge trimmer, blade guard and instruction manual KEY PARTS DIAGRAM continuation tabs continuation tabs continuation tabs notes notes notes Description Description warnings warnings warnings Lock-off button... -
Page 11: Operating Instructions
OPERATING INSTRUCTIONS fig. 1 Battery- release button TO ATTACH THE BATTERY PACK ( fig. 1 ) 1. Make sure that the hedge trimmer is switched off. 2. Align the raised rib on the battery pack with the grooves on the hedge trimmer, and then slide the battery pack onto the hedge trimmer. - Page 12 060-0591-8 | contact us 1-800-689-9928 TO START/STOP THE HEDGE TRIMMER fig. 3 (fig. 3) Lock-off button Before starting the hedge trimmer: Switch • Remove the blade guard. trigger • Make sure that the cutting blade is not touching the ground or any other objects.
- Page 13 TOP CUTTING (fig. 4) fig. 4 Use a wide, sweeping motion. A slight downward tilt of the cutting blades in the direction of motion provides the best cutting results. If desired, you can use a string to help guide you as you cut the hedge level.
-
Page 14: Maintenance
060-0591-8 | contact us 1-800-689-9928 MAINTENANCE CLEANING • For safe and proper operation, always keep the tool and its ventilation slots clean. Always use only a soft, dry cloth or brush to remove debris from the air vents and cutting blade. To remove pitch and other sticky residue on the cutting blade, spray the blades with resin solvent, then wipe the surface with a dry cloth;... -
Page 15: Troubleshooting
TROUBLESHOOTING Problem Possible Causes Solution The battery pack is not Attach the battery pack to the hedge properly attached to the trimmer. hedge trimmer. Hedge trimmer does not The battery pack is depleted. Charge the battery pack. work. Remove the battery pack from the tool, The blade is jammed. -
Page 16: Parts List
060-0591-8 | contact us 1-800-689-9928 EXPLODED VIEW continuation tabs continuation tabs continuation tabs continuation tabs continuation tabs continuation tabs notes notes notes notes notes notes warnings... - Page 17 Part No. Description Part No. Description 0600591801 Guard 0600591818 Left Trim Panel 0600591802 Screw 0600591819 Motor 0600591803 Screw 0600591820 Pinion 0600591804 Front Auxiliary Handle 0600591821 Screw 0600591805 Rear Auxiliary Handle 0600591822 Gearbox 0600591806 Screw 0600591823 0600591807 Right Trim Panel 0600591824 Washer 0600591808 Right Casing...
-
Page 18: Warranty
060-0591-8 | contact us 1-800-689-9928 This Mastercraft product is guaranteed for a period of 3 years from the date of original retail purchase against defects in workmanship and materials, except for the following components: a) Component A: Batteries, chargers and carrying case, which are guaranteed for a period of 2 years from the date of original retail purchase against defects in workmanship and materials;... - Page 19 The provisions contained in this warranty are not intended to limit, modify, take away from, disclaim or exclude any statutory warranties set forth in any applicable provincial or federal legislation. Made in China Imported by Mastercraft Canada Toronto, Canada M4S 2B8...
Need help?
Do you have a question about the 060-0591-8 and is the answer not in the manual?
Questions and answers