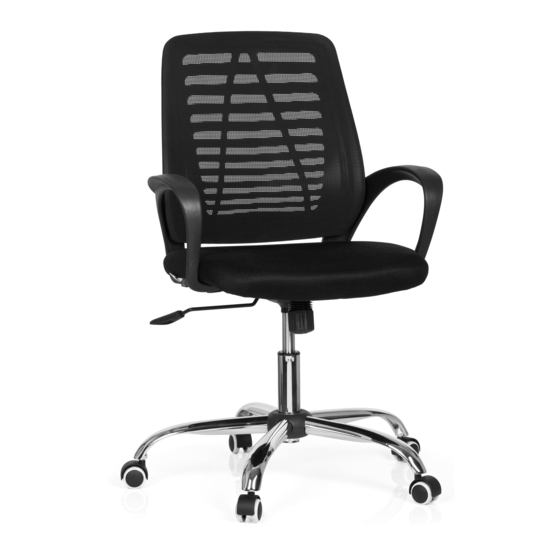
Advertisement
Quick Links
Aufbau
1 Befestigen Sie die Armlehnen an Rückenleh-
ne und Sitzteil.
2 Befestigen Sie die Mechanik am Sitzteil.
3 Drücken Sie je eine Stuhlrolle in die fünf
Öffnungen des Fußkreuzes. Stecken Sie die
Gasfeder mittig in das Fußkreuz.
Entfernen Sie (falls vorhanden) vor dem
Einbau die Schutzkappe vom Auslösepin der
Gasfeder. Diese lässt sich leicht entfernen.
4 Stecken Sie das Sitzteil auf die Gasdruckfe-
der und setzen Sie sich nun mehrmals auf
den Stuhl, damit die Verbindung zwischen
Sitz, Gasfeder und Fuß gefestigt wird. An-
schließend können Sie die Gasfeder bedie-
nen und die Stuhlhöhe individuell einstellen.
A
Schraube 6x18mm
B
Schraube 6x22mm
C
Schraube 6x30mm
D
Schraube 6x20mm
E
Abdeckung
F
Fußkreuz
G
Rolle
H
Gasdruckfeder
I
Mechanik
J
Sitzteil
K
Armlehne
L
Rückenlehne
M
Inbusschlüssel
Assembly
1 Mount the armrests onto the backrest and
the seat.
2 Mount the mechanism onto the seat.
3 Insert the five castors into designated holes
at the bottom of the 5-star base. Insert the
gaslift into the center of the base.
If present, remove the plastic protective cap
from the gas lift.
4 Place the seat onto the gaslift and repeated-
ly sit onto the chair, so that the connections
between the seat, gaslift and foot tighten.
Now you can adjust the chair to your indivi-
dual needs.
screw 6x18mm
4x
screw 6x22mm
4x
screw 6x30mm
4x
screw 6x22mm
2x
cover
4x
base
1x
castor
5x
gaslift
1x
mechanism
1x
seat
1x
armrest
2x
backrest
1x
allen wrench
1x
VIDO NET
Aufbauanleitung
Assembly instructions
Advertisement

Summary of Contents for HJH office VIDO NET
- Page 1 Einbau die Schutzkappe vom Auslösepin der from the gas lift. Gasfeder. Diese lässt sich leicht entfernen. VIDO NET 4 Place the seat onto the gaslift and repeated- 4 Stecken Sie das Sitzteil auf die Gasdruckfe- ly sit onto the chair, so that the connections der und setzen Sie sich nun mehrmals auf between the seat, gaslift and foot tighten.
- Page 2 Hinweis / Remark Packen Sie zunächst alle Teile der Lieferung aus und prüfen Sie diese auf eventuelle Transportschäden. Um einen leichten Aufbau zu ge- währleisten, empfehlen wir alle Schrauben nur leicht anzuziehen. Erst nachdem alle Schrauben in das jeweilige Gewinde eingeführt wurden sollten diese fest angezogen werden.


Need help?
Do you have a question about the VIDO NET and is the answer not in the manual?
Questions and answers