Table of Contents
Advertisement
Quick Links
instruction manual
Solo 11, 16 & 16 Plus series
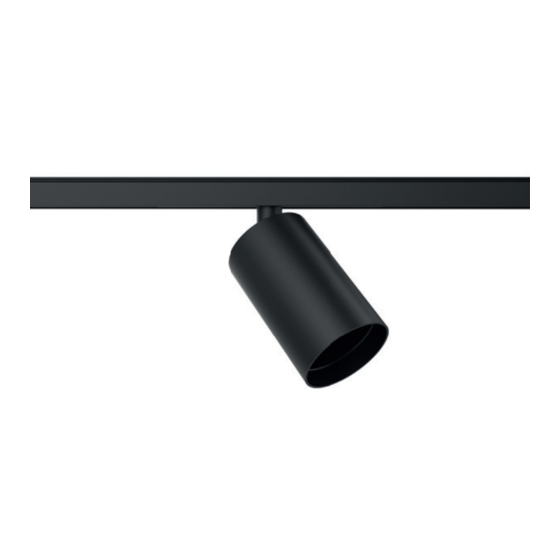
Track Mounted
Constant Voltage
Solo 11
4.2W
405lm
Solo 16
8.4W
700lm
Solo 16 Plus
12.6W
1245lm
These instructions cover procedures for all
track mounted versions of Solo 11, 16 & 16
Plus series.
KEY PRODUCT FEATURES
A
Track Adaptor
B
Luminaire Body
C
Microlens (11 & 16 series only)
D
Microlens Cap (11 & 16 series only)
E
Optic (16 Plus only)
Solo 11 & 16
C
D
B
A
Solo 16 Plus
E
F
B
A
1.
All systems must be installed by
a suitably qualifi ed professional
only. Installations must conform to
national installation and accident
prevention regulations.
2.
Do not install any fi xture closer
than 150mm from any combustible
4.
material. Do not install these
products in a damp or wet location.
3.
To reduce the risk of fi re and burns,
5.
F
Optic Cap (16 Plus only)
G
Snoot
H
Accessory Clip
I
Accessory (up to 2)
J
Double Accessory Holder
accessory holder (sold separately)
G
H
do not install these products where
exposed bare conductors can be
6.
shorted or contact any conductive
materials. Do not conceal or extend
7.
exposed conductors through a
building wall.
8.
Ensure all connections are tight. Bad
connections can cause overheating,
arcing and a potential fi re risk.
9.
Always use appropriate optics and
COMPATIBLE
ORDER CODE
POWER SUPPLY
Meanwell 60W 48V
PSCV-60-48-N1-MW
Meanwell 100W 48V
PSCV-100-48-N1-MW
I
J
ensure they are fi tted securely.
10. These are LED luminaires, they must
Use only as described in this
Precision Lighting manual.
Use only Precision Lighting
11. Regular cleaning of these products
recommended accessories.
Ensure that the luminaire is switched
off at mains supply before installing
or removing.
Luminaires may be extremely hot,
allow to cool before touching.
© 2020 Precision Lighting Ltd. We reserve the right to change details of design, materials and fi nish. Version 11.20
LUMINAIRE
QUANTITY
1 to 4
1 to 7
be connected to an appropriate
PSU.
is important. Switch off at mains
supply and allow to cool before
touching. Clean fi ttings with a soft
damp cloth and allow to dry before
reconnecting power supply
Advertisement
Table of Contents

Related Manuals for Precision Lighting Solo 11 Series

Summary of Contents for Precision Lighting Solo 11 Series
- Page 1 To reduce the risk of fi re and burns, Always use appropriate optics and allow to cool before touching. © 2020 Precision Lighting Ltd. We reserve the right to change details of design, materials and fi nish. Version 11.20...
- Page 2 Then reconnect the power supply. than 150mm (6 inches) from any arcing and a potential fire risk. Luminaires may be hot, allow to cool © 2020 Precision Lighting Ltd. We reserve the right to change details of design, materials and finish. Version 11.20...
- Page 3 Allow to cool before touching. Unscrew snoot anti-clockwise to remove. To reattach snoot, screw on clockwise until it stops and is secure. © 2020 Precision Lighting Ltd. We reserve the right to change details of design, materials and finish. Version 11.20...
- Page 4 Reattach Optic Cap, screw on clockwise until it stops and is secure. Reattach Snoot, screw on clockwise until it stops and is secure. © 2020 Precision Lighting Ltd. We reserve the right to change details of design, materials and finish. Version 11.20...
- Page 5 Insert accessory holder into snoot until it clicks into place. © 2020 Precision Lighting Ltd. We reserve the right to change details of design, materials and finish. Version 11.20...
Need help?
Do you have a question about the Solo 11 Series and is the answer not in the manual?
Questions and answers