Table of Contents
Advertisement
Quick Links
Advertisement
Table of Contents

Related Manuals for Advatek Lights PIXLITE 4 RUGGED


Summary of Contents for Advatek Lights PIXLITE 4 RUGGED
- Page 1 UGGED ONTROLLER ARDWARE ANUAL V1.2...
-
Page 2: Table Of Contents
6.2 - Mechanical Specifications ......................13 7 – Troubleshooting ..........................14 7.1 – LED Codes ..........................14 7.2 - No Status/Power LEDs On ......................15 7.3 - Other Issues ..........................15 PixLite 4 Rugged V1.0 User Manual V1.2 © 2015 Advatek Lighting Pty Ltd... - Page 3 7.4 – Reset To Factory Defaults ......................15 8 - Warranty and Service........................16 PixLite 4 Rugged V1.0 User Manual V1.2 © 2015 Advatek Lighting Pty Ltd...
-
Page 4: Introduction
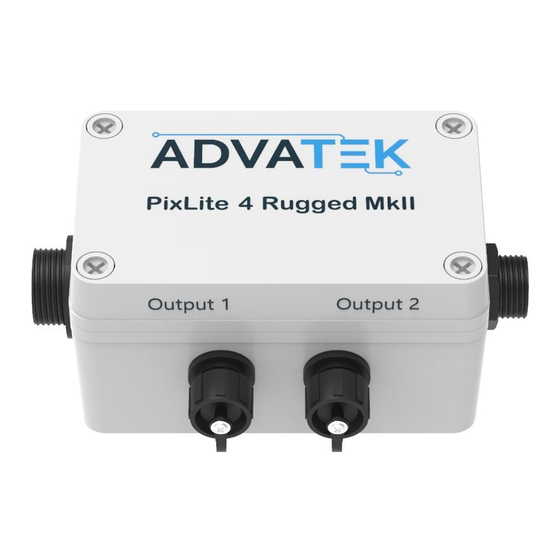
This is the user manual for the PixLite 4 Rugged controller. The PixLite 4 Rugged pixel controller is a product designed to take all the hard work out of your hardware pixel setup. It features a durable, compact IP67 rated weatherproof enclosure complete with high quality, heavy duty screw up connectors for all power, data and pixels. -
Page 5: Installation
Pixel Outputs 3 & 4 Power Input Ethernet Jack Pixel Outputs 1 & 2 Figure 1 Pin 1 = +VE (RED) Pin 2 = GND (BLACK) Figure 2 PixLite 4 Rugged V1.0 User Manual V1.2 © 2015 Advatek Lighting Pty Ltd... -
Page 6: Output Fuses
30A. If you require more current than this, then you will need to inject power into the pixels directly off board. Power LED Status LED 4 x Mini Blade Fuses Bootloader Factory IP Figure 3 PixLite 4 Rugged V1.0 User Manual V1.2 © 2015 Advatek Lighting Pty Ltd... -
Page 7: Control Data
2.3 - Control Data Control data to the PixLite 4 Rugged controller is achieved via the external Ethernet jack. The controller supports Streaming ACN (sACN / E1.31) or Art-Net data. 2.4 – Installing Lights Advatek pixel strings and pixel tape are designed to plug straight into the controller via the 4 pin male screw up connectors labelled ‘OUTPUT 1’... -
Page 8: Network Configuration
3.1.1 – Network Layout Figure 4 Figure 4 shows a typical network topology for the PixLite 4 Rugged controller(s) LAN. The host machine connects to a router and then to the controller(s) via cat5/6 Ethernet cables. If you are only using a few controllers, they can be connected straight to the router. -
Page 9: Ip Addressing
IP address other than the default. Figure 5 shows a screenshot of typical computer network settings to communicate with a PixLite 4 Rugged controller for the first time without a router. PixLite 4 Rugged V1.0 User Manual V1.2 © 2015 Advatek Lighting Pty Ltd... -
Page 10: Forcing The Default Ip Address
IP settings to what you prefer. After changing the settings or if you power the controller off and on again, the controller will revert to using the saved settings. PixLite 4 Rugged V1.0 User Manual V1.2 © 2015 Advatek Lighting Pty Ltd... -
Page 11: Operation
(on all outputs simultaneously) before returning to the current pattern again. To exit the test mode simply press and hold the ‘Factory IP’ button down again for 3 seconds and then release. PixLite 4 Rugged V1.0 User Manual V1.2 © 2015 Advatek Lighting Pty Ltd... -
Page 12: Firmware Upgrades
If there is something wrong with the upgraded firmware, repeat the process again if it is still visible in the configuration utility. Otherwise, refer to the troubleshooting section for further information. PixLite 4 Rugged V1.0 User Manual V1.2 © 2015 Advatek Lighting Pty Ltd... -
Page 13: Performing A "Forced Boot" Update
6. Power the board down again and place the lid back on carefully. 7. Apply power again and the board should now be operating with the new firmware. PixLite 4 Rugged V1.0 User Manual V1.2 © 2015 Advatek Lighting Pty Ltd... -
Page 14: Specifications
6 – Specifications 6.1 - Operating Specifications The table below specifies the recommended operating conditions for a PixLite 4 Rugged controller. PARAMETER VALUE/RANGE UNITS Power Input Voltage 5-12 V DC Max Current Capacity Logic Current Consumption (@ 5V DC) Recommended Ambient -20 to +50 °C... -
Page 15: Troubleshooting
LINK LED (GREEN) DATA LED (YELLOW) CONDITION CONNECTED OK, RECEIVING SOLID RAPID FLASHING DATA SOLID CONNECTED OK, NO DATA NO LINK ESTABLISHED OR POWER IS OFF Table 3 PixLite 4 Rugged V1.0 User Manual V1.2 © 2015 Advatek Lighting Pty Ltd... -
Page 16: No Status/Power Leds On
3. Wait for both LEDs to flash together. 4. Release both buttons. 5. Place lid back on and power cycle (turn power off, wait 5 seconds then turn it on again) PixLite 4 Rugged V1.0 User Manual V1.2 © 2015 Advatek Lighting Pty Ltd... - Page 17 You may then either return the device to a local distributor or return it to us directly for warranty services. The PixLite 4 Rugged controller is supplied with a full 1 year factory warranty. PixLite 4 Rugged V1.0 User Manual V1.2...
Need help?
Do you have a question about the PIXLITE 4 RUGGED and is the answer not in the manual?
Questions and answers