Advertisement
Connecting to a DLMS4080 through an RS232 port
We strongly advise that the Ethernet connection be used to network a group of processors and do not use
the RS232 connection. The RS232 is the old standard, where Ethernet is a much improved protocol. When
operating a single unit, deeper control beyond that of the front panel can be accomplished through the
DLMS4080's RS232 connector to a computer running ProControl under Windows XP.
Connecting to a DLMS4080 through a USB port
File downloads, uploads, and deeper control beyond that of the front panel can be accomplished through
the DLMS4080 USB connector to a computer running ProControl under Windows XP. Installing ProControl
onto your personal computer will also install the USB driver required to set up the USB connection to the
DLMS4080.
The following procedure will allow your personal computer to communicate to the DLMS4080:
1) Load the ProControl software from the CD included with your DLMS4080 onto your computer.
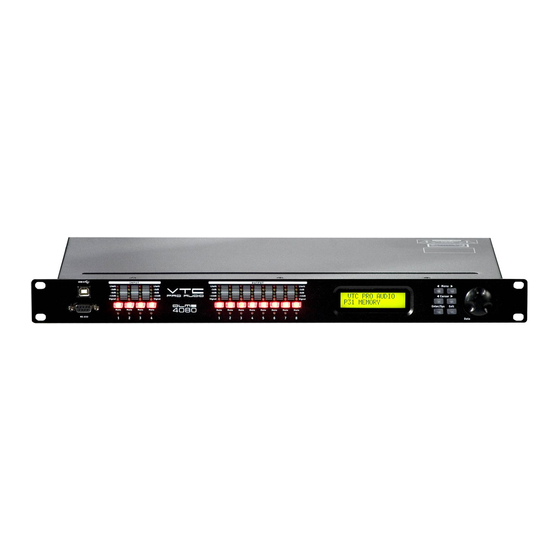
2) When the ProControl software installation is complete, connect a USB cable from the USB socket
on the front panel of the DLMS4080 to a USB connector on your personal computer. (cable not
included)
3) Turn on the DLMS4080. Be sure that the baud rate setting in the DLMS4080 is set to 115200. This
is done through the LCD window of the processor.
4) Start up the ProControl software on your personal computer by double-clicking on the ProControl
icon on your Desktop.
5) When you are asked "Do you want to connect to the device" answer "Yes."
6) You will note in the top left of your computer's screen that the software will state "Device 1- (Not
Connected)" which is expected for now.
7) Click on Setup located on the top menu bar and open Port Connection.
8) Change the connection Type to Serial Port / USB.
9) Leave the Device No. set as 1.
10) Click on the Online box so that a
11) This step will require a small amount of trial and error process for selecting the COM Port as every
computer's default setting will be a little different. Expand the COM Port box by clicking the arrow
on the right side. Scroll down to find which port numbers are available. Select the first available com
port.
12) Click on O.K.
13) The program will ask you to restart ProControl for the connection to take effect. Click on O.K.
14) Close the ProControl software by selecting the red X located in the top right hand corner of the
ProControl Window.
15) Now start up ProControl from your personal computer's desktop.
16) When you are asked "Do you want to connect to the device" answer "Yes."
17) Observe the Device 1 box on the top left corner of your computer's screen. If it says "(Connected)"
the installation is complete. If it says "(Not Connected)", repeat steps 11 to 15 selecting the next
available com port in the scroll down list. Eventually you will select the port that's connected to the
DLMS4080 and the installation should be complete.
checkmark
appears in the box.
Page 1 of 3
Advertisement
Table of Contents

Subscribe to Our Youtube Channel
Summary of Contents for VTC Pro Audio DLMS4080
- Page 1 DLMS4080 to a USB connector on your personal computer. (cable not included) 3) Turn on the DLMS4080. Be sure that the baud rate setting in the DLMS4080 is set to 115200. This is done through the LCD window of the processor.
- Page 2 First check that the setting in the ProControl Setup Window is set to the SAME device number that you can access through the LCD of the DLMS4080 through the path: press ENTER/SYS, press the MENU button 5 times, press CURSOR once and confirm the DEVICE ID: number.
- Page 3 How do I find in Windows XP which USB Port is connected to the DLMS4080? Follow the same procedure outlined above in the "Connecting to a DLMS4080 through a USB port" section to determine which COM port is presently assigned as the DLMS4080's current USB Port. In ProControl version 2.00 (or higher), the available ports are shown in Setup.


Need help?
Do you have a question about the DLMS4080 and is the answer not in the manual?
Questions and answers