Advertisement
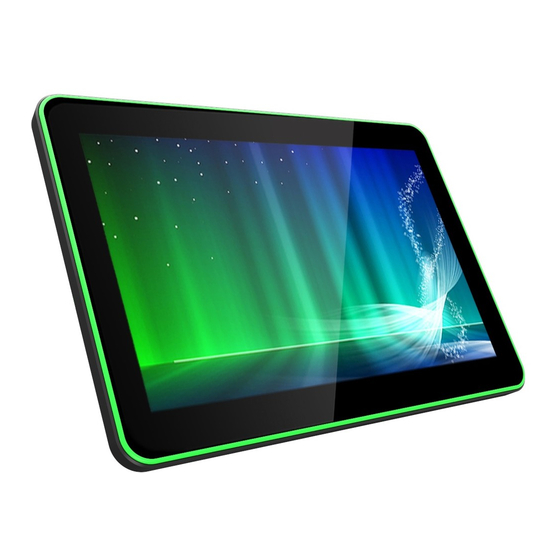
Firmware update - APPC-10SLB - Android 8 downgrade to Android 6.0.1
Contents
Installing the RockChip driver ........................................................................................................ 2
Reading the serial number ............................................................................................................. 3
Performing the upgrade ................................................................................................................. 5
Writing the device's serial number ................................................................................................ 7
This instruction is a step-by-step manual on how to downgrade Android 8.1 to 6.0.1 using a Windows
7 or Windows 10 workstation.
Please note that it's very important to follow the exact steps of this manual for a successful update.
By no means detach the power supply from the unit while updating the firmware or press any other
buttons than described. This could lead to
It's necessary to use the USB Burning update method and please keep in mind that the flash time
may take up to 5 minutes due to the eMMC type used. For a successful update, we advise you to
connect the APPC-10SLB to your PC using a micro-USB cable.
Follow the next steps to downgrade Android 8.1 to 6.0.1
The following packages should be downloaded:
A. APPC-10SLB Android 6.0 firmware:
https://drive.google.com/open?id=1U_avYMBnR2hOwpD3NJjdXwts3INzqTob
B. Android Tool Release (v2.54) Download:
C. RockChip Driver Assistant 4.5:
D. UpgradeDII Tool v1.35:
E. WNpctool V1.2.0:
irreversible damage of the device.
https://we.tl/t-xmqurSh9NF
https://we.tl/t-yeAkIjdmLJ
https://we.tl/t-L59kI4UbD3
https://we.tl/t-h3PMinZAAg
1
Advertisement
Table of Contents

Subscribe to Our Youtube Channel
Summary of Contents for Pro DVX APPC-10SLB
- Page 1 Firmware update - APPC-10SLB - Android 8 downgrade to Android 6.0.1 Contents Installing the RockChip driver ......................2 Reading the serial number ......................3 Performing the upgrade ......................... 5 Writing the device’s serial number ....................7 This instruction is a step-by-step manual on how to downgrade Android 8.1 to 6.0.1 using a Windows 7 or Windows 10 workstation.
- Page 2 Installing the RockChip driver Unpack the RockChip Driver Assistant 4.5 and run DriverInstall.exe. With successful installation: In case you have older RockChip drivers installed uninstalling the previous version isn’t required.
- Page 3 Reading the serial number Unpack WNpctool_Setup_V1.2.0.0522.zip and run the installation file WNpctool_Setup_V1.2.0.0522.exe. Follow the wizard an set your preferred installation. WNpctool will now start. Connect the device with pc with the USB-cable while keeping the plus part of the volume control pressed.
- Page 4 Click OK to apply your changes and go back to the main screen. Click the “Loader import” button and select the rk3288_loader_v1.06.236.bin file. Click Read. In the bottom pane the process and status will be displayed. Keep this program open or copy the device id to an easily retrievable location like notepad.
- Page 5 Performing the upgrade Unpack the firmware package and/or copy the file update.img to an easily accessible location like the desktop. Unpack AndroidTool_Release_v2.54.zip and open AndroidTool.exe. The RKDevTool v2.54 will now start. Plug in the USB cable as done with the UpgradeDII Tool; Make sure the device is powered down and press the plus part of the volume control and plug in the micro-USB part of the USB cable that is connected to your pc.
- Page 6 Click the Upgrade button to start the upgrade process. In the right pane you can follow the process. Do not unplug the USB cable or in any way operate the device while the upgrade process is running. The process is complete when the right pane is displaying the following:...
- Page 7 The UpgradeDII tool will show “Found one Rockusb device”. Press “Write SN” and the device id (device type + serial number) will be written. If successful restart the APPC-10SLB. To finalize the upgrade process perform a factory data reset: Settings; System; Reset options; Erase all data (factory reset).


Need help?
Do you have a question about the APPC-10SLB and is the answer not in the manual?
Questions and answers