
Related Manuals for ILUMEN PID Box Mini


Summary of Contents for ILUMEN PID Box Mini
- Page 1 ILUMEN PID SOLUTION ILUMEN PID BOX MINI INSTALLATION MANUAL Ilumen PID Box Mini – Version 1.3...
-
Page 2: Table Of Contents
Scope of delivery ............................... 4 Product description ..............................4 Mounting ..................................4 Mounting location requirements ......................4 Mounting the Ilumen PID Box Mini ......................5 Electrical connections ............................. 5 Earth connection ............................. 5 Solar array and inverter (MPPT) connections ..................5 Power supply .............................. -
Page 3: Information On This Manual
2.1 A PPROPRIATE USAGE The Ilumen PID Box Mini applies a voltage to PV modules in reference to earth. The device may only be switched on when the installation is completed as described in this manual. Before installing the Ilumen PID Box Mini, ensure that the permitted operating range of each component is maintained at all times. -
Page 4: Safety Precautions
PV plant switch off the Ilumen PID Box Mini. When you want to change the arrangement of the Ilumen PID Box Mini you must switch off the Ilumen PID Box Mini 20 minutes prior to making any changes. -
Page 5: Mounting The Ilumen Pid Box Mini
6. Check if mounted securely LECTRICAL CONNECTIONS When installing the Ilumen PID Box Mini, the AC side of the PV plant must be switched off. Also the DC switch of the inverter must be switched off. After the installation is done, you can switch the DC switch back on followed by the AC side of the PV plant. -
Page 6: Power Supply
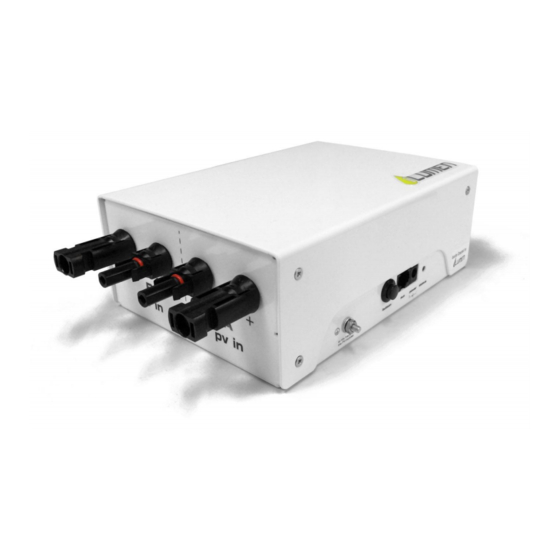
MPPT should be connected in the same manner to the “B in” plugs. Next connect the inverter. Connect the “A out +” plug of the Ilumen PID Box Mini to the positive input of the inverters 1 MPPT. Then connect the “A out –“ plug to the negative input of the 1 MPPT of the inverter. -
Page 7: Commissioning
Ilumen PID Box Mini, plug in the DC power supply into a standard EU outlet (This outlet must be on at all times). Next see if the LED light on the Ilumen PID Box Mini starts burning. After checking the system it will be switched on automatically. -
Page 8: Installation Summary
7) Connect the DC power supply to the Ilumen PID Box Mini. 8) Plug the DC power supply into an outlet (LED of the Ilumen PID Box Mini lights up if the PVs are producing electricity) Installation Manual Ilumen PID Box Mini v1.3... -
Page 9: Decommissioning The Ilumen Pid Solution
LUMEN OLUTION Switch off the Ilumen PID Box Mini. Disconnect the Ilumen PID Box Mini from the AC grid. Wait for minimum 20 minutes. Make sure the AC cannot be plugged in again. Disconnect the DC switch from the inverter and wait until it is discharged. Disconnect all DC connectors going to the PV arrays and then disconnect the lines going to the inverter. -
Page 10: Technical Data
-25 to 60 °C (-13 to 140 °F) Environmental conditions IP44 - indoor use only (IP65 optional) PV connectors Configuration One ILUMEN PID BOX MINI for 2 MPPT Maximum one MPPT per input (A/B) None of the connected solar module poles may become grounded Communication... -
Page 11: Contact
Ilumen 12 C ONTACT Ilumen bvba Ambachtsstraat 19 3980 Tessenderlo Belgium Tel: +32 13 30 61 77 info@ilumen.be www.ilumen.be Installation Manual Ilumen PID Box Mini v1.3...
Need help?
Do you have a question about the PID Box Mini and is the answer not in the manual?
Questions and answers