
Summary of Contents for ABI Attachments COMMAND SR1
- Page 1 SR1 QUICK START GUIDE Please read fully and understand before operating! © Copyright 2018 ABI Attachments, INC...
- Page 2 Absolute Innovations, Inc. continues to improve and upgrade the SR1 for future use. Absolute Innovations, Inc. reserves the right to implement engineering and design changes to the SR1 as may be necessary without prior notification. © Copyright 2018 ABI Attachments, INC...
-
Page 3: Safety Precautions
Skid Steer. • Use caution when operating the SR1. Using the SR1 outside of stated safety and operations guidelines may result in injury to operator or others, property damage, or a void in warranty. © Copyright 2018 ABI Attachments, INC... -
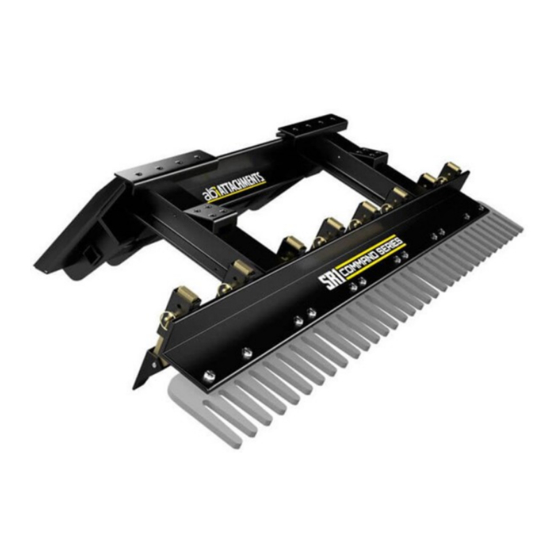
Page 4: Specifications
With the top and sides removed from the shipping crate, use the metal snips to cut the metal band from around the SR1 to free it from the shipping crate. The SR1 is now ready to be attached to the Skid steer. © Copyright 2018 ABI Attachments, INC... -
Page 5: Initial Setup
3. Engage the parking brake and stop the engine. 4. Lift the latch handles fully to ensure the lock pins are fully retracted. 5. With the latch handles fully retracted, tilt the mounting plate forward while slowly backing away from the SR1. © Copyright 2018 ABI Attachments, INC... -
Page 6: Operation
If the depth of the scarifiers is too deep/shallow, adjust the depth of the scarifiers and repeat steps 5-10 of this section till the proper depth is reached. Make sure to check the depth of the scarifiers after every adjustment. © Copyright 2018 ABI Attachments, INC... -
Page 7: Maintenance
SR1 forward to allow the excess material to be deposited into the area. MAINTENANCE Check hardware daily to ensure that nuts and bolts are tight, and that pins are properly secured. If any hardware is found to be damaged replace hardware prior to operating the SR1. © Copyright 2018 ABI Attachments, INC... -
Page 8: Common Replacement Parts
9’’ Scarifier (Shank Only) 10-40019 9’’ Shank with Bolt-on Tip and Hardware 10-40020 Bolt-on Scarifier Tip Only (w/ Hardware) KTI: 10-30174 ¾‘’ Rake Ends (21’’) (w/ Hardware) KIT: 10-30155 ¾‘’ Rake Centers (12’’) (w/ Hardware) © Copyright 2018 ABI Attachments, INC... - Page 9 For additional setup or usage questions or to order replacement parts, contact ABI Customer Service at 877-788-7253 Monday to Friday 9am to 5pm EST. Additional support resources may also be found at www.ABISupport.com © Copyright 2018 ABI Attachments, INC...
Need help?
Do you have a question about the COMMAND SR1 and is the answer not in the manual?
Questions and answers