Advertisement
Quick Links
DVR Configuration (continued)
From the ConfigurationTitles and Display tab, perform
one of the following procedures, depending on your DVR
type (TH series or HX16):
TH4 or TH6 DVR:
1.
Select Monitor Settings, and set the Front Default
Display option to the video channel displaying the
RVM camera feed.
Ensure Display Switch is OFF (the default setting):
2.
Click Back to save changes in the menus and return
to the Titles and Display tab.
Set all Display options OFF, so they won't obscure
3.
the image on the rear vision monitor:
HX16 DVR:
1.
Select Monitor Settings, and set the Rear Default
Setting option to the video channel displaying the
RVM camera feed.
Ensure Display Switch is Off (the default setting):
HX16 DVR (continued)
2.
Click Back to save changes in the menus and
return to the Titles and Display tab.
Set all Display options Off so they won't obscure
3.
the image on the rear vision monitor:
4.
Click Diagnostic Display.
5.
Click Display None:
To complete the DVR configuration for RVM cameras:
1.
Exit DVR Configuration menus.
2.
Reboot the DVR and test the monitor view with
the vehicle in reverse.
3.
Disconnect the diagnostic monitor and mouse.
LCD Monitor Configuration
To set up the monitor to automatically power on when the
reverse signal is triggered, see the monitor kit 080-0171
installation guide.
Monitor Mirror/
Reverse Display Mode
To set up the monitor to display in mirror mode, see the
monitor kit 080-0171 installation guide.
Warranty
For full warranty information, please visit:
http://www.seon.com/documents/Seon-Warranty.pdf.
Rear Vision Monitor Installation Guide (TH4, TH6, & HX16 DVRs)
© Seon Design Inc. | March, 2017 | All rights reserved. www.seon.com. Part Number: 700-1086 R1
Customer Service Contact Information
Toll free telephone 1-877-630-7366
Local telephone 604-941-0880
Email:
service@seon.com
Web: community.seon.com
(please contact Seon if you do not have access credentials)
Introduction
The RVM (Rear Vision Monitor) system for vehicles enables the driver to see the camera output on a dash-mount monitor
whenever the reverse signal is triggered.
When installed, the RVM system operates as follows:
The monitor is usually OFF (dark)
The monitor only turns ON when the vehicle is put into reverse gear (REVERSE signal is applied to the RVM)
The system is installed using a DVR camera socket, so the camera video goes through the DVR before displaying on the
monitor. RVM video, events, and alarms are recorded.
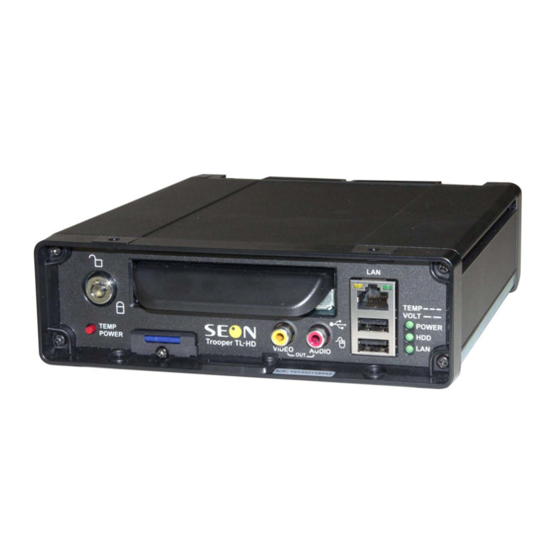
RVM Installation Components
CA or RVC303 camera (optional)
Video extension cable HE1
Camera extension cable: HE3 (75') or HE2 (50')
Monitor 080-0171 kit, including 080-1027 monitor
and XC-0117-B-5M, XC-0118-B-6.1M cables
DVR Expansion harness 060-1059 (TH4/TH6/HX16)
Camera power cable 060-1010
DVR video cable 060-0678
Diode and wiring
Install Guide
Advertisement

Related Manuals for SEON TH4


Summary of Contents for SEON TH4
- Page 1 (TH series or HX16): Set all Display options Off so they won’t obscure © Seon Design Inc. | March, 2017 | All rights reserved. www.seon.com. Part Number: 700-1086 R1 TH4 or TH6 DVR: the image on the rear vision monitor:...
- Page 2 Connect cable B to a camera socket on the back panel of the TH4, TH6, or HX16 DVR. Connect the 2x4 micro fit connector on cable C to the EXPANSION socket on a TH4/TH6 DVR (or the EXPANSION 1 socket on an HX16 DVR).
Need help?
Do you have a question about the TH4 and is the answer not in the manual?
Questions and answers