Table of Contents
Advertisement
Quick Links
How to enable sMS-200 to the Gigabit Ethernet support
1. Hardware
A.
Disassemble the front case
i.
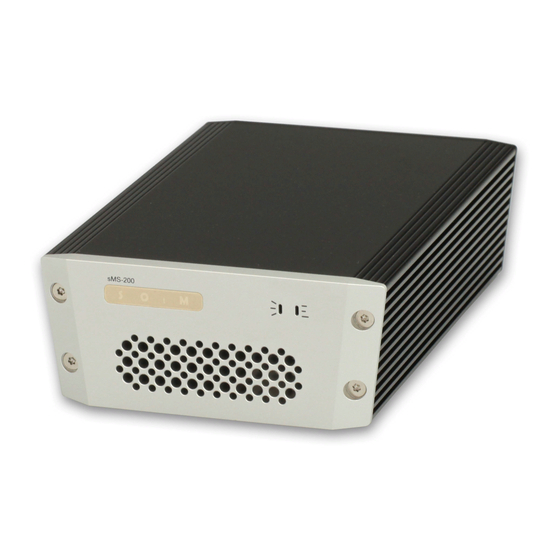
Unscrew 4points of Torx screws as like the image below.
B.
Disassemble the LED board
i.
Unscrew the black screw and separate the LED board from the front case.
C.
Disassemble the rear case
i.
Unscrew 4points of Torx screws as like the image below.
D.
Remove 'C670' Chip Capacitor
i.
Pull out the rear case very carefully to disassemble the main board from the body case.
1.
Remove 'C670' by a soldering machine.
(If required, the power board can be disassembled.)
E.
Assemble sMS-200 cases
i.
Repeat to assemble sMS-200 cases in the reverse order.
Advertisement
Table of Contents

Summary of Contents for SOtM sMS-200
- Page 1 How to enable sMS-200 to the Gigabit Ethernet support 1. Hardware Disassemble the front case Unscrew 4points of Torx screws as like the image below. Disassemble the LED board Unscrew the black screw and separate the LED board from the front case.
- Page 2 Download the imageUSB exe file in the link and unzip. http://www.osforensics.com/downloads/imageusb.zip iii. Take out the micro SD card from the rear case of sMS-200 and insert to the USB port by using the micro SD card reader. Run imageUSB Run imageUSB. The connected USB device will be shown up.
- Page 3 Select an USB device Select an USB device to write the new image file. Select the new image file Click ‘Browse’ button and select the downloaded image file(20160830-RC2.bin).
- Page 4 Click ‘Write’ button to write the new image file to the micro SD card. 3. Finish Insert the micro SD card to the rear panel of sMS-200 again. Power on sMS-200, and apply the latest software upgrade in Eunhasu animated GUI settings.


Need help?
Do you have a question about the sMS-200 and is the answer not in the manual?
Questions and answers