Juniper EX Series Installing
Installing a power supply in an switch
Hide thumbs
Also See for EX Series:
- User manual (280 pages) ,
- Complete hardware manual (194 pages) ,
- Manual (13 pages)
Advertisement
Table of Contents
- 1 Installing a Power Supply in an EX-Series Switch
- 2 Removing a Power Supply from an EX-Series Switch
- 3 Related Topics
- 4 Power Supply in EX-Series Switches
- 5 Field-Replaceable Units in EX-Series Switches
- 6 AC Power, Connection, and Power Cord Specifications
- 7 EX 3200 Switch Rear-Panel Description
- 8 EX 4200 Switch Rear-Panel Description
- Download this manual
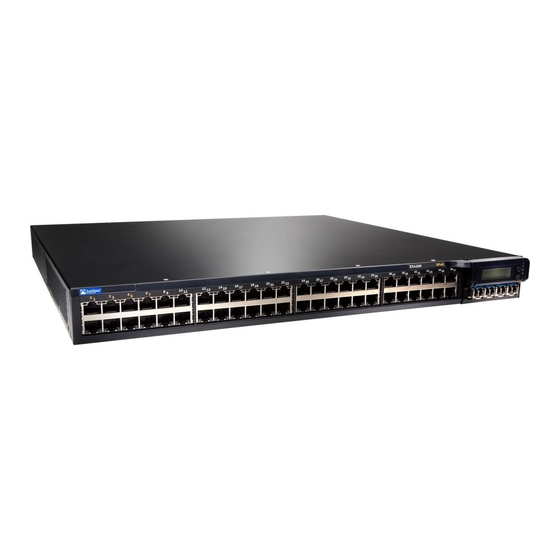
Installing a Power Supply in an EX-series Switch
The power supply in EX 3200 and EX 4200 switches is a hot-removable and
hot-insertable field-replaceable unit (FRU): you can remove and replace it without
powering off the switch or disrupting switch functions.
Ensure you have the following parts and tools available to install a power supply in
an EX 3200 or EX 4200 switch chassis:
Electrostatic discharge (ESD) grounding strap
Phillips (+) screwdriver, number 2
Before you begin installing a power supply in an EX 3200 or EX 4200 switch, ensure
that you have taken the necessary precautions to prevent ESD damage (see Preventing
Electrostatic Discharge Damage).
To install a power supply in an EX 3200 or EX 4200 switch (see Figure 1 on page 2):
Attach the electrostatic discharge (ESD) grounding strap to your bare wrist, and
1.
connect the strap to the ESD point on the chassis.
Taking care not to touch power supply components, pins, leads, or solder
2.
connections, remove the power supply from its bag.
Loosen the locking lever screw on the left front of the power supply by using the
3.
Phillips (+) screwdriver, number 2.
Push down on the locking lever until it is in its lowest position.
4.
Using both hands, place the power supply in the power supply slot on the rear
5.
panel of the switch and slide it in until it is fully seated.
NOTE: The handle on the 320 W AC power supply is at the bottom of the power
supply faceplate, while the handle on the 600 W and the 930 W AC power supplies
is at the top of the faceplate. The handle on the 190 W DC power supply runs across
the faceplate.
Push the locking lever up to its highest position (this action might pull the power
6.
supply in).
Tighten the locking lever screw by using the Phillips (+) screwdriver, number 2.
7.
Installing a Power Supply in an EX-series Switch
1
Advertisement
Table of Contents

Related Manuals for Juniper EX Series


Summary of Contents for Juniper EX Series
- Page 1 Installing a Power Supply in an EX-series Switch The power supply in EX 3200 and EX 4200 switches is a hot-removable and hot-insertable field-replaceable unit (FRU): you can remove and replace it without powering off the switch or disrupting switch functions. Ensure you have the following parts and tools available to install a power supply in an EX 3200 or EX 4200 switch chassis: Electrostatic discharge (ESD) grounding strap...
- Page 2 Figure 1: Installing a Power Supply in an EX 3200 or EX 4200 Switch NOTE: Each power supply must be connected to a dedicated power source outlet. NOTE: If you have a Juniper J-Care service contract, register any addition, change, or upgrade of hardware components at .
Need help?
Do you have a question about the EX Series and is the answer not in the manual?
Questions and answers