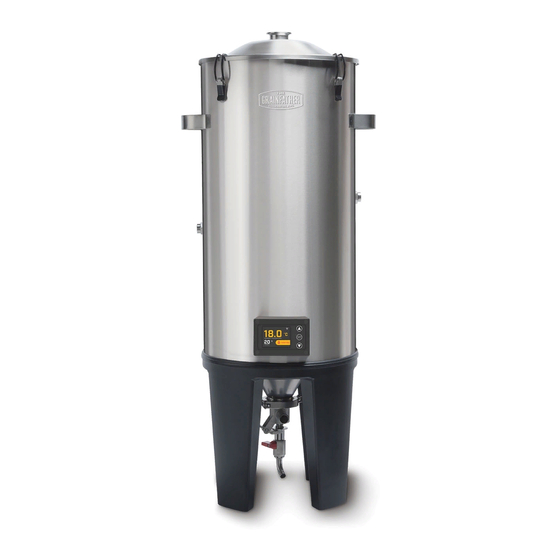
Grainfather CONICAL FERMENTER PRO Instructions For Installing
Hide thumbs
Also See for CONICAL FERMENTER PRO:
- Instructions manual (12 pages) ,
- Quick start manual (8 pages) ,
- Instructions manual (12 pages)
Advertisement
Quick Links
GRAINFATHER CONICAL FERMENTER PRO CONTROLLER
So, you're ready to go wireless and upgrade your Conical Fermenter! The following instructions show you
how to remove your existing controller and assemble your new Conical Fermenter Pro Controller.
PRODUCT CONTENTS
1. Controller
2. 4 x Screw hole plugs
3. Self-fusing tape
4. Fermenter socket cap
COMPATIBILITY
This product is only compatible with the Grainfather
Conical Fermenter. After installing the new controller,
you will still be able to use your fermenter with the
Grainfather Glycol Chiller and Cooling Pump Kit.
ASSEMBLY
Before assembling this product, you will need a
Phillips head screwdriver. For safety reasons, also
ensure that your Conical Fermenter is unplugged
prior to assembly.
REMOVE THE CURRENT CONTROLLER
1. Remove the current controller and the four
screws securing the controller mounting bracket
on the Conical Fermenter. Put them aside for now.
2. Carefully disconnect the three white-coloured,
electrical connectors on the rear side of the
controller mounting bracket. Once disconnected,
you can disregard the bracket as it's no longer
required with the new controller.
INSTRUCTIONS FOR INSTALLING
CONNECT THE NEW CONTROLLER
3. Take the new controller and join the three
4. Check that all connections have been assembled
electrical connectors to the corresponding
connectors on the fermenter. On both the
controller and the fermenter, there is one
larger connector with 3 pins and two smaller
connectors with 2 pins.
Ensure the 2-pin connectors
are JOINed correctly – they
are colour-coded.
ENSURE CORRECT ORIENTATION OF THE
CONNECTORS AS PER THE DIAGRAM BELOW.
correctly and that the controller switches on.
At this stage, you can either connect the Conical
Fermenter Pro to the Glycol Chiller via the M12
fermenter power cord and ensure that the chiller
is turned on. Alternatively, if you aren't using
a Glycol Chiller, you can connect the fermenter
directly to a power socket. The controller screen
should now turn on. If the controller does not turn
on or an error message is displayed, please check
that all connections have been assembled correctly.
DO NOT PROCEED TO STEP 5 AND APPLY THE
SELF-FUSING TAPE UNTIL THE CONTROLLER AND
FERMENTER HAVE BEEN CORRECTLY CONNECTED.
Advertisement

Summary of Contents for Grainfather CONICAL FERMENTER PRO
- Page 1 GRAINFATHER CONICAL FERMENTER PRO CONTROLLER INSTRUCTIONS FOR INSTALLING So, you’re ready to go wireless and upgrade your Conical Fermenter! The following instructions show you how to remove your existing controller and assemble your new Conical Fermenter Pro Controller. PRODUCT CONTENTS CONNECT THE NEW CONTROLLER 1.
- Page 2 • Always unplug your fermenter and screw on the fermenter socket cap prior to cleaning. SECURE THE NEW CONTROLLER • The Conical Fermenter Pro Controller is splash proof 6. Align and position the controller onto the to make cleaning the outside of your fermenter easy.


Need help?
Do you have a question about the CONICAL FERMENTER PRO and is the answer not in the manual?
Questions and answers