Advertisement
Quick Links
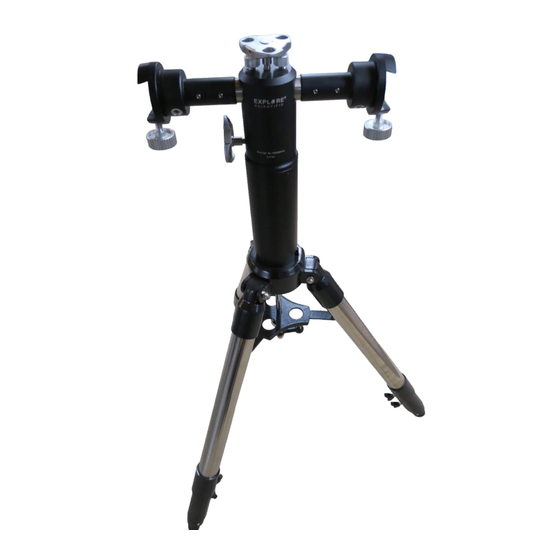
Explore Scientific Twilight-II mount: Encoders
Installation
Specifications:
Altitude Encoder resolution: 655360 steps per revolution
Azimuth Encoder resolution: 311296 steps per revolution
Current consumption: 20 mA – altitude encoder, 20 mA – azimuth encoder
Note: This encoder kit is compatible with the pier extension for the mount.
Please make sure that you have all the parts included in the kit:
Please remove the mount head from the tripod.
Copyright © 2019, Astro Devices. All rights reserved.
1
Do not subject encoder disks to magnetic fields as it may affect the
magnetization of the magnetic multi-pole rings.
Advertisement

Related Manuals for ASTRO DEVICES Scientific Twilight-II


Summary of Contents for ASTRO DEVICES Scientific Twilight-II
- Page 1 Explore Scientific Twilight-II mount: Encoders Installation Specifications: Altitude Encoder resolution: 655360 steps per revolution Azimuth Encoder resolution: 311296 steps per revolution Current consumption: 20 mA – altitude encoder, 20 mA – azimuth encoder Note: This encoder kit is compatible with the pier extension for the mount. Do not subject encoder disks to magnetic fields as it may affect the magnetization of the magnetic multi-pole rings. Please make sure that you have all the parts included in the kit: Please remove the mount head from the tripod. Copyright © 2019, Astro Devices. All rights reserved.
- Page 2 Azimuth encoder installation Installing the azimuth encoder ring on the mount without the pier extension. You will need the following parts: large magnetic encoder ring, azimuth encoder ring adapter and the bottom part of the mount head Put the encoder ring on the adapter ring as shown below: Copyright © 2019, Astro Devices. All rights reserved.
- Page 3 Push it down all the way: Now slide it over the bottom part of the mount head: Look at the bottom and make sure the recess in the adapter ring is aligned in the recess for the fixing pin: Copyright © 2019, Astro Devices. All rights reserved.
- Page 4 Now push the ring all the way down until its top surface is flush with the outer edge of the bottom part of the mount: Now skip the next section of installing the azimuth encoder ring on the pier extension. Installing the azimuth encoder ring on the mount with the pier extension. You will need the following parts: Copyright © 2019, Astro Devices. All rights reserved.
- Page 5 Slide the encoder ring over the pier extension as shown below: You will need to push it down with a bit of force – you can use a piece of soft wood timber that is long enough to push on opposite sides of the ring (apply it on the top). You will need to push it down until the top of the ring is in line with the top surface of the pier extension: Copyright © 2019, Astro Devices. All rights reserved.
- Page 6 Now you will need to install the altitude encoder ring. You will need the following parts: Loosen four set screws holding one of the dove tail bars. It does not matter which one but you need to loosen all four set screws on that bar (two on each side): Copyright © 2019, Astro Devices. All rights reserved.
- Page 7 Now remove the dove tail bar: You will now need the altitude encoder reader: Slide it over the body of the mount: Copyright © 2019, Astro Devices. All rights reserved.
- Page 8 Now you will need the azimuth encoder reader: Slide it over the body of the mount align its bottom surface with the bottom surface of the mount and tighten the clamp: Copyright © 2019, Astro Devices. All rights reserved.
- Page 9 Now thread two set screws (on the left) in: Copyright © 2019, Astro Devices. All rights reserved.
- Page 10 You will now need the altitude encoder ring: Slide it over the bard as shown: Copyright © 2019, Astro Devices. All rights reserved.
- Page 11 Unscrew the two set screws: And install it back onto the shaft: And tighten the set screws: Copyright © 2019, Astro Devices. All rights reserved.
- Page 12 Now position the altitude encoder reader under the bar and slide the ring until the middle of the ring is aligned with the black small strip on the reader: Tighten the set screws on the altitude encoder ring. Copyright © 2019, Astro Devices. All rights reserved.
- Page 13 Position the reader as close as possible to the encoder ring without touching it: And tighten the altitude encoder reader clamp: Copyright © 2019, Astro Devices. All rights reserved.
- Page 14 Now install the azimuth washer and put the mount head on bottm part of the mount of onto the pier extension: Copyright © 2019, Astro Devices. All rights reserved.
- Page 15 FINISHED Copyright © 2019, Astro Devices. All rights reserved.
Need help?
Do you have a question about the Scientific Twilight-II and is the answer not in the manual?
Questions and answers