
Related Manuals for Tellur Dash Patrol DC3


Summary of Contents for Tellur Dash Patrol DC3
- Page 1 Dash Patrol DC3 4K GPS Dash Cam User manual TLL711003 This manual is available in more languages on www.tellur.com/manuals...
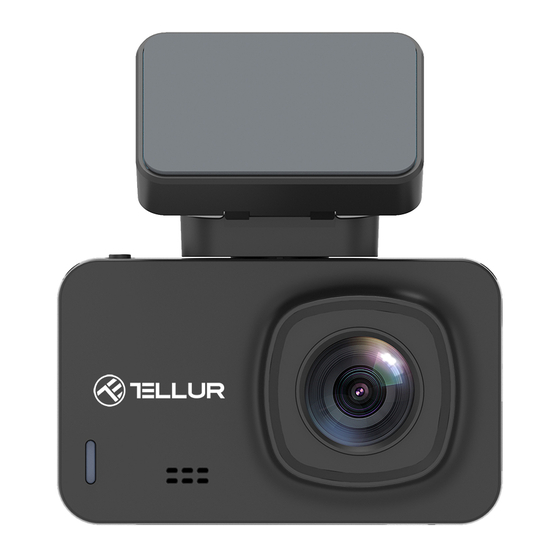
- Page 2 Thank you for choosing Tellur! Please read this user manual carefully before using the product and keep it safe for future references. Please note! Any damage caused by misuse of the product will void the product’s warranty. Product diagram...
- Page 3 Power button/ OK Key 1. Long press (3 seconds) to power on/off or long press (6 seconds or more) to force shutdown. 2. Press to play/stop playback Up arrow/ WiFi button 1. Move up in the settings menu. 2. Short press up button(1 second) to turn WiFi on; Long press up button (3 seconds) to turn WiFi off.
-
Page 4: Installation
Installation 1. Turn off the car engine. 2. Find a suitable position in the car. Camera’s position should not affect driving. Wipe the windscreen where you want to place the device. Install the bracket and hang the recorder. 3. Adjust the lens position to ensure that it is level with the ground. - Page 5 Short press Down button to select the files downward. Short press OK to play the selected video file. Press the menu key to enter menu Settings, where you can delete or unlock files. 4. Menu Settings In any mode (recording, photo or playback), while in standby, press the menu button to enter the menu, and then press it again to switch to the Settings menu .
- Page 6 and search the local WiFi name: eg: NVT-CARDV******, and enter the password to connect. The local initial password is: 12345678. Open the app. After successfully connecting the phone with the dash cam, you can check the recordings via the app.
- Page 7 Video Preview After the app has successfully connected to the recorder, click the "folder" menu when the dash cam stops recording and then click the corresponding video to play the current video ( direct preview will have video progress buffer) Video Download Click icon,...
- Page 8 Basic Settings 1. Video resolution: the default video resolution is 2560*1440 P30, you can choose from the menu between: 3840*2160 P30, 2560*1440 P30, 1920*1080 P60, 1920*1080 P30, select the corresponding resolution and click ok to confirm the resolution. 2. Loop video recording: the default loop recording is 3 minutes.
- Page 9 Select “1 minute” and the camera will automatically shut down after 1 minute from the moment the car engine turned off. 11. Backlight setting: the default is "3 minutes", click the selection menu and select: off/ 1 minute/ 3 minutes/ 5 minutes.
- Page 10 Frame rate: Max 60fps (1920 x 1080) Sensor resolution: 5 Mega Pixels Photo resolution: 12 Mega Pixels Video compression: 3840 x 2160 30fps H.265, others H.264 Video file type: MP4 Built in WiFi: Yes GPS module: Included Speed Display: Yes Automatic recording: Yes G-Sensor: Yes Motion detection: Yes...
- Page 11 Disclaimer Automobile data recorder is a recording instrument for information related to images and sounds of vehicles on the road. Note: the dash cam should be at recording mode that video can be recording. Under the following situations, the image will be damaged or lost: 1.
Need help?
Do you have a question about the Dash Patrol DC3 and is the answer not in the manual?
Questions and answers