Olympus E-M10 Mark III S Instruction Manual
Hide thumbs
Also See for E-M10 Mark III S:
- Instruction manual (170 pages) ,
- Quick manual (23 pages) ,
- Basic manual (177 pages)
Table of Contents
Advertisement
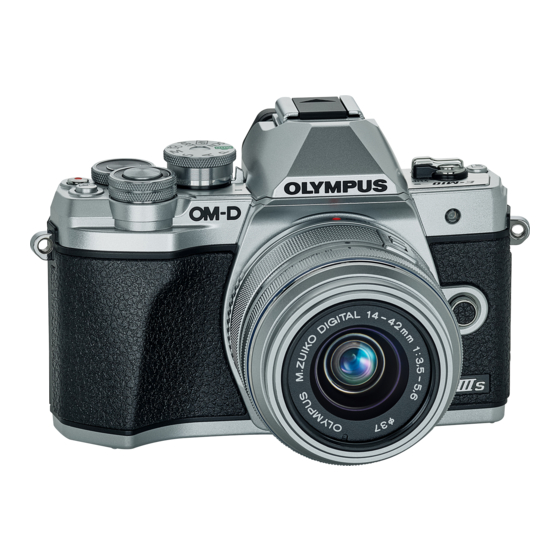
DIGITAL CAMERA
Instruction Manual
Thank you for purchasing an Olympus digital camera. Before you start to use your new camera,
please read these instructions carefully to enjoy optimum performance and a longer service life.
Be sure you have read and understood the contents of "9. SAFETY PRECAUTIONS", before using
this product. Keep these instructions available for future reference.
We recommend that you take test shots to get accustomed to your camera before taking important
photographs.
The screen and camera illustrations shown in this manual were produced during the development
stages and may differ from the actual product.
If there are additions and/or modifications of functions due to firmware update for the camera, the
contents will differ. For the latest information, please visit the Olympus website.
Table of Contents
Quick task index
1.
Preparation
2.
Shooting
3.
Playback
4.
Menu functions
Connecting the camera to a
5.
smartphone
Connecting the camera to a
6.
computer and a printer
7.
Cautions
8.
Information
9.
SAFETY PRECAUTIONS
®
Wi-Fi
Logo Certification No.: IM006Z
Model No. : IM006
Advertisement
Chapters
Table of Contents


Need help?
Do you have a question about the E-M10 Mark III S and is the answer not in the manual?
Questions and answers