Advertisement
1.1 Package Contents
A) User Manual CD
B) Hardware Quick Installation Guide
C) Two pieces of Reflection layer film
D) Double side sticker
E) Iron Plate
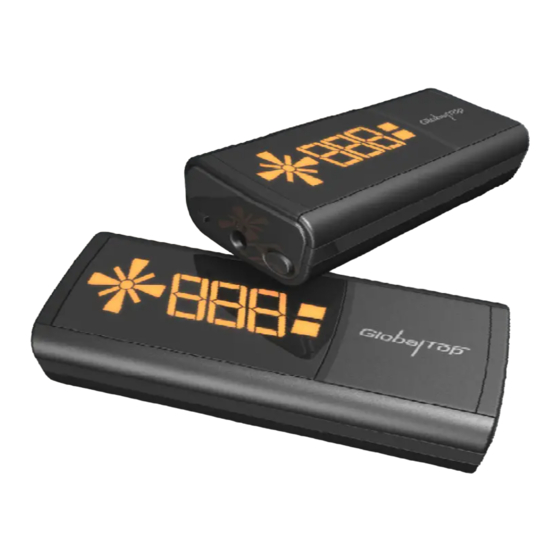
F) HG-100 body
G) DC 5V Car Charger
1.2 Quick Hardware Installation
A. Paste the reflection layer film on windshield
NOTE:
Please be careful to complete the reflection layer film's pasting in
the first time. Re-pasting of this reflection film will degrade the
efficiency of sticking.
HUDGPS
Quick Hardware Installation
1. Please find the most suitable position of the reflection layer
film on the windshield window to get the best projecting angle.
For example for left driving, it is recommended to put the
reflection layer film on the left under corner of the windshield
window.
2. Remove the backside film of the reflection layer film (item C)
and apply carefully into the chosen position on last step.
Gently smoothing this film onto windshield to eliminate and
avoid bubbling generated.
(Note:Regular process will be
recommended to apply one
slight thin film of soap mixed
water on the side which to stick
onto windshield)
3. After pasting the reflection
layer film (item C) on the
windshield window, adjust the
position to the suitable place.
4. Use
the
smooth
slab
to
remove the bubbles which stay
between reflection layer film
and
windshield
glass.
Be
careful not to drag reflection
layer
film
out
of
chosen
position far away.
5. Wipe off the surplus soap water
around reflection layer film.
B. Fix the HG-100
1. Remove the backside paste of the double side sticker (item D)
and stick it onto the iron plate (item E) as shown below.
2. Place the iron plate on the dashboard and directly underneath
the reflection layer film. Check from driver seat if the image of
the iron plate is projected well into the area of the reflection
layer film. Mark this dashboard position as your reference
position.
3. Let HG-100 (item F) magnetize with the iron plate and check
the projecting area is right in the reflection layer film (item C)
and please make sure to get the most comfortable view angle.
4. Remove the other backside film of the double-side sticker
(item D) and paste on dashboard (which is decided in step 2).
C. Starting the HG-100
1. Starting your car and plug in the car charger to the HG-100.
2. Press the power button of the HG-100 last 2 seconds.
3. Put the HG-100 on the iron plate and it will be magnetically
fixed on the plate.
4. HG-100 will show "GPS" before got position fixed.
5. In the open sky, the HG-100 will get TTFF fixed within 1
minute.
6. After GPS position fixed, the HG-100 will project the heading
and speed of drive information.
th
16 Nan-ke 9
Rd Science-based Industrial Park, Tainan 741, Taiwan, R.O.C.
Tel:+886-6-6007799 Fax:+886-6-5053381
http://www.gtop.info
Rev.A03
GlobalTop Technology Inc.
email:sales@gtop-tech.com
© Copyright 2006 GlobalTop Inc.
Advertisement
Table of Contents

Related Manuals for GlobalTop HG-100


Summary of Contents for GlobalTop HG-100
- Page 1 (item D) and paste on dashboard (which is decided in step 2). G) DC 5V Car Charger position to the suitable place. C. Starting the HG-100 1. Starting your car and plug in the car charger to the HG-100. 1.2 Quick Hardware Installation 4. Use smooth slab 2.
- Page 2 2 sec button pressed HUD will keep the speed unit you choose. When in the speed warning mode, HG-100 will keep the setting of Speed Warning. Press 0.5 second HG-100 will change the speed warning setting. When in the speed warning mode,...
Need help?
Do you have a question about the HG-100 and is the answer not in the manual?
Questions and answers