Advertisement
Quick Start Guide
Quick Start Guide
Thank you for purchasing this Swiftcam series camera. This camera is a delicate
instrument and should be handled with care. When not in use, please store it in a
safe place with the dust cap attached. Do not let the camera get in contact with
water or expose it to extreme temperatures (below 0 or above 50 degrees
Celsius).
Should you have any questions, please do not hesitate to contact our customer
service.
Ⅰ. Product Components
1.
2.
3.
5.
6.
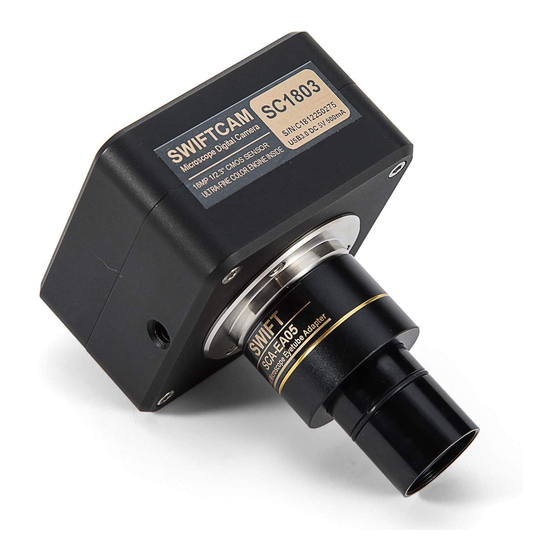
1. Swiftcam Camera
2. 0.5x Reduction Lens
3. Φ23.2-Φ30.5mm Eyepiece Tube Adapter
4. Φ23.2-Φ30mm Eyepiece Tube Adapter
Ⅱ. Install Swift Imaging 3.0 Application in your
computer
1.
For Windows user, please run application CD and choose Install
Application in CD installation interface to install it to your computer
directly.
2.
For Mac OSX user, please browse the CD and copy the file
SwiftImaging.dmg under directory MAC to anywhere on your computure
hard drive. Double click the SwiftImaging.dmg file and it will install
automatically.
3.
For Linux user, please browse the CD and untar SwiftImaging.x64.tar.bz2
or SwiftImaging.x86.tar.bz2 under directory Linux to anywhere on your
4.
hard drive. Running the run file will install the application. Double click
Swift Imaging 3.0 on the desktop to run the application. Root privilege is
required to install it.
Ⅲ. Using the camera on a microscope eyepiece
tube
Install the Swift Imaging 3.0 application program from the CD included.
1.
2.
7.
Remove the dust cap from the camera and attach the reduction lens.
3.
Choose the eyepiece tube adapter according to your microscope
eyepiece tube size and attach it to reduction lens. (The reduction lens
itself is for an eyepiece tube in internal diameter 23.2mm and adapter is
not required in this case. If your microscope eyepiece tube is in 30mm or
30.5mm internal diameter, please choose the adapters accordingly)
4.
Attach this assembly to your microscope's eyepiece tube.
5. Calibration Kit
5.
Connect the USB cable into the camera and then plug it into the computer.
6. Application CD
6.
7. USB Cable
Please refer to help contents (manual) under software help menu for the
usage of the Swift Imaging 3.0.
- 1 -
Ⅳ. Using the camera on a trinocular microscope
with C-Mount
1.
Install the Swift Imaging 3.0 application program from the CD included.
2.
Remove the dust cap from the camera and attach the microscope's
C-Mount adapter. (Please note that the C shape C-Mount adapter is
specific to your microscope. Please consult the relevant Microscope
Accessory list and choose an appropriate adapter for your Swiftcam
camera).
3.
Attach assembly above to microscope trinocular port and connect the
USB cable onto the camera and then plug it into the computer.
4.
Please refer to help contents (manual) under software help menu for the
usage of the Swift Imaging 3.0.
- 2 -
- 3 -
Advertisement
Table of Contents

Summary of Contents for Swift Swiftcam Series
- Page 1 Quick Start Guide computer Thank you for purchasing this Swiftcam series camera. This camera is a delicate instrument and should be handled with care. When not in use, please store it in a For Windows user, please run application CD and choose Install safe place with the dust cap attached.
- Page 2 Swift Imaging 3.0. Quick Start Guide Ⅴ. Using the camera on a trinocular microscope with eyepiece adapter Install the Swift Imaging 3.0 application program from the CD included. Remove the dust cap from the camera and attach the reduction lens.
Need help?
Do you have a question about the Swiftcam Series and is the answer not in the manual?
Questions and answers