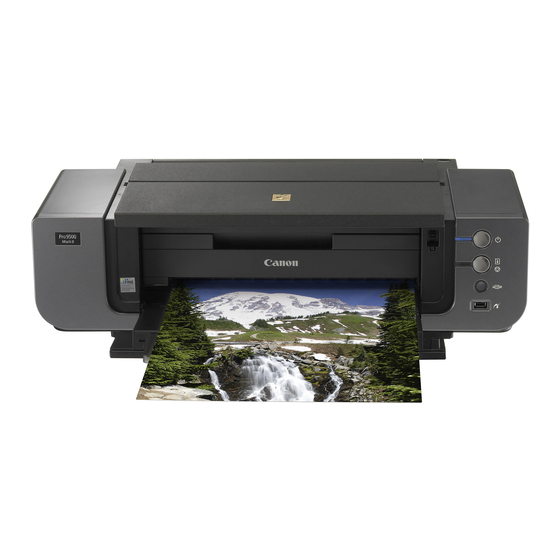
Canon Pro 9500 Series Quick Start Manual
Printing on the fine art metal series
Hide thumbs
Also See for Pro 9500 Series:
- Quick start manual (115 pages) ,
- Manual (31 pages) ,
- Setup instructions (2 pages)
Advertisement
Printing on the Fine Art Metal with the Canon Pro 9500 Printer
1. Prepare Your Printer
Make sure you do NOT have any clogged nozzles.
Run the Nozzle Check before printing images. If
you run the test prints with clogged nozzles it will
throw off your color once they are unclogged.
(Please refer to your printer manual for additional
instructions)
2. Loading the Fine Art Metal into the printer
A. The metal requires to be loaded into the front path
of the Pro 9500.
B. Open the front tray
C. Its recommended to wear gloves at all times when
handling the Fine Art Metal.
D. Gently press the release button as shown in
picture #1 to release the front tray and tilt it forward.
E. Lift the front tray until it stops as shown in picture
#2. The front feed button will light.
F. While keeping the front tray lifted , tilt the front
tray forward to set it in Front Paper Feeding
Position as shown in picture #3.
G. Ensure that the Front Feed Button is lit.
H. Press the Rear Support Button to open the Rear
Support as shown in picture #4.
I. Pull out the Front Extension completely as shown
in picture #5
J. Press the right corner of the rear support to open
the rear support extension as shown in picture #6.
K. Press the Front Feed button. The printer starts
making operating noises and then the Power lamp
flashes for about 20 seconds.
L. Ensure that the Power lamp is lit and the Front
Feed button is flashing quickly.
M. Load the metal straight into the tray with the
print side facing up. Align the front edge of the paper
with the Sheets/Arrow mark on the Front Tray.
Align the right edge of the paper against the right
side of the front tray as shown in picture #7.
www.booksmartstudio.com
1.
2.
3.
1
©Booksmart Studio
Advertisement
Table of Contents

Summary of Contents for Canon Pro 9500 Series
- Page 1 Printing on the Fine Art Metal with the Canon Pro 9500 Printer 1. Prepare Your Printer Make sure you do NOT have any clogged nozzles. Run the Nozzle Check before printing images. If you run the test prints with clogged nozzles it will throw off your color once they are unclogged.
- Page 2 3. Setting Up Photoshop’s Print Settings A. Go to File / Print from the top menu bar. B. Set your Page Setup settings appropriately. C. Select Photoshop Manages Color. D. Select the profile you wish to use. E. Select the proper rendering intent.
- Page 3 4. Setting up the Canon Pro 9500 print driver: A. Choose the correct printer. B. Click on the tab that reads Layout, and go to Quality & Media. C. For the Media Type select Photo Paper Plus Semi-Gloss. D. For Paper Source select Front Tray.


Need help?
Do you have a question about the Pro 9500 Series and is the answer not in the manual?
Questions and answers