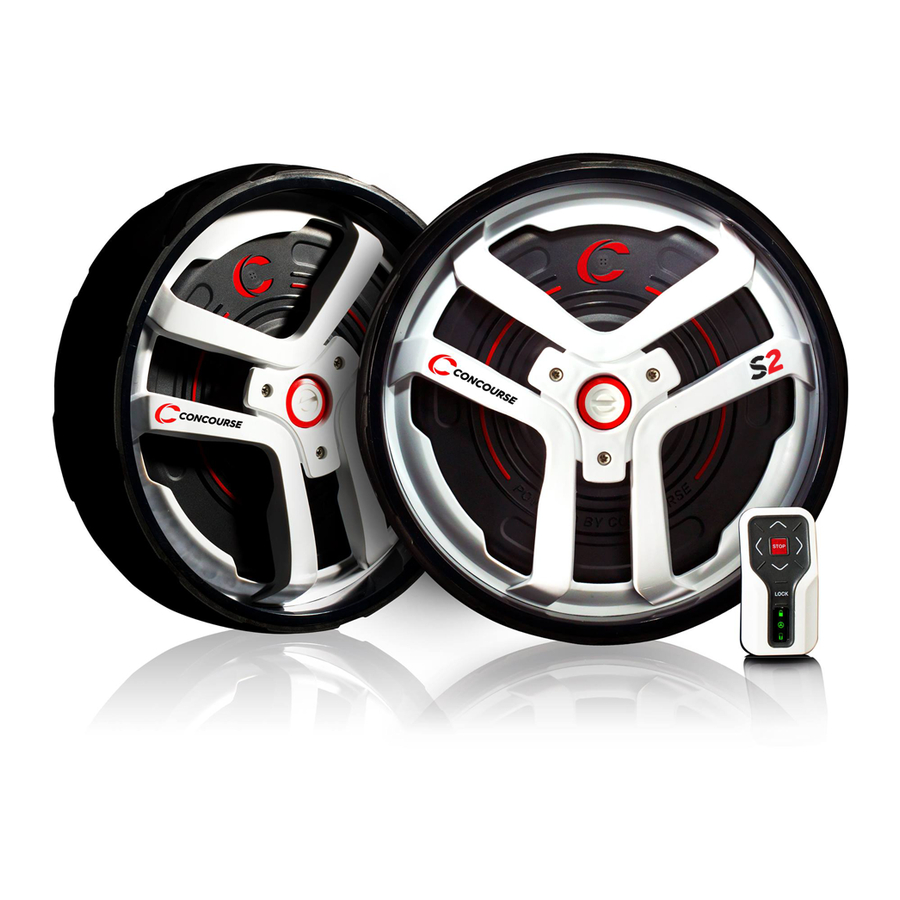
Concourse SMART WHEELS Fitting Instructions Manual
Rovic rv1s
Hide thumbs
Also See for SMART WHEELS:
- User instruction manual (20 pages) ,
- Quick start manual (3 pages) ,
- User instruction manual (16 pages)
Advertisement
Quick Links
Advertisement

Related Manuals for Concourse SMART WHEELS


Summary of Contents for Concourse SMART WHEELS
- Page 1 SMART WHEELS AXLE FITTING INSTRUCTIONS...
- Page 2 Contents ROVIC RV1S ..........................................3...
- Page 3 ROVIC RV1S Tools Required: Rovic Axle Kit 19mm Socket / Spanner 10mm Spanner Phillips #2 Screwdriver...
- Page 4 1. Use 19mm Socket to remove Left wheel from buggy...
- Page 5 2. Using the 10mm spanner, remove the nut holding the foot brake to the buggy using the #2 screwdriver to hold the screw.
- Page 6 3. Remove the foot brake assembly and re-fit and tighten the nut to the screw...
- Page 7 4. Take the axle adaptor and fit to buggy as shown below and tighten nut with the 19mm Socket...
- Page 8 5. Use 19mm Socket to remove Right wheel from buggy...
- Page 9 6. Remove the 2 cable retaining clips using the #2 Philips screwdriver...
- Page 11 7. Unscrew the brake cable anti-clockwise and remove from the housing...
- Page 12 8. Take the axle adaptor and fit to buggy as shown below and tighten nut with the 19mm Socket...
Need help?
Do you have a question about the SMART WHEELS and is the answer not in the manual?
Questions and answers