Subscribe to Our Youtube Channel
Summary of Contents for Linear aigis D3P Series
-
Page 3: Model Numbers
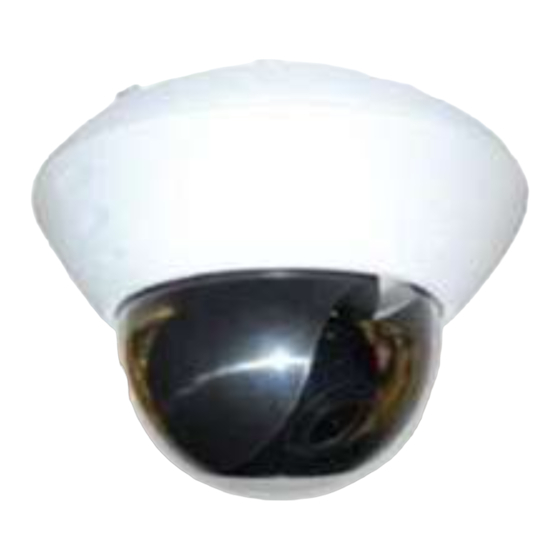
1. UNPACKING Unpack carefully. This is electromechanical equipment and should be handled with care. Check to be sure that all of the following parts are included. • Dome housing with camera and lens • This installation manual • Hardware Kit o 4 x screws o 4 x anchors o 1 x mounting-hole template... -
Page 4: Surface-Mount Installation
1.1. Surface-Mount Installation 1. Remove mounting-hole template from packaging. Peel off adhesive template from wax paper backing. Stick the template to the ceiling or wall over the desired installation location. 2. Drill out the mounting holes using a 7/32-in or 5.5mm drill bit. Remove the adhesive template if desired. - Page 5 7. Run the power and video cables into the central hole in the mounting surface. 8. Reconnect the main housing to the mounting base by aligning the markings on the side of each component as shown in Figure 3. Twist the main housing clockwise relative to mounting base. Figure 3 - Align the markings to attach the dome to the base 9.
- Page 6 11. Plug the test monitor into the BNC Test Monitor Jack shown in Figure 5. Adjust the Zoom and Focus settings as desired. Zoom and Focus Knobs 360˚ Rotate Image 360˚ Dome Cover Local BNC Test Monitor Alignment Tab Connection (not included for part numbers ending Tilt 90˚...
- Page 7 D3PWD211 – Wide Dynamic Range Camera Settings & Functions Figure 6 The directional pad (See Figure 6) is located in the camera base next to the 3-axis bracket. Press the center button of directional pad to access the camera’s On Screen Display (OSD) menu and to step back one screen.
- Page 8 D3PWD211 – Wide Dynamic Range Camera Settings & Functions, Cont’d Setting Name Setting Values Default Setting Description AWG………………………………….. Manually set the white level by pointing the camera at a white surface (wall, paper) and selecting the Save option. The color temperature will be written to ROM (memory) and will remain constant until the user saves over that value.
- Page 9 D3PWD211 – Wide Dynamic Range Camera Settings & Functions, Cont’d Setting Name Setting Values Default Setting Description F.G. Presets……. Multiple……………….. Full Screen……. Select Full Screen, Most_Screen, Center Spot, or Lower F.G. Zones………………………………………………. Enable and modify Foreground Zones 1-4 Enable Zones.. Only 1/2/3/4…….……… Only 1…………...
- Page 10 Model No. D3PDN211 D3CH211 D3PWD211 Description True Day/Night Camera Color Hi-Res Camera Wide Dynamic Range Camera 1/3" Sony™ Super HAD II Imager 1/3" Sony™ CCD 1/3" Pixim™ DPS Sensor Signal System NTSC Effective Pixels 768 (H) x 494 (V) 720 (H) x 480 (V) Resolution 540TVL 0.3Lux/F1.2 (Color)
- Page 11 This page intentionally left blank...
- Page 12 100 0255 003 AIG 08/11 Printed in the U.S.A.


Need help?
Do you have a question about the aigis D3P Series and is the answer not in the manual?
Questions and answers