Table of Contents
Advertisement
Quick Links
When the unit arrives a lot can be learned about its operation before putting it into the rack.
After programming the unit with the floppy disk (if it was not ordered pre-programmed), press the menu
key and enter the four digit code for the technician password to have access to the unit. This four-digit
code is on the data sheet that came with the unit. The utility menu will appear. The following description
of the utility menu applies to version 6.3 of the firmware. Earlier versions of the firmware may not have
all of these functions in the utility menu.
Using the down arrow, move through all six functions. When pressing the down arrow with the
cursor on 6, functions 7 - 12 will appear. With the cursor on 7 (set logging) press enter and a choice will
appear between none (no logging), a parallel printer, or the PC serial port. The logging should be off
while going through some preliminary steps to become familiar with the menu items. Move the cursor to
none with the arrow key and press enter -- an arrow head will appear next to none to indicate that the
logging function is off. After exiting and returning to the utility menu, press the up arrow repeatedly
until the cursor is next to 1 (set diagnostics.)
l. Notice that by pressing enter, a choice will appear to either turn off (none) or have the diagnostics
printed out for one of the inputs that you are using. The printer will print out diagnostic information on
the F.S.K. coded messages that come into the decoder from one of the other radio stations that you are
monitoring or the weather service. If the unit is not working on one of your inputs, move the cursor to
that channel and press enter. You can fax us the diagnostic printout and we may be able to determine
what is wrong. After making your choice, exit and return to the utility menu.
2. If the program audio is looped through the unit this adjustment will interrupt programming and put
the selected tone on the air. Using the down arrow, move the cursor to 2 (set modulation) and press
enter. The modulation setup menu will appear, and the cursor will be flashing next to the 853 Hz E.B.S.
frequency. Press enter and the relays that interrupt program audio will energize, and the 853 Hz
frequency will come up on the speaker with a bar appearing on the display. Notice that pushing the up
arrow will lengthen the bar, and pushing the down arrow will shorten the bar corresponding to
increasing or decreasing the modulation on the transmitter. Later, with the use of a modulation monitor,
the 853 modulation should be set as close as possible to 40% by using the arrow keys after the program
lines are looped through the unit. Press the exit key to return to the modulation setup menu. Using the
down arrow, move the cursor to the 960 Hz E.B.S. frequency. Press enter and notice that 960 Hz output
is adjusted the same way as the 853 Hz. Press the exit key and move the cursor to the 1562.5 Hz F.S.K.
frequency. Press enter and notice that this frequency is adjusted the same way, but the modulation for
F.S.K. tones must be set for 80%. Exit, move the cursor down to the 2083.3 Hz F.S.K. frequency, and
press enter. The modulation for the 2083.3 Hz tone is also adjusted to 80%. Press exit once to return to
modulation setup menu, and a second time to return to the utility menu. Use the down arrow to advance
the cursor to 3 (the set input levels function).
3.
With the cursor set at 3, press enter to bring up the input level setup menu. Six channels will be
displayed, with the cursor on channel 1. To actually adjust the input levels, the radios which supply the
audio inputs must be connected to the input terminals 1-12 on the rear of the unit.. Press enter to see a
257 West Union St.
Athens, Ohio 45701
FAX: 740-592-3898
Ph: 740-593-3150
EAS-1 INSTRUCTIONS
Advertisement
Table of Contents

Related Manuals for Gorman-Redlich EAS-1


Summary of Contents for Gorman-Redlich EAS-1
- Page 1 FAX: 740-592-3898 Ph: 740-593-3150 EAS-1 INSTRUCTIONS When the unit arrives a lot can be learned about its operation before putting it into the rack. After programming the unit with the floppy disk (if it was not ordered pre-programmed), press the menu key and enter the four digit code for the technician password to have access to the unit.
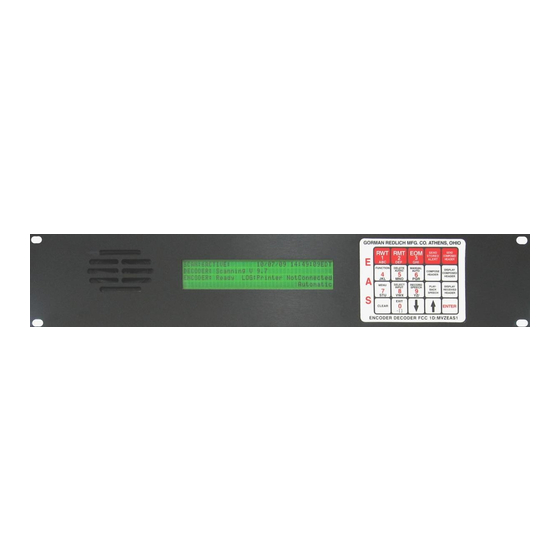
- Page 2 11 "toggle sign on". A sign board in the "on air" studio is a good idea if the EAS-1 equipment is installed in another room. Warning messages will be scrolled in RED, watches in YELLOW, and required monthly tests in GREEN.
- Page 3 24 hours and do not interface with automation but would like to have a contact closure under the above circumstances to call attention to the EAS-1. If 12 reads "toggle alert off" the contacts will close in manual also. Pressing enter will change 12 to "toggle alert on" which will not supply the contact closure in manual.
Need help?
Do you have a question about the EAS-1 and is the answer not in the manual?
Questions and answers