Table of Contents
Advertisement
Quick Links
Instruction Sheet
This document provides instructions for removing and replacing the Christie IMB-S2 in Solaria One
+
and Solaria One
projectors.
Safety Precautions
ELECTRICAL SHOCK HAZARD! Always turn off, disconnect, and disengage all power sources
to the projector before servicing. Failure to comply results in death or serious injury.
Only Christie accredited service technicians are permitted to open any enclosure on the
projector and only if the AC power has been fully disconnected. Failure to comply could
result in minor or moderate injury.
When removing or installing the Christie IMB, wear an anti-static wrist strap and follow anti-
static protocols. Failure to comply could result in equipment or property damage.
Prerequisites
•
Christie IMB-S2 replacement kit (P/N:003-103110-XX or 004-103110-XX) that includes these
items:
•
Christie IMB-S2
•
Replacement anti-tamper label
Back Up Projector Settings
Service permissions are required to complete this procedure.
1. On the projector touch panel controller (TPC), tap Menu > Christie IMB > System.
2. Tap General > Backup/Restore.
3. Tap Backup.
4. Enter a name for the backup file.
5. Tap Enter.
6. Tap OK.
Replace the Christie IMB-S2 Instruction Sheet
020-101329-02 Rev. 1 (06-2015)
1
Advertisement
Table of Contents

Subscribe to Our Youtube Channel
Related Manuals for Christie IMB-S2

Summary of Contents for Christie IMB-S2
- Page 1 Replace the Christie IMB-S2 Instruction Sheet This document provides instructions for removing and replacing the Christie IMB-S2 in Solaria One and Solaria One projectors. Safety Precautions ELECTRICAL SHOCK HAZARD! Always turn off, disconnect, and disengage all power sources to the projector before servicing. Failure to comply results in death or serious injury.
- Page 2 Replace the Christie IMB-S2 Instruction Sheet Remove the Christie IMB-S2 1. Turn the lamp off and allow it to cool for a minimum of 15 minutes. 2. Turn the projector off and disconnect it from AC power. 3. Remove the card cage surround.
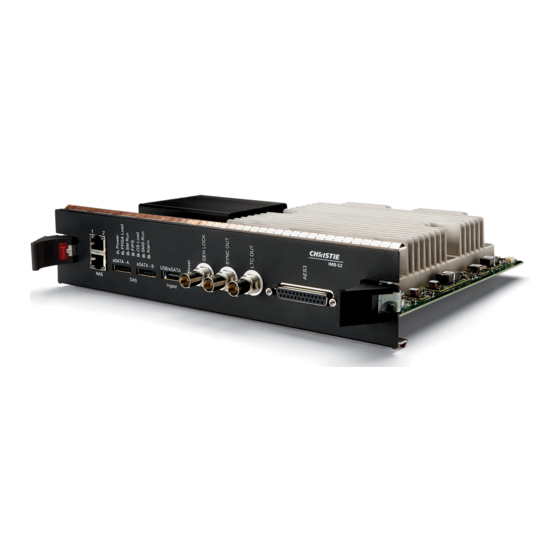
- Page 3 Replace the Christie IMB-S2 1. Remove the replacement Christie IMB-S2 from the anti-static packaging. 2. Align the Christie IMB-S2 Gen Lock, Sync Out, LTC Out, and AES3 connectors with the holes in the faceplate and slide the Christie IMB-S2 into position.
- Page 4 8. Replace the anti-tamper label on the side of the card cage. 9. Install the card cage surround. 10. Remove the existing Christie IMB-S2 Electronic Serial Number (eSN) label from the faceplate. Activate Marriage You must complete the Marriage wizard to display secure content. Marriage permission is required to complete marriage and only Christie accredited technicians are authorized to activate projector marriage.
- Page 5 Multi-projector configuration • Scheduled entries To manually re-configure settings, see the Christie IMB User Manual on the Christie web site. 1. Tap Menu > Christie IMB > System. 2. Tap General > Backup/Restore. 3. Tap Browse and browse to the location of the file.
- Page 6 Upload the Christie IMB-S2 Software Upgrade Package Upload and install the latest Christie IMB software so all of the Christie IMB software components are the same version. Contact Christie Technical Support to request the latest version of the Christie IMB software.
- Page 7 Replace the Christie IMB-S2 Instruction Sheet 3. Insert a USB flash drive with the Christie IMB license into the USB port on the side of the TPC. 4. Select a license file and then tap Accept. Regenerate and Ingest Key Delivery Message Keys A Key Delivery Message (KDM) key is required to play encrypted content.
Need help?
Do you have a question about the IMB-S2 and is the answer not in the manual?
Questions and answers