Table of Contents
Advertisement
Quick Links
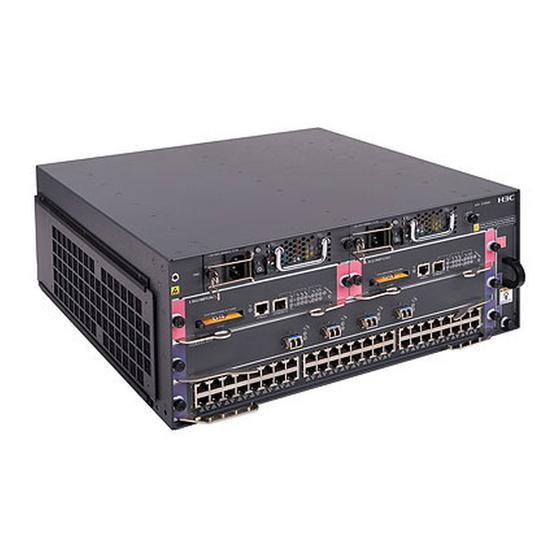
HP A7502 300W AC & DC Power Supplies
User Guide
Introduction
The 300W AC (JD226A) is a built-in power supply with AC input and DC output while
the 300W DC (JD225A) is a built-in power supply with DC input and DC output.
Table 1 Features of the 300W AC and 300W DC power supplies
Feature
Protection
functions
1+1 redundancy
support
Hot swap support
CAUTION:
For a device that supports both AC and DC inputs, you can choose either of the two
types of power supplies as needed. Do not use power supplies of different models in
the same device.
Description
Support input under-voltage protection, output over-voltage
protection, short-circuit protection, and overheat protection
Support dual-power-grid 1 + 1 redundancy and current
sharing using power supplies of the same model
Support hot swap while the device is in operation
1
Advertisement
Table of Contents

Related Manuals for HP A7502


Summary of Contents for HP A7502
- Page 1 HP A7502 300W AC & DC Power Supplies User Guide Introduction The 300W AC (JD226A) is a built-in power supply with AC input and DC output while the 300W DC (JD225A) is a built-in power supply with DC input and DC output.
-
Page 2: Panel Views
Panel views Figure 1 Panel view of the 300W AC (1) AC power receptacle (2) Power supply status LED (3) Power supply handle (4) Captive screws (5) Power switch (O for off, and | for on) Figure 2 Panel view of the 300W DC (1) Positive (+) terminal of DC input (2) Negative (–) terminal of DC input (3) Power supply status LED... -
Page 3: Specifications
Specifications Table 2 Technical specifications for the 300W AC and 300W DC Item Specifications 300W AC: 100 VAC to 240 VAC; 50 Hz or 60 Hz Rated voltage range 300W DC: –48 VDC to –60 VDC Output voltage 12 V Max output current 25 A Max output power... -
Page 4: Power Supply Installation And Removal
CAUTION: In case of a power alarm (the LED turns red), check whether output short circuit, • output over-current, output over-voltage, or overheat occurred to the power supply. In the case of output short circuit, or abnormal temperature, the power supply will resume normal operation automatically when the fault is cleared. -
Page 5: Installing A Power Supply
Figure 5 Install/remove a 300W AC power supply Installing a power supply Follow these steps to install a power supply: Step1 Wear an ESD-preventive wrist strap and make sure it makes good skin contact and is well grounded. Step2 Remove the blank filler (if any) from the slot to be used. Keep the blank filler properly for future use. -
Page 6: Removing A Power Supply
Removing a power supply Follow these steps to remove a power supply: Step1 Prepare an antistatic mat to place the removed power supply. Step2 Wear an ESD-preventive wrist strap and make sure it makes good skin contact and is well grounded. Step3 Turn off the switch on the power supply. -
Page 7: Connecting A Dc Power Cord
Figure 6 Connect an AC power cord Connecting a DC power cord Follow these steps to connect the DC power cord: Step1 Take off the protection cover. Step2 Use a No. 2 Phillips screwdriver to loosen the screws on the wiring terminals. Step3 Connect the end of the blue DC power cord marked with –... - Page 8 Figure 7 Connect a DC power cord – (1) Protection cover (2) Screws (3) Wiring terminal (4) Grounding point © Copyright 201 1 Hewlett-Packard Development Company, L.P. The information in this document is subject to change without notice. BOM: 3101A0BR Part number: 5998- 1 734 Version: APW100...
Need help?
Do you have a question about the A7502 and is the answer not in the manual?
Questions and answers