
Related Manuals for Megamoto MM-B212 MXS


Summary of Contents for Megamoto MM-B212 MXS
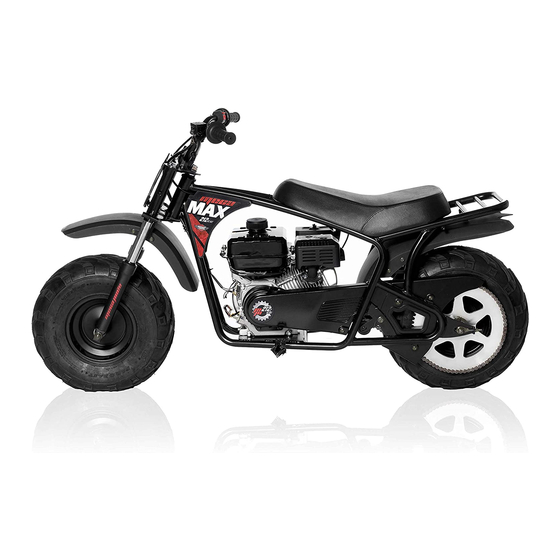
- Page 1 MM-B212 MXS (MEGA MAX SUSPENSION) ASSEMBLY INSTRUCTIONS READ ALL OF THE INSTRUCTIONS BEFORE REMOVING BIKE FROM THE STEEL SHIPPING CRATE AND ASSEMBLING THE BIKE. MAKE SURE YOU UNDERSTAND THE INSTRUCTIONS BEFORE YOU BEGIN.
- Page 2 MM-B212 MXS ASSEMBLY INSTRUCTIONS UNPACKING WEAR PROTECTIVE GLOVES WHEN HANDLING THE STEEL CRATE A. After removing the outer carboard PARTS BOX box, remove the Parts Box between the 2 front forks. Open the parts box. Locate the axle bolt, 2 spacers, and nut that secure the 2 front forks to the top of the steel shipping crate.
- Page 3 MM-B212 MXS ASSEMBLY INSTRUCTIONS UNPACKING WEAR PROTECTIVE GLOVES WHEN HANDLING THE STEEL CRATE D) Remove the 6 nuts and bolts that secure the top of the steel shipping crate and lift off and discard the top. Top steel shipping crate...
- Page 4 MM-B212 MXS ASSEMBLY INSTRUCTIONS UNPACKING WEAR PROTECTIVE GLOVES WHEN HANDLING THE STEEL CRATE G) Cut the zip tie that secures the handlebar assembly at the top of the minibike frame. H) Cut the zip tie that secures the handlebar at the bottom of the steel shipping crate.
- Page 5 MM-B212 MXS ASSEMBLY INSTRUCTIONS PARTS: FRONT FORK , UPPER FORK PLATE, and FRONT NUMBER PLATE FORKS, AXLE, UPPER FORK PLATE FRONT FORK ASSEMBLY (1PC) AXLE NUT (1PC) AXLE SPACERS (2PCS) FRONT AXLE (1PC) FORK BOLTS (2PCS) STEERING STEM NUT (1PC)
- Page 6 MM-B212 MXS ASSEMBLY INSTRUCTIONS PARTS: FRONT FENDER 11) FRONT FENDER with MOUNTING BRACKET (1PC) 12) FRONT FENDER NUTS (2PCS) 13) FRONT FENDER BOLTS (2PCS)
- Page 7 MM-B212 MXS ASSEMBLY INSTRUCTIONS FRONT FORK: 1) After removing all of the ties and wrapping that secure the handlebar and front fork, rest the handlebar over the lower fork plate. Keep the brake lever on the LOWER FORK left, (as seen when seated on the...
- Page 8 MM-B212 MXS ASSEMBLY INSTRUCTIONS FRONT FORK: 4) Install the steering stem nut onto the steering stem and hand tighten. 5) Install the chrome end of one fork into the lower fork plate and push it up until it reaches the upper fork plate.
- Page 9 MM-B212 MXS ASSEMBLY INSTRUCTIONS FRONT FORK: 8) Install the fork and upper fork bolt on the other side and hand tighten. 9) Tighten the two upper fork bolt securely. (34 N.m/25 ft.lb.) 10) Tighten the 2 fork pinch bolts securely,...
- Page 10 MM-B212MX (MEGA MAX) ASSEMBLY INSTRUCTIONS HANDLEBAR 11) Tighten the steering stem nut securely. (54 N.m/40 ft.lb.) 12) Flip the handlebar back and insert the bolts on the bottom of the handlebar clamps into the 2 holes in the top fork plate. 13) Make sure the wires, cable, and hose are located in front of the upper fork...
- Page 11 MM-B212MX (MEGA MAX) ASSEMBLY INSTRUCTIONS HANDLEBAR 14) Install the 2 nuts on the handlebar clamp bolts with the large flat surface of the nut up against the upper fork plate and tighten securely (26 N.m or 19 ft. lbs) Rear of fender is Front of fender is square rounded...
- Page 12 MM-B212MX (MEGA MAX) ASSEMBLY INSTRUCTIONS FRONT WHEEL 17) The small tabs on the lower part of the black fork legs should face in. If they don’t, rotate the black fork legs so that the tabs face in. 18) Insert the axle bolt about 1 inch into the right fork leg, as viewed sitting on the bike, left as pictured.
- Page 13 MM-B212MX (MEGA MAX) ASSEMBLY INSTRUCTIONS FRONT WHEEL 20) Next you will insert the axle bolt into the axle bearing… Position the front wheel as pictured, the tread pattern in the position of a “V” as shown. 21) Then push through to the other side of the wheel until about 1 inch of the axle bolt comes through.
- Page 14 MM-B212MX (MEGA MAX) ASSEMBLY INSTRUCTIONS FRONT WHEEL 23) Push the axle bolt all the way through the spacer and the hole in the fork leg. 24) Install the nut with the large flat spot facing toward the wheel. 25) Tighten the nut securely (54 N.m/ 40 lb.
- Page 15 MM-B212MX (MEGA MAX) ASSEMBLY INSTRUCTIONS NUMBER PLATE 26) Locate the 2 number plate mounting brackets on the front of the forks at the steering head. Place the number plate over the mounting brackets and align the holes on the plate with the threaded holes in the brackets.
- Page 16 MM-B212MX (MEGA MAX) ASSEMBLY INSTRUCTIONS PURGE AIR FROM BRAKE LINE DURING SHIPPING SOME AIR MAY HAVE ENTERED THE BRAKE HOSE. THIS PROCEDURE WILL PURGE AIR FROM THE HOSE AND ENSURE PROPER BRAKE PERFORMANCE. 28) Cut the 2 steel ties that secure BRAKE MASTER CYLINDER the rear of the minibike to the...
- Page 17 MM-B212MX (MEGA MAX) ASSEMBLY INSTRUCTIONS ADD OIL Oil is not provided with the mini bike. 20oz of 10W30 Motor Oil is needed. BEFORE YOU START THE BIKE YOU MUST ADD 20oz. OF 10W30 MOTOR OIL TO THE ENGINE. Add oil into the oil filler neck on the front of the engine.
- Page 18 MM-B212MX (MEGA MAX) ASSEMBLY INSTRUCTIONS STARTING AND RUNNING THE BIKE ALWAYS WEAR PROTECTIVE GEAR SUCH AS A HELMET, GLOVES, BOOTS, LONG SLEEVE SHIRT, AND PANTS WHEN RIDING. BE SURE TO OIL THE CENTRIFUGAL CLUTCH BEFORE AND AFTER EACH RIDE AS INSTRUCTED IN YOUR OWNER’S MANUAL.
- Page 19 MM-B212MX (MEGA MAX) ASSEMBLY INSTRUCTIONS STARTING AND RUNNING THE BIKE 36) Pull the pull start lever quickly to start the engine. Pulling it slowly will not turn the engine fast enough to start the engine. The pull start does not have to be pulled all the way out to start, just a fast and frim pull from your extended arm until your hand is...
- Page 20 MM-B212MX (MEGA MAX) ASSEMBLY INSTRUCTIONS STARTING AND RUNNING THE BIKE 39) When you are done riding, move the fuel lever to the left to the “OFF” position. BE SURE TO OIL THE CENTRIFUGAL CLUTCH BEFORE AND AFTER EACH RIDE AS INSTRUCTED IN YOUR OWNER’S MANUAL.
Need help?
Do you have a question about the MM-B212 MXS and is the answer not in the manual?
Questions and answers