Advertisement
Quick Links
Note: The most current version of these instructions can be found online at
WARNING: Important! Read and understand these instructions before assembling or us-
ing the Sit-to-Stand Sling. If you do not understand any part of these warnings, cautions
or instructions, contact a healthcare professional for direction in the use of this product.
If the Sit-to-Stand Sling is not properly applied, personal injury and damage to the Sit-to-
Stand Sling could result.
WARNING: If components are damaged or missing, contact your dealer immediately.
WARNING: Carefully inspect the sling weekly for wear and damage to seams, fabric,
straps, and strap loops. Torn, cut, frayed or broken slings can fail, resulting in serious
personal injury to the user. Use only slings that are in good condition. Discard and de-
stroy old, unusable slings.
WARNING: DO NOT exceed the Sit-to-Stand Sling's maximum weight capacity.
WARNING: GF Health Products, Inc. assumes no responsibility for any damage or injury
caused by improper application or use of this product.
APPLICATION
1. Check the patient's weight and the sling's
maximum weight capacity. Ensure that the
patient's weight does not exceed the sling's
maximum weight capacity.
2. Review the following procedures carefully before
attempting lift; call Graham-Field Technical
Support at 800-347-5678 with any questions.
3. See the Sling Loop Options table at right to
determine the appropriate position.
4. See Figure 1 for correct positioning of sling on
spreader bar.
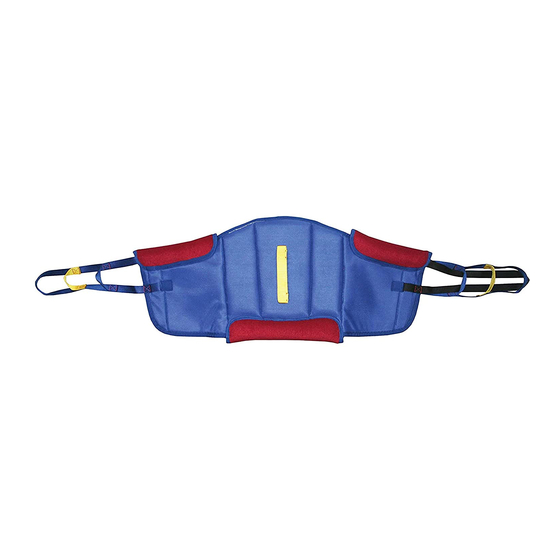
5. Position the sling behind the seated patient, with
the two red pads under the arms, as shown in
Figure 2.
6. Cross the padded belt over the patient's chest
and stomach area and secure it with the snap
buckle belt as shown in Figure 2.
7. Loop straps A and B through black strap C as
shown in Figure 3, and hook to corresponding
mast hooks a and b as shown in Figures 1 and 4.
DSLSA1-INS-LAB-RevA09
DSLSA1, DSLSA2, DSLSA3, DSLSA4; DELUXE SIT-TO-STAND
PADDED SLING: APPLICATION INSTRUCTIONS
PLEASE SAVE THESE INSTRUCTIONS FOR FUTURE USE
www.grahamfield.com
Long loop
Center loop
Short loop
Sling Loop Options
Long loop
reclined position
Center loop
semi-reclined position
Short loop
most upright position
Figure 1
A
C
Figure 2
B
a
b
Figure 3
Figure 4
1
Advertisement

Related Manuals for Graham Field Lumex DSLSA1


Summary of Contents for Graham Field Lumex DSLSA1
- Page 1 DSLSA1, DSLSA2, DSLSA3, DSLSA4; DELUXE SIT-TO-STAND PADDED SLING: APPLICATION INSTRUCTIONS PLEASE SAVE THESE INSTRUCTIONS FOR FUTURE USE Note: The most current version of these instructions can be found online at www.grahamfield.com WARNING: Important! Read and understand these instructions before assembling or us- ing the Sit-to-Stand Sling.
- Page 2 8. Have the patient grasp handle bars and place feet on lift Figure 5 platform with knees against black knee pad as shown in Figure 5. 9. Do not lock caster brakes, in order to allow the lift to properly balance weight. 10.
Need help?
Do you have a question about the Lumex DSLSA1 and is the answer not in the manual?
Questions and answers