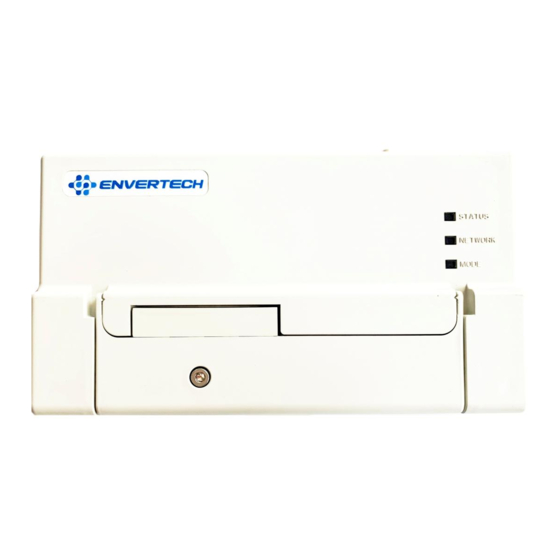
Envertech EVB300 User's Operating Manual
Hide thumbs
Also See for EVB300:
- User's operating manual (13 pages) ,
- Quick installation manual (3 pages)
Table of Contents
Advertisement
Advertisement
Table of Contents

Summary of Contents for Envertech EVB300
- Page 1 User Operating Manual Model Number: EVB300 Zhejiang Envertech Corporation Ltd. Zhejiang Envertech Corporation Ltd. Tel:+86 579 8926 6326 Email:info@envertec.com All rights reserved Add:24th Floor, Jintong Mansion, Center of Headquarters, Yongkang City, Zhejiang Province, China...
-
Page 2: Table Of Contents
Content Overview.................... Brief Introduction..................... Features......................Key Equipments....................Installation Guide................Package list...................... Interface Layout ....................Technical parameters..................Installation..................Preparation................... System Diagram....................Installation steps....................Internet Connection..................Add MI........................ Main Functions................. Register a New Account..............EnverPortal Monitoring System............4.2.1 Overview Page.................. 4.2.2 Real-time Monitoring................4.2.3 Historical Data................... -
Page 3: Overview
2.2 Interface Layout Overview 1.1 Brief Introduction The monitoring device EVB300 is the interaction interface of microinverters, which can effectively communicate with any Envertech microinverter and remote control the Envertech microinverter. Users can have access to data and precise analysis through a simple, flexible and convenient way. -
Page 4: Technical Parameters
A steady Internet connection (CAT5 Ethernet, or a wireless router). 3.3 Installation Steps A computer/cellphone. Note: When mounting the EVB300 to a wall, make sure to select a cool, dry indoor location. Step1. Screw on the antenna. Step2. Drill two holes on the wall surface (10cm apart), then insert 2 mounting screws. -
Page 5: Internet Connection
Connect network whose name is same as your EVB SN. c. Use a browser to open the webpage: http://10.10.100.254/, and login the account Wait 3 minutes and you can start the operation after booting EVB300. (username: admin and password: admin). -
Page 6: Add Mi
B. Connect the LAN cable to a spare port on the router. Or you can Scan the bar code. 3.5 Add MI: Note: Please ensure that both EVB300 and your cellphone are in same router network. Step1. Launch EnverView app, enter Local Mode. Connect your EVB300. -
Page 7: Main Functions
4.1 Register a New Account EnverPortal, an intelligent monitoring system developed by Envertech, monitors the performance of the whole Envertech microinverter system as well as that of every module in the system. New users need to register an account. 4.2.3 Historical Data Registration address: www.envertecportal.com... -
Page 8: Enverview App
Monitor Interface and Features. sponding to the date you select. Put your fingertip on the curve and the data at that EVB300 is a smart internet monitor device, all operations can be done on the time point will be displayed. - Page 9 B. Click “+” button on the up right C. After the file downloaded, click Click “+” to add a new microinverter under the EnverBridge. The SN of the microin- corner, then click download. upgrade button. verter can be typed into the input box, or you can click the barcode icon and scan the barcode on the microinverter.
- Page 10 a) Auto Control B. Standard Setting With Auto control, the system will adjust the reactive power according to the real-time a. Reactive Power Control active power automatically. Introduction: Generally, there are active power and reactive power in a power system, so we could use this function to modify the power factor to improve the efficiency of the whole system.
- Page 11 Step2. Enter Frequency setting b. Output Power Control There are frequency settings. Introduction: If users don’t want to transmit all electricity that microinverter system generated to the grid. They could proceed this function to modify the percentage of the electricity we want to transmit to the grid. Operation Steps:...
-
Page 12: Others
WARNING Step2. Click confirm button. Step1. Enter AD Sampling Calibration Do not attempt to repair the Envertech monitoring device without authorization, because it does not contain parts available for users to repair. If the microin- verter fails, please contact Envertech customer service. -
Page 13: About Us
Microinverter(n=10) 1. Single Phase Unscrew the front cover with the complimentary hex screwdriver, then plug wires on each phase into the corresponding connector of EVB300. WARNING Tighten the screws that fix the plastic baffle plate. Make sure not to connect single-phase and three-phase power ports at the same time to prevent electric shock.


Need help?
Do you have a question about the EVB300 and is the answer not in the manual?
Questions and answers