Advertisement
Quick Links
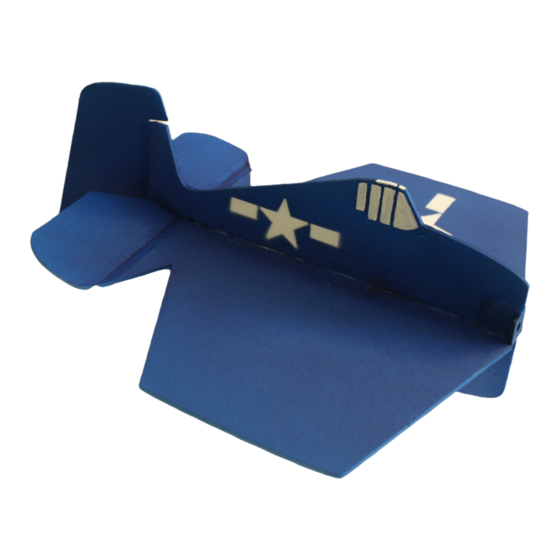
MINI-HELLCAT
Please read and understand all steps to these instructions before beginning assembly.
This plane is not a toy and is potentially dangerous to operate. Children should not
Before you start, it may be a good idea to gather the required items to complete this
plane. You will need a sharp knife, some foam-safe glue, a sanding block, and some
hinge tape. At the end of the instructions you will find a list of the recommended
Before we start the assembly of the structure, here are some general pointers.
-Smooth edges of all parts with some 320 grit sandpaper before you start.
-There are many glues that are compatible with depron foam, do a little research and
pick your own favorite.
-Painting depron is easy. Go to your local walmart and buy a couple of the $1.25 bottles
of acrylic craft paint. I use a ten dollar airbrush, but foam brushes work too. Included with
the foam parts are two stencils for the star and bar insignias shown.
You can find a link to the online version of the instructions on the ebay page for the kit.
Made in the USA by
Buzzard Models
operate this aircraft without adult supervision.
electronic hardware.
Advertisement

Related Manuals for Buzzard Models MINI-HELLCAT


Summary of Contents for Buzzard Models MINI-HELLCAT
- Page 1 MINI-HELLCAT Made in the USA by Buzzard Models Please read and understand all steps to these instructions before beginning assembly. This plane is not a toy and is potentially dangerous to operate. Children should not operate this aircraft without adult supervision.
- Page 2 Bevel bottom side of wing and each elevon to Kit contents. about 45 degrees. Hold wing and elevons to table with low stick masking tape, apply hinge tape to both sides. Bevel LH side of fuselage and rudder. Glue upper fuselage to wing. Glue firewall doublers to fuselage sides.
- Page 3 Glue lower fuselage into place. Glue firewall in place with epoxy. Hinge rudder to fuselage with tape. Time to paint bottom! Paint top. Stars and bars go on top of LH wing, bottom of RH.
- Page 4 Small stars and bars go on both sides as Screw motor to mount. shown. Handpaint canopy with brush. Your structure is now complete! Glue control horns into slots. Glue elevon servos in holes. Rudder servo gets glued to side of fuselage a Make pushrod stiffener for rudder pushrod little forward of the elevon servos on RH side.
- Page 5 Install pushrods. Make “V” bends for Attach receiver to bottom of RH wing with adjustment. “Z “ bend goes in top hole of double sided tape. Cut a small hole behind control horn, make 90 degree bend at servo, receiver for wires to pass through fuselage. use a scrap of pushrod wire to drill an extra You may want to alter location of the receiver hole in the servo arm between the two...
-
Page 6: Recommended Hardware
4. Range check transmitter, refer to transmitter instructions. Flying Tips: The Mini-Hellcat has a rather low wing loading and does not like much wind. For your first flight, I would recommend flying in a large outdoor area, wait for very calm conditions like less than 5 mph wind.