Advertisement
Quick Links
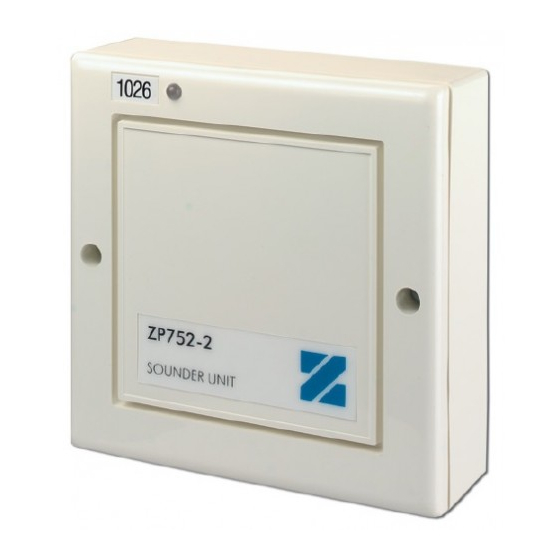
ZP752-2 Monitored Dual Output Module
Installation Sheet
Description
The ZP752-2 provides two conventional output circuits (Circuit
1 and Circuit 2) for operating polarized sounders, visual
indicators, and controls for ancillary equipment. Output 1 and
Output 2 share the same address and therefore switch on and
off at the same time.
The module comprises a front plate and a backbox. The front
plate houses the electronic components and plugs into the
backbox. The backbox provides the screw terminals for
connecting the field wiring.
The bicolor LED on the front plate indicates the status of the
module (off = normal condition, red = active condition, amber =
fault condition). There is space provided next to the LED to
attach an address label, if desired.
WARNING: This module will NOT operate without electrical
power. As fires frequently cause power interruption, we
suggest you discuss further safeguards with your local fire
protection specialist.
Installation
1.
Remove the front plate from the backbox.
2.
Drill out center hole in the backbox and run wires into the
module.
3.
Remove appropriate knockouts on the backbox for
mounting to a conduit box. Mount the backbox to the
conduit box.
4.
Make all wiring connections as shown in the wiring
diagram (Figure 2).
5.
Set the address switch for the module. See "Address
switch settings" below (Figure 1).
6.
Attach the address label to the indent that is on the front of
the module.
7.
Secure the front plate to the backbox with the two screws
provided.
Address switch settings
SW1 is used to assign device addresses. Each switch segment
has a decimal value as shown in Figure 1.
The sum of all the switch segments in the ON position
determines the device address. You can set the device
address to any value between 001 and 127 that is not used by
another device on the same loop. For example, to select a
device address of 007 you must set SW1-1, SW1-2, and SW1-
3 to the ON position and the remaining switch segments to the
OFF position.
© 2010 UTC Fire & Security. All rights reserved.
Figure 1: Address switch settings
FUSES 1.0 A
Address
ON
OFF
Front plate - rear view
Wiring
Field wiring connections are shown in Figure 2.
Run the wires through a hole in the backbox and connect them
to the screw terminals as shown.
Specifications
Application
Power supply requirements
External power supply
Loop power
Max line drop
Current
Standby
Activated
IP rating
Mounting
Construction
Colour
Dimensions (W × H × D)
Gross weight
Initiating device circuits (IDC)
Output current
EOL resistor value
Operating environment
Temperature
Relative humidity
1 / 2
P/N 501-056101-0-04 • REV 4.0 • ISS 26AUG10
1 2 4 8 16 32 64
ON
1
2
3
4
5
Device address = 007
Indoor use
22 to 30 VDC
20 volt pulsed analogue loop
2V
600 µA
700 µA
42
Surface
Moulded ABS
White
120 × 120 × 40 mm
310 g
1 A at 24 VDC per circuit
2.2 K
−10 to +70°C
20 to 95% noncondensing
6
7
Advertisement

Related Manuals for Ziton ZP752-2


Summary of Contents for Ziton ZP752-2
- Page 1 Installation Sheet Description Figure 1: Address switch settings The ZP752-2 provides two conventional output circuits (Circuit 1 and Circuit 2) for operating polarized sounders, visual indicators, and controls for ancillary equipment. Output 1 and Output 2 share the same address and therefore switch on and off at the same time.
- Page 2 Figure 2: Wiring diagram Notes Screened cable. EOLR required if circuit is not used. Terminal marking (plus/minus) indicates signal polarity when the circuit is active. The polarity reverses when the circuit is not active. Signal source must be CE and EN54-4 compliant.