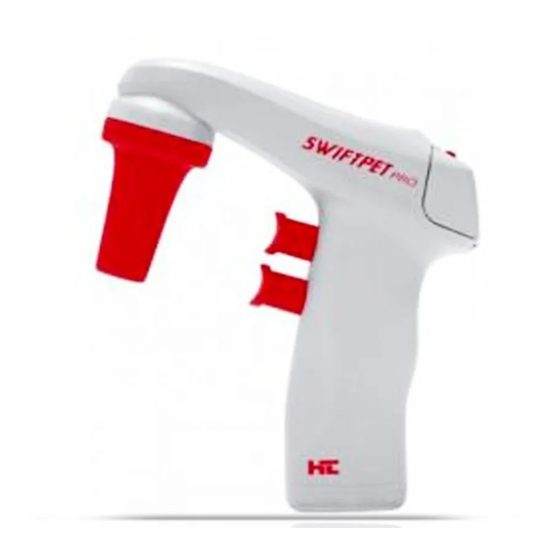
Summary of Contents for HTL SWIFTPET PRO
- Page 1 ENGLISH 1 – DEUTSCH 9 – 16 FRANÇAIS 17 – 26 ESPAπOL 27 – 34 PORTUGUS 35 – 42 POLSKI 43 – 50 êìëëäàâ 51 – 59...
- Page 2 ENGLISH FRANÇAIS PORTUGUS êìëëäàâ A - Aspiration button - PP A - Bouton-poussoir de prise - PP A - Botão de aspiração - PP A - äÌÓÔ͇ ̇·Ë‡ÌËfl - PP B - Dispense button - PP B - Bouton-poussoir de refoulement B - Botão para dispensar - PP B - äÌÓÔ͇...
-
Page 4: Table Of Contents
TABLE OF CONTENTS 1 - INTRODUCTION ......................2 2 - WORK SAFETY INSTRUCTIONS ..................2 3 - LIMITATIONS OF USE ..................... 3 4 - SWITCHING ON ....................... 3 5 - ASPIRATING AND DISPENSING LIQUIDS ..............3 6 - TROUBLESHOOTING ...................... 5 7 - REPLACING THE FILTER .................... -
Page 5: Introduction
2 - WORK SAFETY INSTRUCTIONS WARNING! Risk of injury CAUTION: Risk of damage to the device or errors in pipetting of liquids Before starting the work with the SWIFTPET PRO every user should read these operating instructions carefully. CAUTION: • Using the device inconsistently with the operating instructions may result in damaging the device. -
Page 6: Limitations Of Use
• The pipette controller may work in temperature range from +10 °C to +35 °C. 4 - SWITCHING ON The SWIFTPET PRO pipette controller is switched on by pressing any of the buttons (fig. 1A, B, C, D). The display will show the selected aspiration mode, dispense mode and the batter- ies level indicator. - Page 7 The SWIFTPET PRO has two dispense modes. The dispense mode is selected by succes- sive pressing the MODE switch (fig. 1D) until the display shows the right mode (fig. 1E).
-
Page 8: Troubleshooting
(fig.1G, fig. 1J). If the above actions do not help, the device shall be sent to HTL service. Before that the product should be cleaned and decontaminated. Fill in the questionnaire available at www.htl.com.pl with precise specification of solutions used and the type of laboratory, in which the device has been used, and send it together with the product. -
Page 9: Charging The Batteries
• Install new membrane filter (fig. 4D) and assemble the device in reverse order. 8 - CHARGING THE BATTERIES CAUTION! The SWIFTPET PRO may be charged only with the original charger. The mains voltage must conform with the specification on the charger. Using other chargers than the original one may damage the battery. -
Page 10: Maintenance
121°C for not more than 15 minutes. Storage The SWIFTPET PRO shall be stored in a dry place. The allowable storage temperature: -20 °C to +50 °C. During breaks in the work the pipette controller shall be placed on a charging stand in hori- zontal position (fig. -
Page 11: Ordering Information
ENGLISH 11 - ORDERING INFORMATION The SWIFTPET PRO comes with a universal charger and a set of adapters in different versions: EU, US, UK and AUS. Choose your country used adapter and connect to the housing. To mount the adapter, it should be inserted into the slots of the housing in the direction of the arrow (1), until you hear a click (fig.


Need help?
Do you have a question about the SWIFTPET PRO and is the answer not in the manual?
Questions and answers